
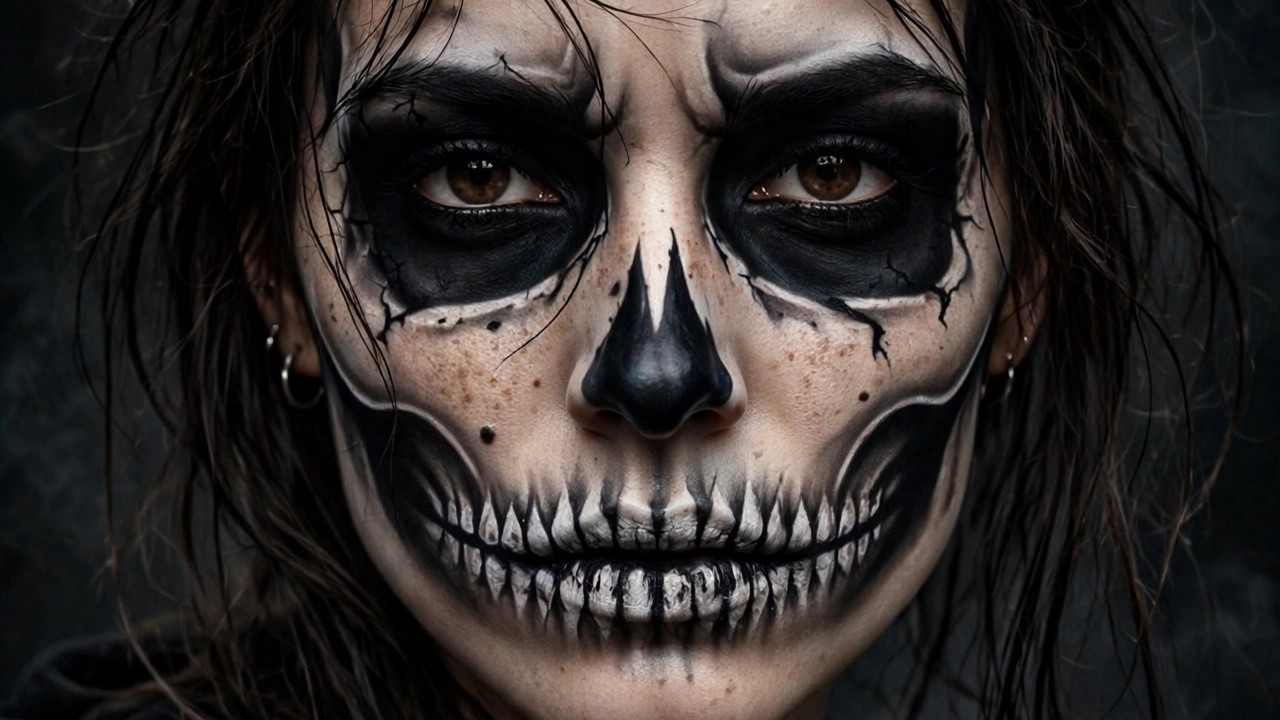
11 SFX Halloween Makeup Ideas for Beginners That Look Pro
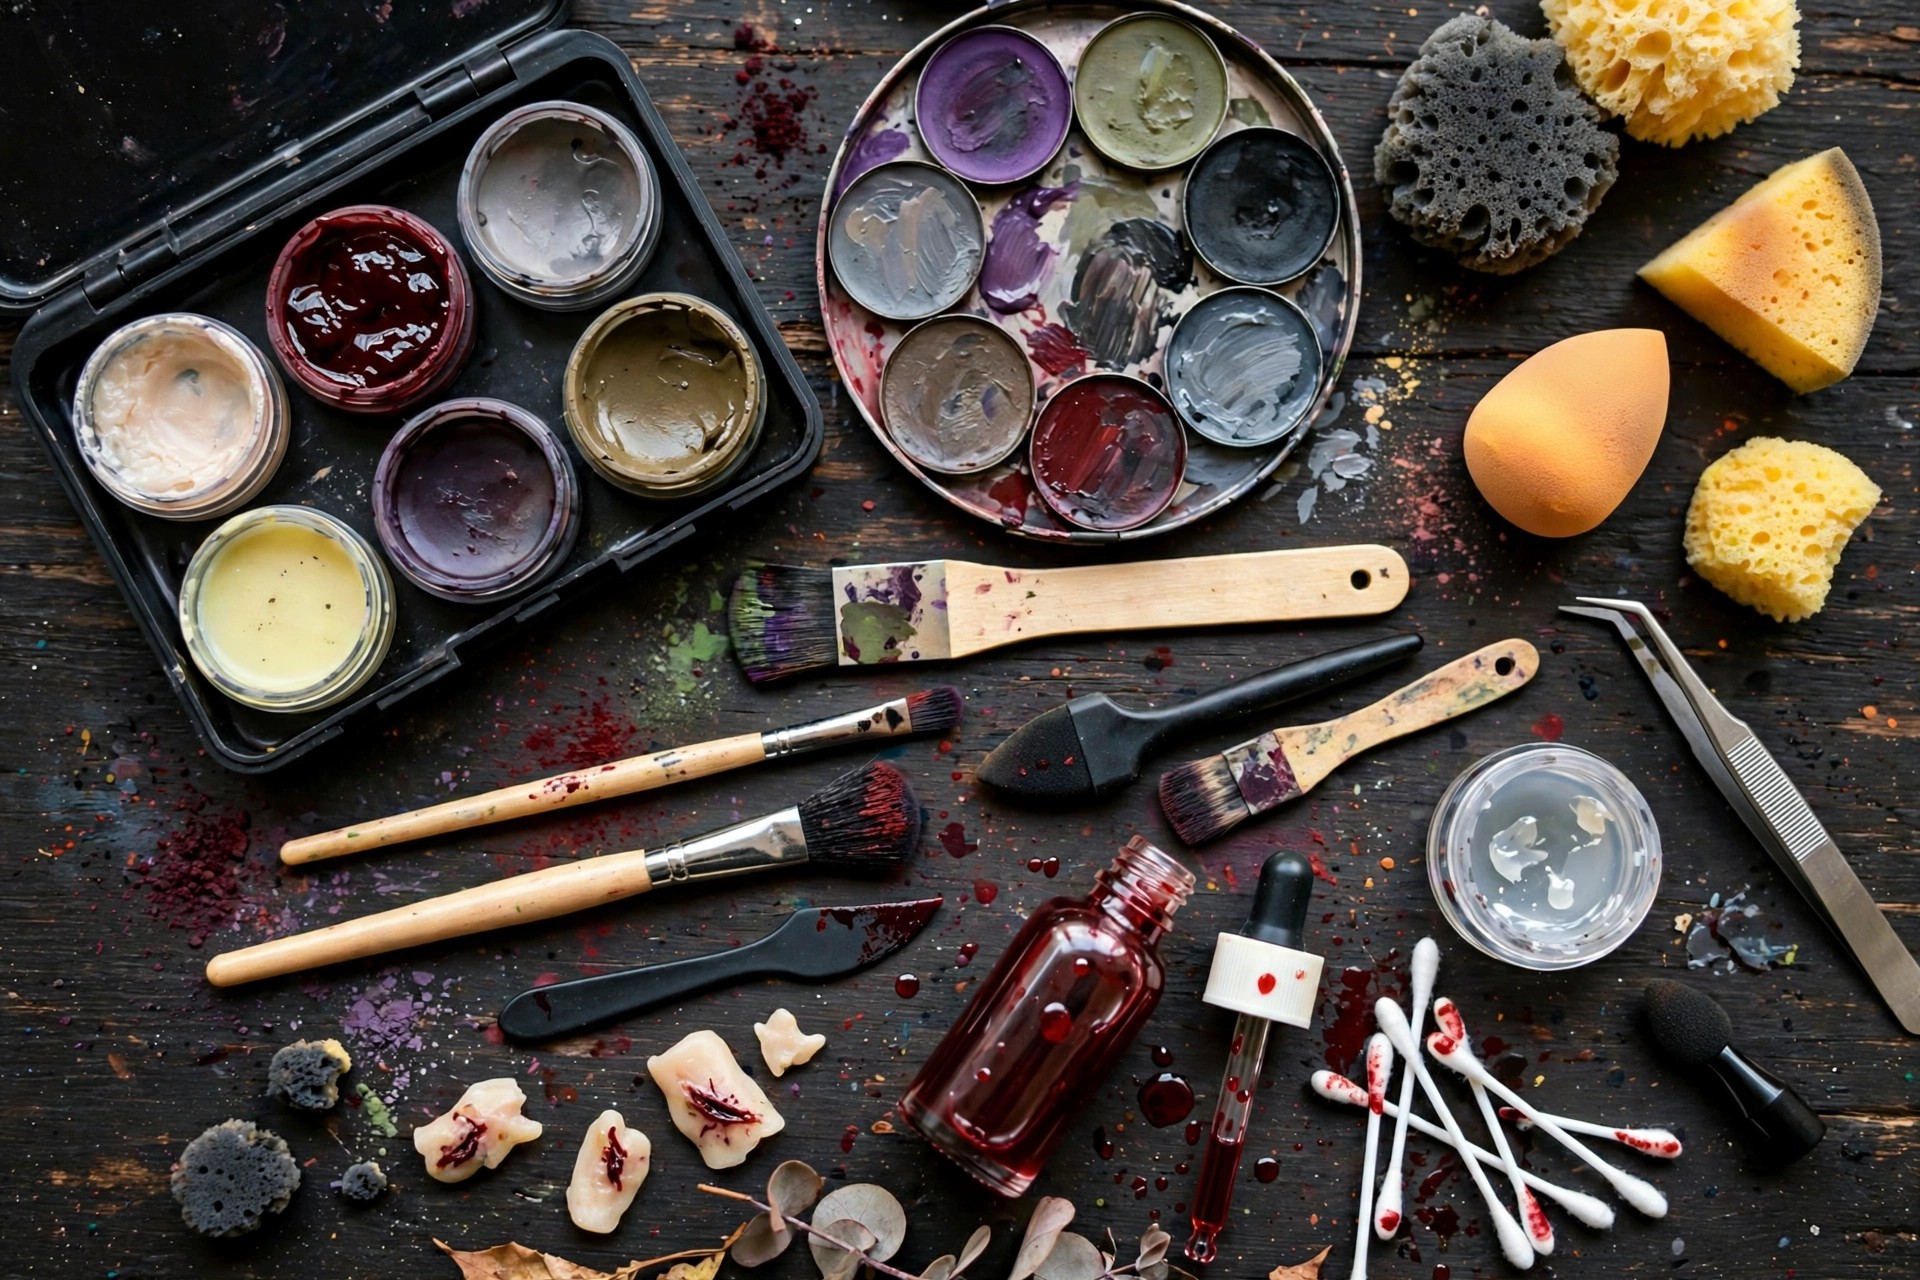
Special-effects makeup looks like movie magic, but the beginner version is surprisingly approachable. Stipple sponges, cream palettes, and fake blood from any costume shop can produce wounds, bruises, and zombie skin that photograph really well. No prosthetics, no airbrush, no art degree.
A safety note before anything touches your face: patch-test every new product on your inner forearm 24 to 48 hours before Halloween. If you have a latex allergy, skip liquid latex entirely and use the latex-free alternatives in the wound section below. Keep all products away from eyes and mouth, and check that everything you buy is labeled cosmetic-grade — craft glue and non-cosmetic paint don’t belong on skin.
1. Basic Zombie Skin
The foundation of half the looks on this list. Apply a pale green-gray cream base, then stipple darker green and gray into the hollows of the cheeks, temples, and around the eyes with a torn sponge. The torn edge creates the mottled, uneven texture that reads as “undead” — smooth blending is actually the enemy here.
Tip: set everything with translucent powder, or the cream base will slide off within an hour of party heat.
2. Latex-Free Fake Wound
Skip the liquid latex. Layer small pieces of single-ply tissue onto the skin with eyelash glue or cosmetic adhesive, building up the edges while leaving the center open. Cover with foundation to match your skin, then paint the center dark red and add fake blood. The raised tissue edges catch light like real torn skin.
Tip: build the wound the night before on wax paper, let it dry, and glue the whole piece on day-of — it’s far less fiddly.
3. Slit Throat Illusion
Draw a horizontal line across the throat with dark red cream makeup, then blend the edges outward with a damp sponge so there’s no hard line. Add thin drips of fake blood running downward and a highlight line just above the cut for depth. From three feet away in dim party light, it reads as genuinely alarming.
Tip: keep the blood above the collarbone area of your costume, or plan the costume around the stain — fake blood does not wash out of light fabric.
4. Stitched Mouth
Draw vertical “stitch” lines across the lips with black liquid eyeliner, then connect them with a horizontal line and add tiny horizontal cross-strokes. Extend the line past the corners of the mouth toward the cheeks for the full sewn-shut effect. Smudge dark red around the stitches for a fresh-wound look.
Tip: use a lip stain as the base rather than lipstick — it won’t transfer onto cups all night.
5. Black Eye Bruise
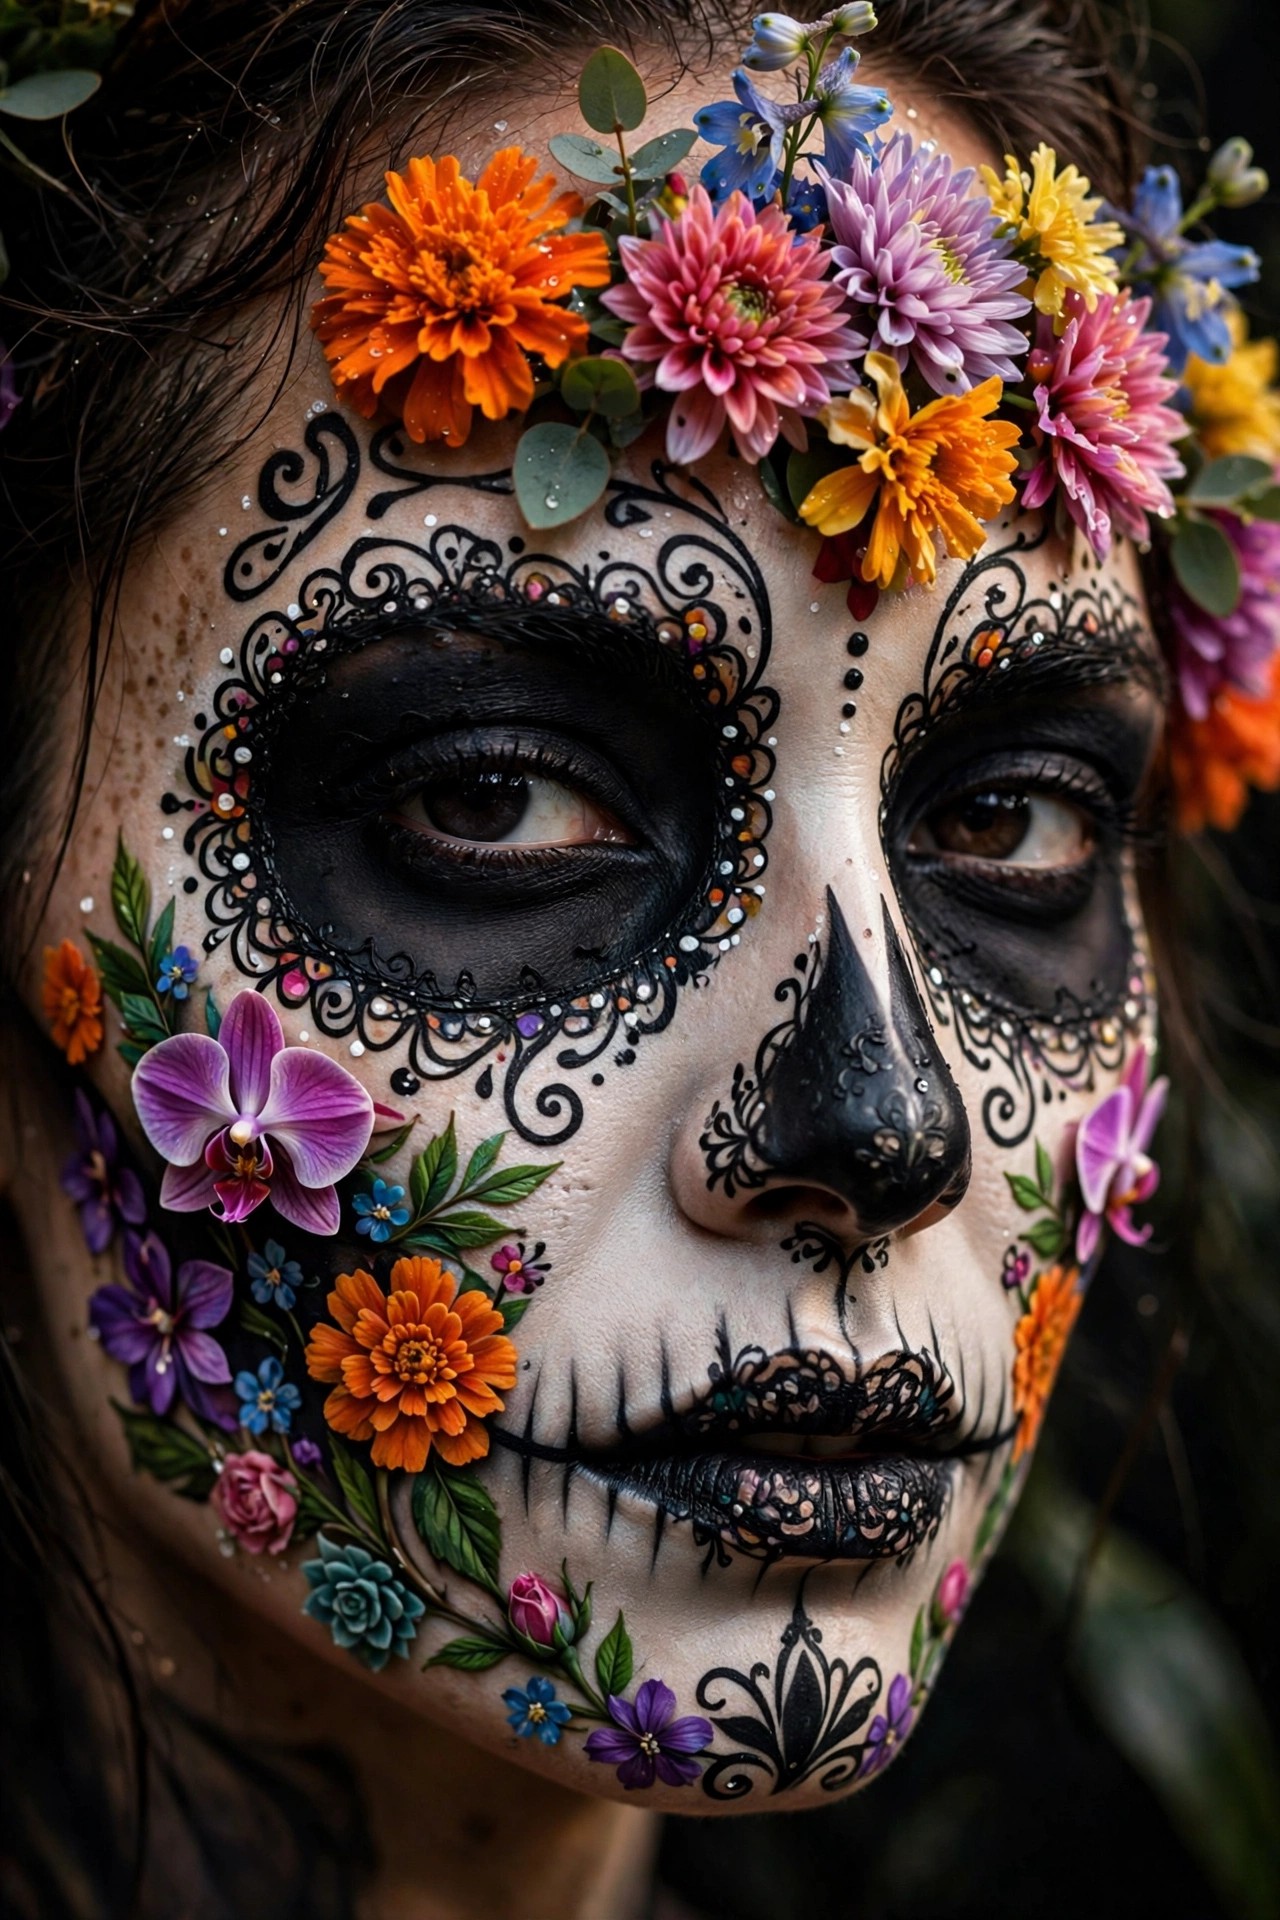
Layer eyeshadow, not face paint: start with deep purple in the center, ring it with dark red, then feather yellow-green at the outer edge. Real bruises have that yellow-green halo, and it’s the detail that sells it. Blend between each layer so there are no visible rings.
Tip: this look is most convincing slightly asymmetric — perfect symmetry reads as makeup.
6. Burnt Skin Effect
Stipple black and dark red cream makeup in patches, then add a glossy highlight (clear lip gloss works) on the darkest areas for that wet, blistered look. Keep the edges irregular and blend outward into your normal skin tone. A little goes a long way — patchy coverage looks more realistic than full coverage.
Tip: avoid the glossy highlight near eyes; migration plus gloss is a recipe for irritation.
7. Vampire Bite Marks
Two small dark-red puncture dots on the neck, each surrounded by a faint bruised halo of purple shadow. Add one thin blood drip from each puncture. Pair with a pale base and dark lips and the whole vampire reads instantly — this is the SFX companion to a glam vampire look.
Tip: place the bites where your costume’s neckline frames them — collarbones get more visibility than the side of the neck.
8. Cracked Doll Face
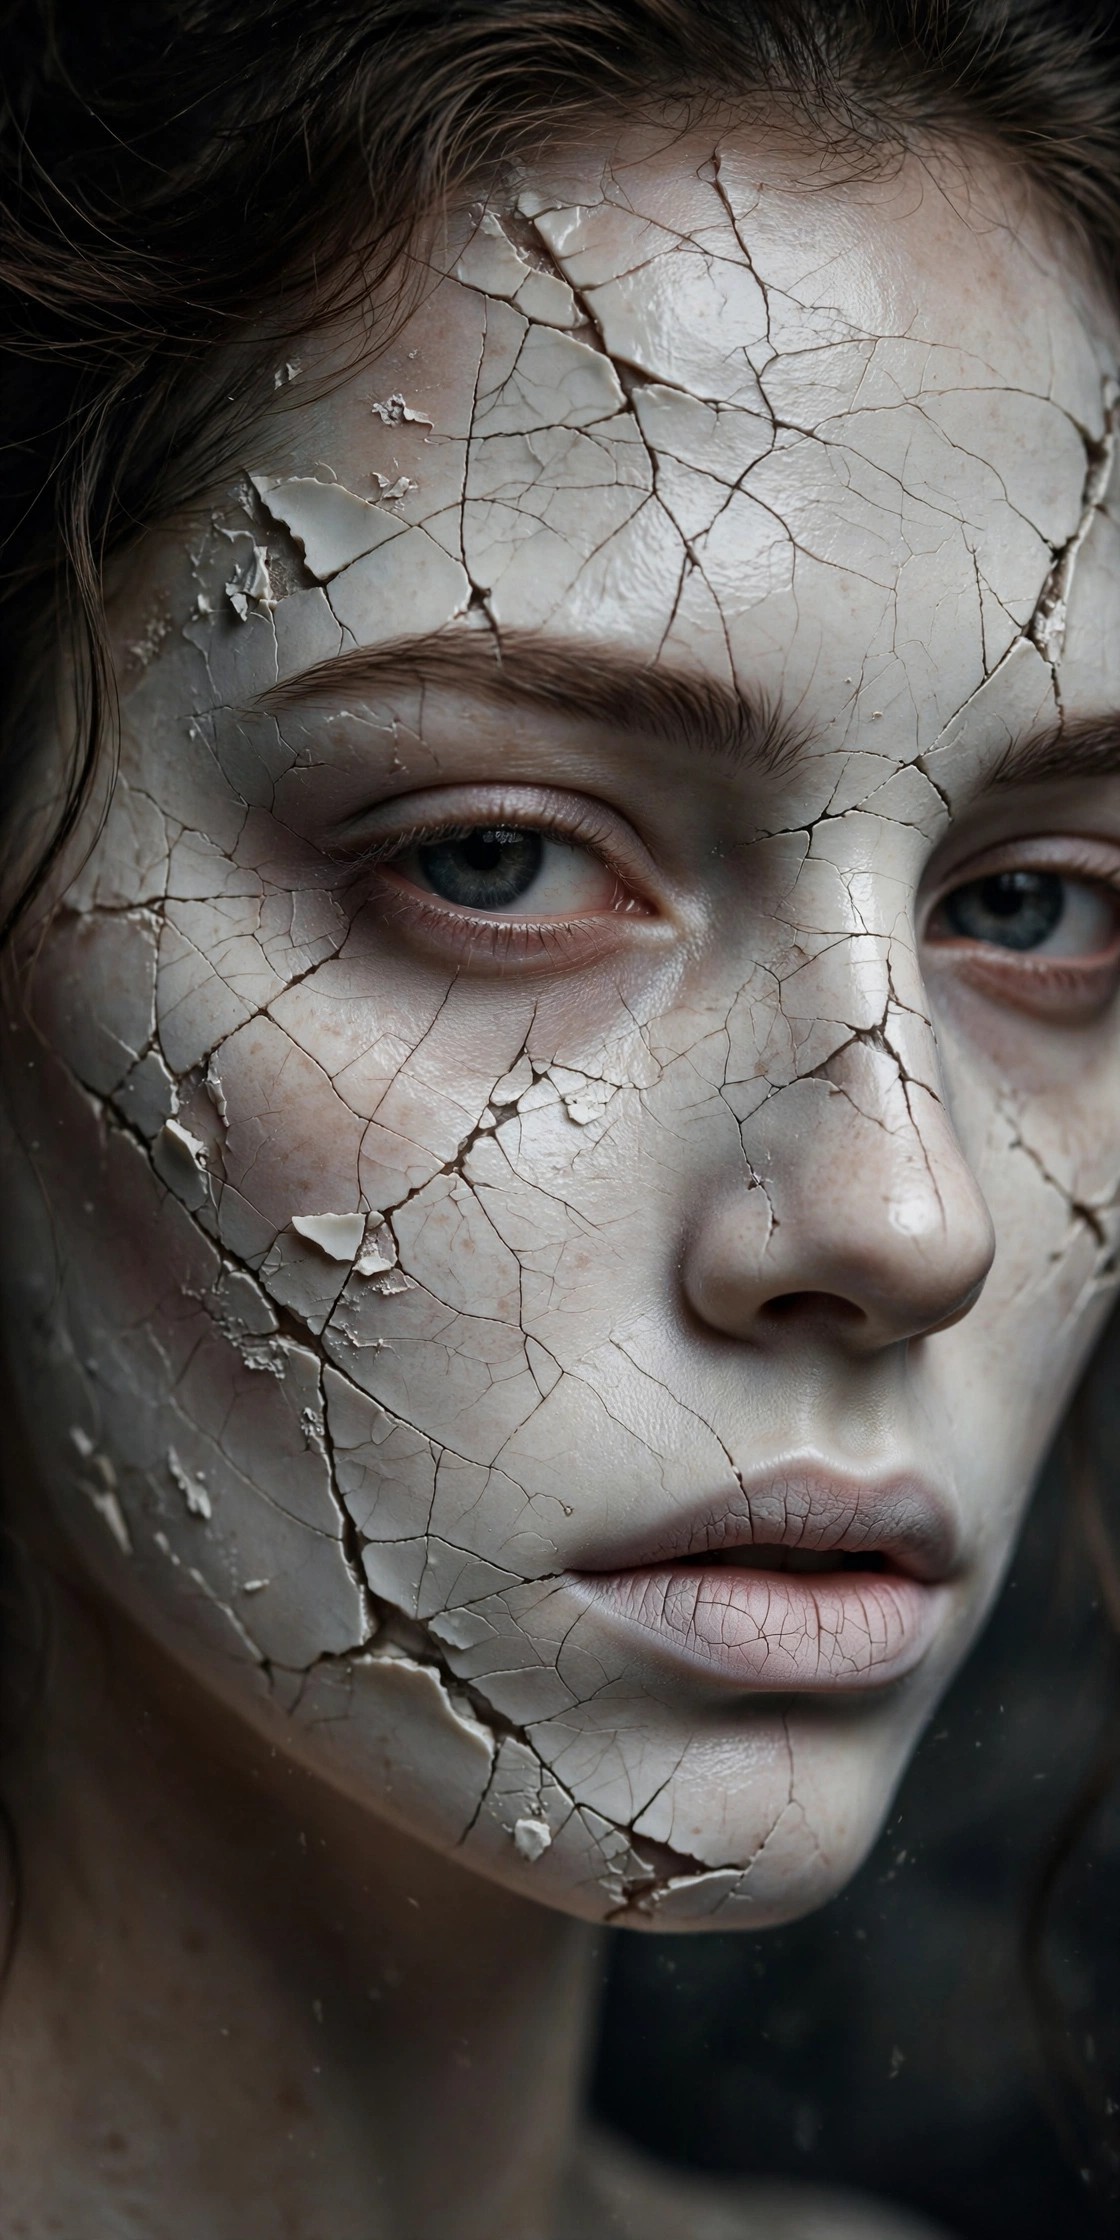
Cover the face with a pale matte base, paint on exaggerated doll features (round blush cheeks, small red lips, drawn lashes), then crack it: draw thin jagged black lines across one cheek and the forehead like shattered porcelain. Fill a few cracks with dark shadow for depth. The contrast between cute and broken is what makes it unsettling.
Tip: draw the cracks with the non-dominant hand — slightly wobbly lines look more like real fractures.
9. Exposed Bone Cheek
Paint an irregular ivory shape on the cheek, shade its edges with gray and brown shadow to create depth, and surround it with red “torn flesh” stippling. Add a small amount of fake blood at the boundary between bone and skin. It’s dramatic but uses the same stipple-and-shade technique as the zombie base, so it builds on skills you already practiced.
Tip: reference a skull photo on your phone while painting — the bone shape looks far more convincing with a visual guide.
10. Bloody Scratches
Drag the edge of a plastic card lightly through red cream makeup across the forearm or cheek to create parallel scratch lines, then deepen every other line with dark red and add blood along the deepest one. Claw-mark spacing — three or four parallel lines — reads instantly as an attack wound.
Tip: scratches on the forearm photograph better than on the face and are easier to remove later.
11. Removal & Skin Safety Tips
Getting SFX makeup off matters as much as putting it on. Remove in layers: first lift fake blood and surface color with an oil-based cleanser or cold cream, then wash with a gentle cleanser, then moisturize — SFX products are drying. Never scrub; let the oil-based remover sit for a minute and dissolve the makeup. Wash pillowcases and costume collars the same night, because fake blood and cream pigments stain fabric fast.
A few standing rules: don’t sleep in SFX makeup, don’t share sponges or applicators (eye infections travel this way), and if anything stings, burns, or raises a rash, take it off immediately — no look is worth a reaction. Keep remover wipes in your bag for mid-party fixes.
Tip: apply a thin layer of moisturizer as a barrier before any SFX base — it makes removal dramatically easier.
It can irritate sensitive skin, and it’s genuinely dangerous for anyone with a latex allergy. Patch-test on your inner forearm 24 to 48 hours ahead, and if you have any latex sensitivity, use the tissue-and-adhesive method from the wound section instead — it looks just as good.
Oil-based remover or cold cream, applied generously and left to sit for a full minute before wiping.
Yes, plan for it. It tints skin pink for a day or two (exfoliating helps) and can permanently stain light fabrics. Wear dark costumes with SFX looks, put a barrier cream on skin under heavy blood areas, and accept that the costume shirt is now a Halloween-only shirt.
No — craft glues aren’t formulated for skin and can cause irritation or worse. Cosmetic-grade eyelash glue or spirit gum (if you’re not sensitive to it) are made for skin use, and both are cheap at any costume shop.
With setting powder or setting spray, four to six hours is realistic. Heat, sweat, and touching your face are the enemies. Bring blotting papers and a small touch-up kit rather than applying everything thicker at the start — thick layers crack.
Start Simple, Build Up
The fastest way to learn SFX makeup is to master one technique — stippling — and one product category — cream palettes. The zombie skin, bruises, burns, and bone effects on this list all use the same two skills in different combinations. Practice once the weekend before, photograph it in dim light, and adjust. Keep your first kit small — a cream palette, a stipple sponge, setting powder, and one bottle of fake blood cover every look on this list, and you can expand next year once you know which effects you enjoy most.
If you want the glamorous side of Halloween makeup instead of the gory side, these vamp romantic Halloween makeup ideas are the perfect counterpart. And don’t forget the finishing detail — these simple Halloween nail designs take under 30 minutes and complete any look.
Frequently Asked Questions
What supplies do I need to start doing SFX Halloween makeup?
A beginner kit is small: a cream makeup palette, a stipple sponge, translucent setting powder, and one bottle of fake blood. The article notes this covers every one of the 11 looks on the list, from zombie skin to bloody scratches. Master stippling first, since the zombie base, bruises, burns, and bone effects all use the same technique.
How do I make a fake wound without liquid latex?
Layer small pieces of single-ply tissue onto the skin with eyelash glue or cosmetic adhesive, building up the edges while leaving the center open. Cover it with foundation to match your skin, then paint the center dark red and add fake blood. The raised tissue edges catch light like real torn skin, and it looks just as good as latex.
How do I make a fake black eye look realistic?
Use eyeshadow, not face paint: start with deep purple in the center, ring it with dark red, then feather yellow-green at the outer edge. That yellow-green halo is the detail that sells it, because real bruises have one. Blend between each layer so there are no visible rings, and keep it slightly asymmetric.
How do I get SFX makeup off without scrubbing my skin raw?
Remove in layers: first lift fake blood and surface color with an oil-based cleanser or cold cream, let it sit for a full minute so it dissolves the makeup, then wash gently and moisturize. Never scrub, and never sleep in SFX makeup. A thin layer of moisturizer applied before the base makes removal dramatically easier.
Will fake blood stain my skin and clothes?
Yes, plan for it. It tints skin pink for a day or two, and it can permanently stain light fabrics, so wear dark costumes with SFX looks. Put a barrier cream on skin under heavy blood areas, and wash pillowcases and costume collars the same night. Accept that the costume shirt is now a Halloween-only shirt.