13 Easy DIY Advent Calendars From Household Items
Store-bought advent calendars are fine, but the chocolate is always mediocre and the pictures never match your kid's actual interests. A homemade one costs next to nothing, takes an afternoon, and you control every single surprise inside. The rule that matters most: the container should be dead easy, because your energy belongs in the fillers. Every idea below uses things already in your house.
1. Numbered Envelopes on a String
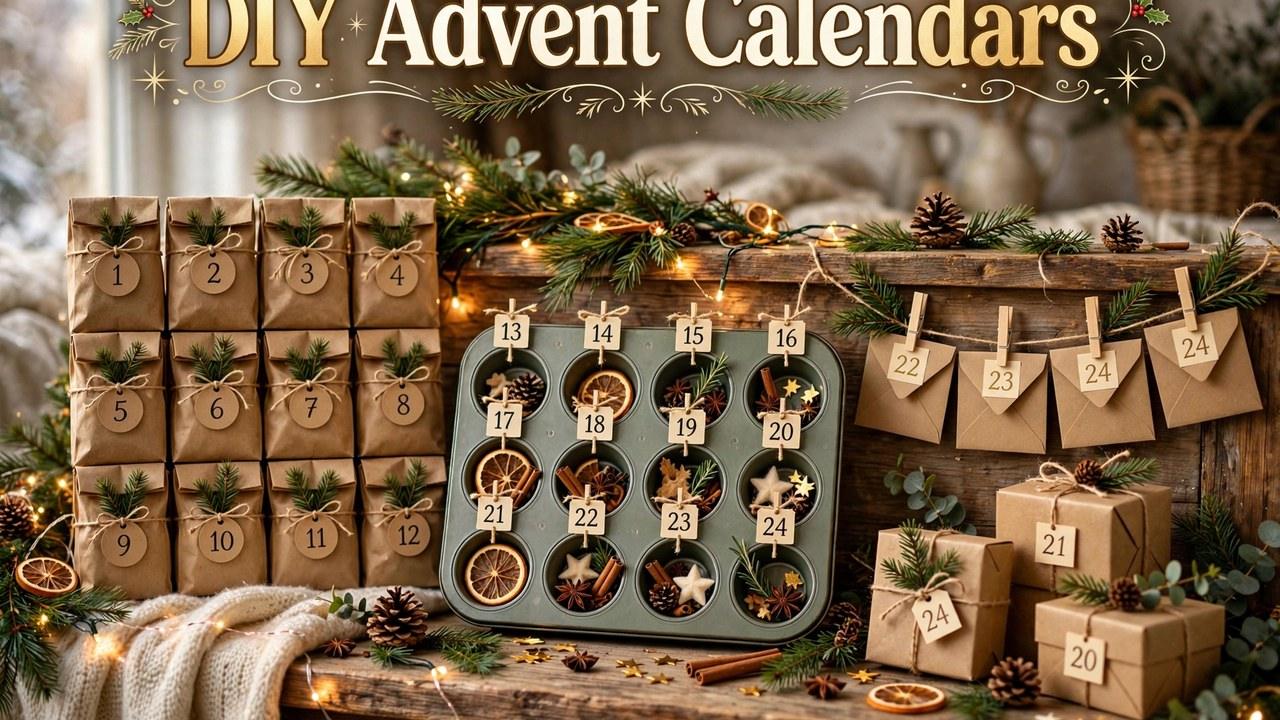
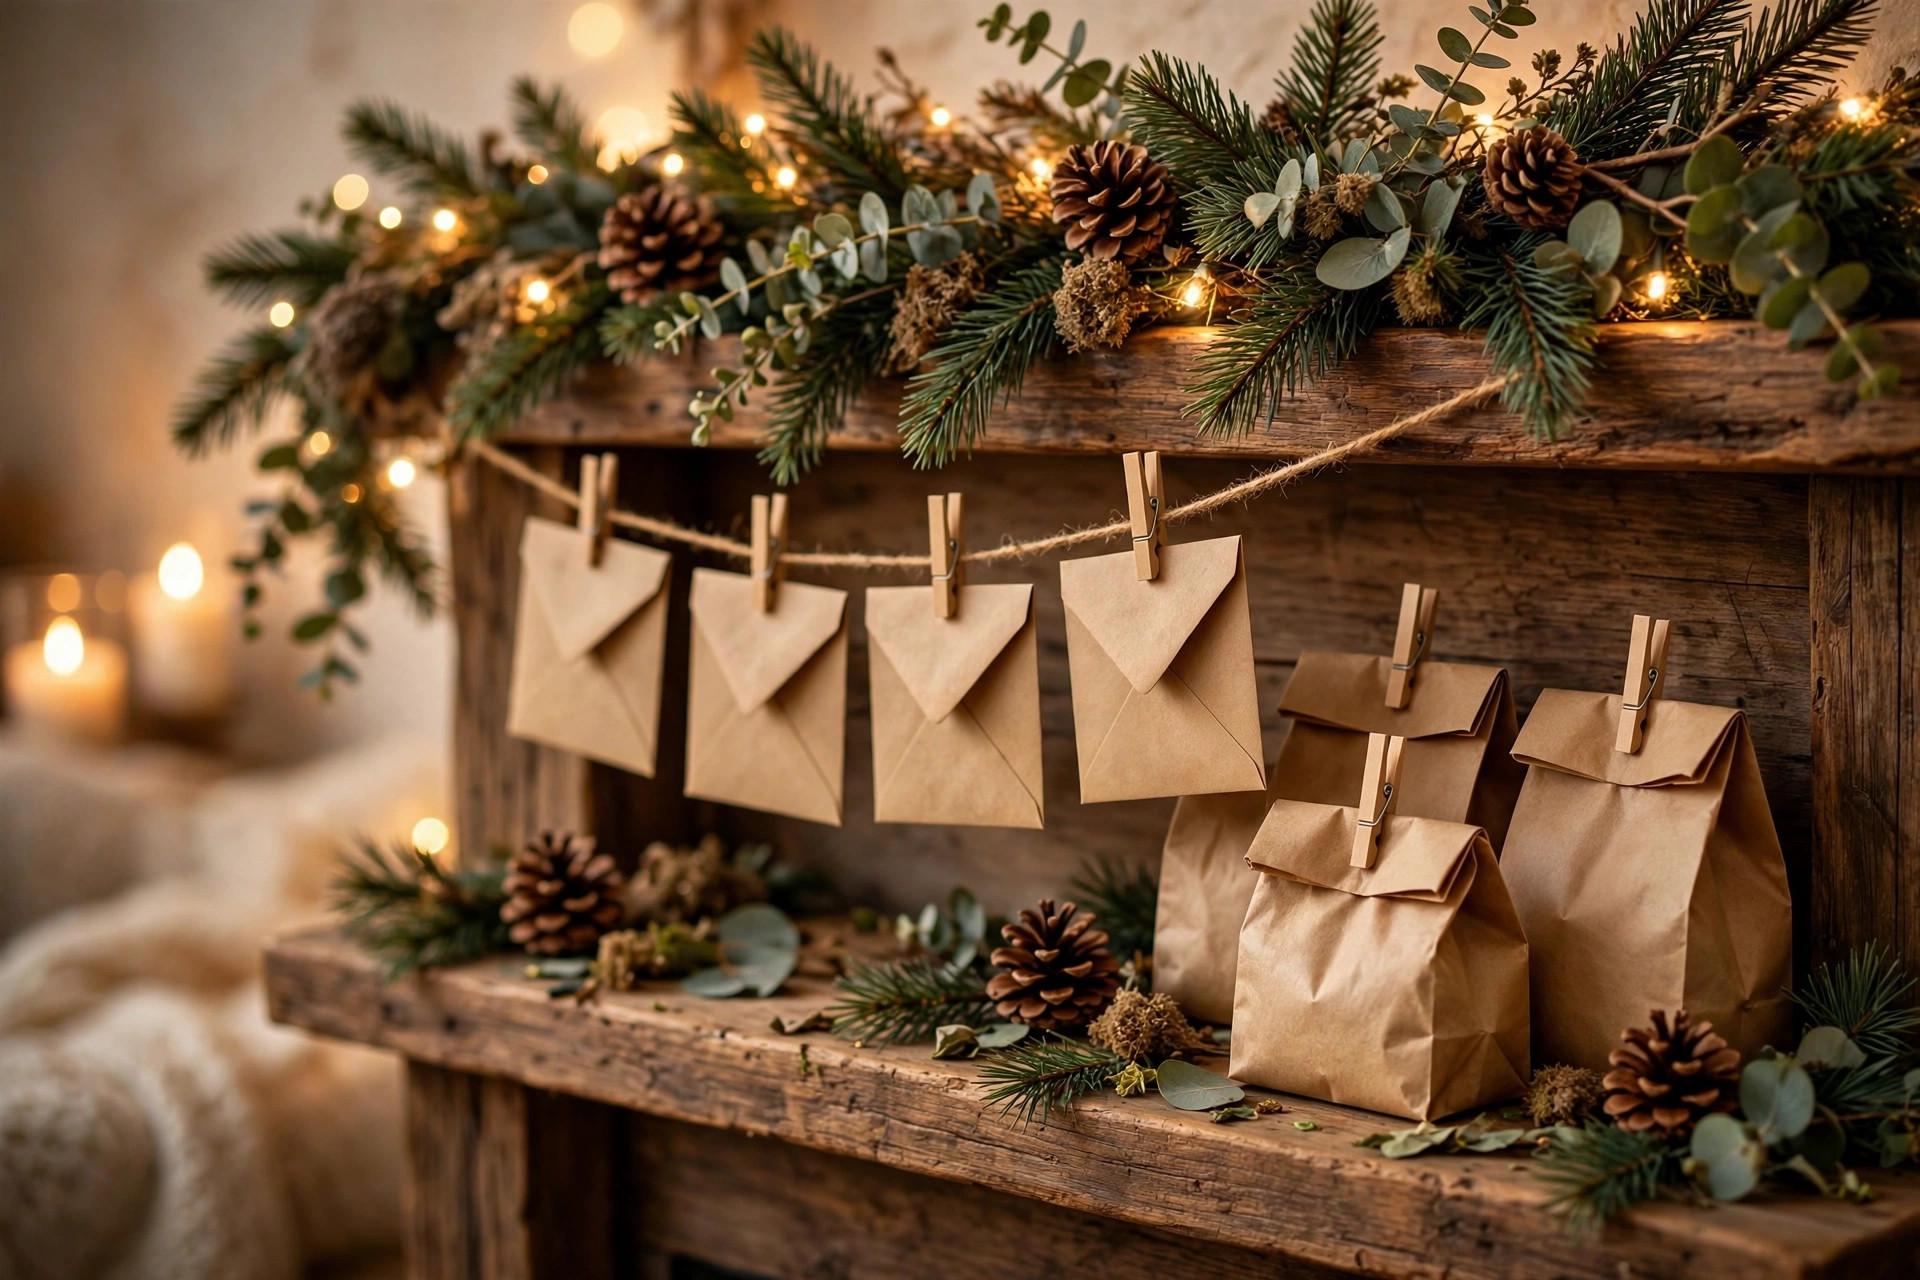
The fastest advent calendar in existence. Number 24 envelopes (a marker, nothing fancy), tuck a treat or activity slip inside each, seal, and clip them to a length of twine with clothespins. Hang it on the wall, across a window, down the staircase railing. Total build time: 30 minutes. The envelopes can be plain white, kraft, or whatever's in the junk drawer —” once they're full and numbered, they look charming. This is the default recommendation for first-timers.
2. Paper Lunch Bags, Folded and Clipped
Fill 24 paper lunch bags, fold the tops over twice, punch the numbers on with number stickers (or write them), and clip shut with clothespins or binder clips. Line them up on a mantel, a shelf, or the floor under the tree. The bags stand up on their own, hold bulky fillers like Hot Wheels cars or hair scrunchies, and the brown paper looks intentionally rustic with a sprig of greenery tucked behind the row. Cost: basically zero.
3. The Muffin Tin Calendar
A 24-cup mini muffin tin —” or two 12-cup standard tins —” becomes an advent calendar with zero construction. Drop a treat in each cup, cover the whole tin with wrapping paper or fabric secured with a ribbon, and number the cups on top with stickers. Each morning, poke through one cup's covering. Kids love the ripping-open part. When December's done, the tin goes back to muffins. This one suits toddlers because there's nothing to hang, tip over, or fight about.
4. Clothespin Line of Small Socks
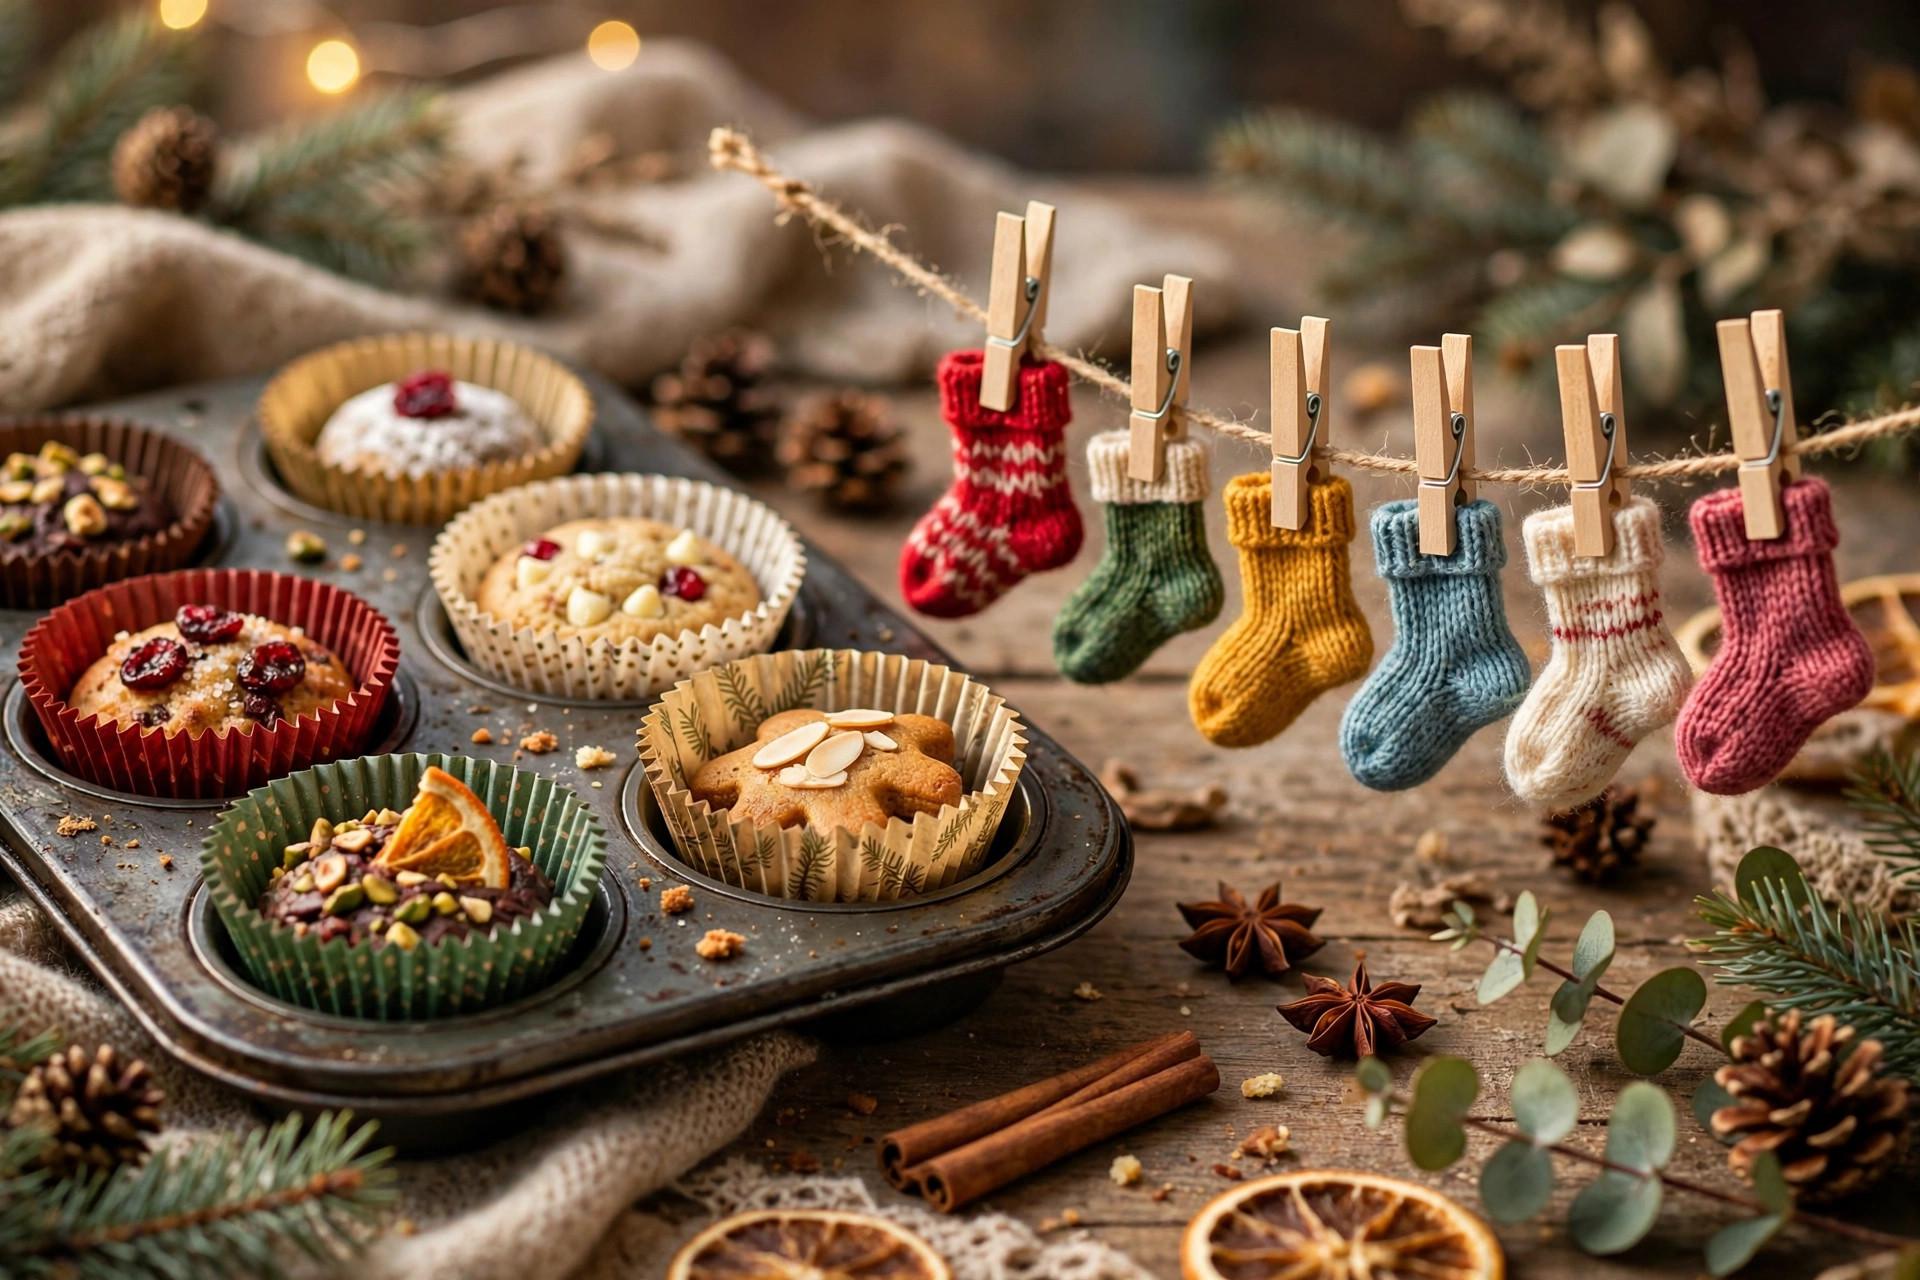
Twenty-four baby socks, kids' socks, or cut-up adult socks clipped to a ribbon with numbered clothespins. Socks stretch to hold odd-shaped fillers —” bouncy balls, lip balm, little figurines —” better than envelopes do. If you don't have 24 spare socks (fair), mismatch them deliberately; the eclectic look is the charm. Hang it in a doorway so the kids walk through their calendar every morning.
5. Toilet Paper Roll Tubes, Wrapped Like Crackers
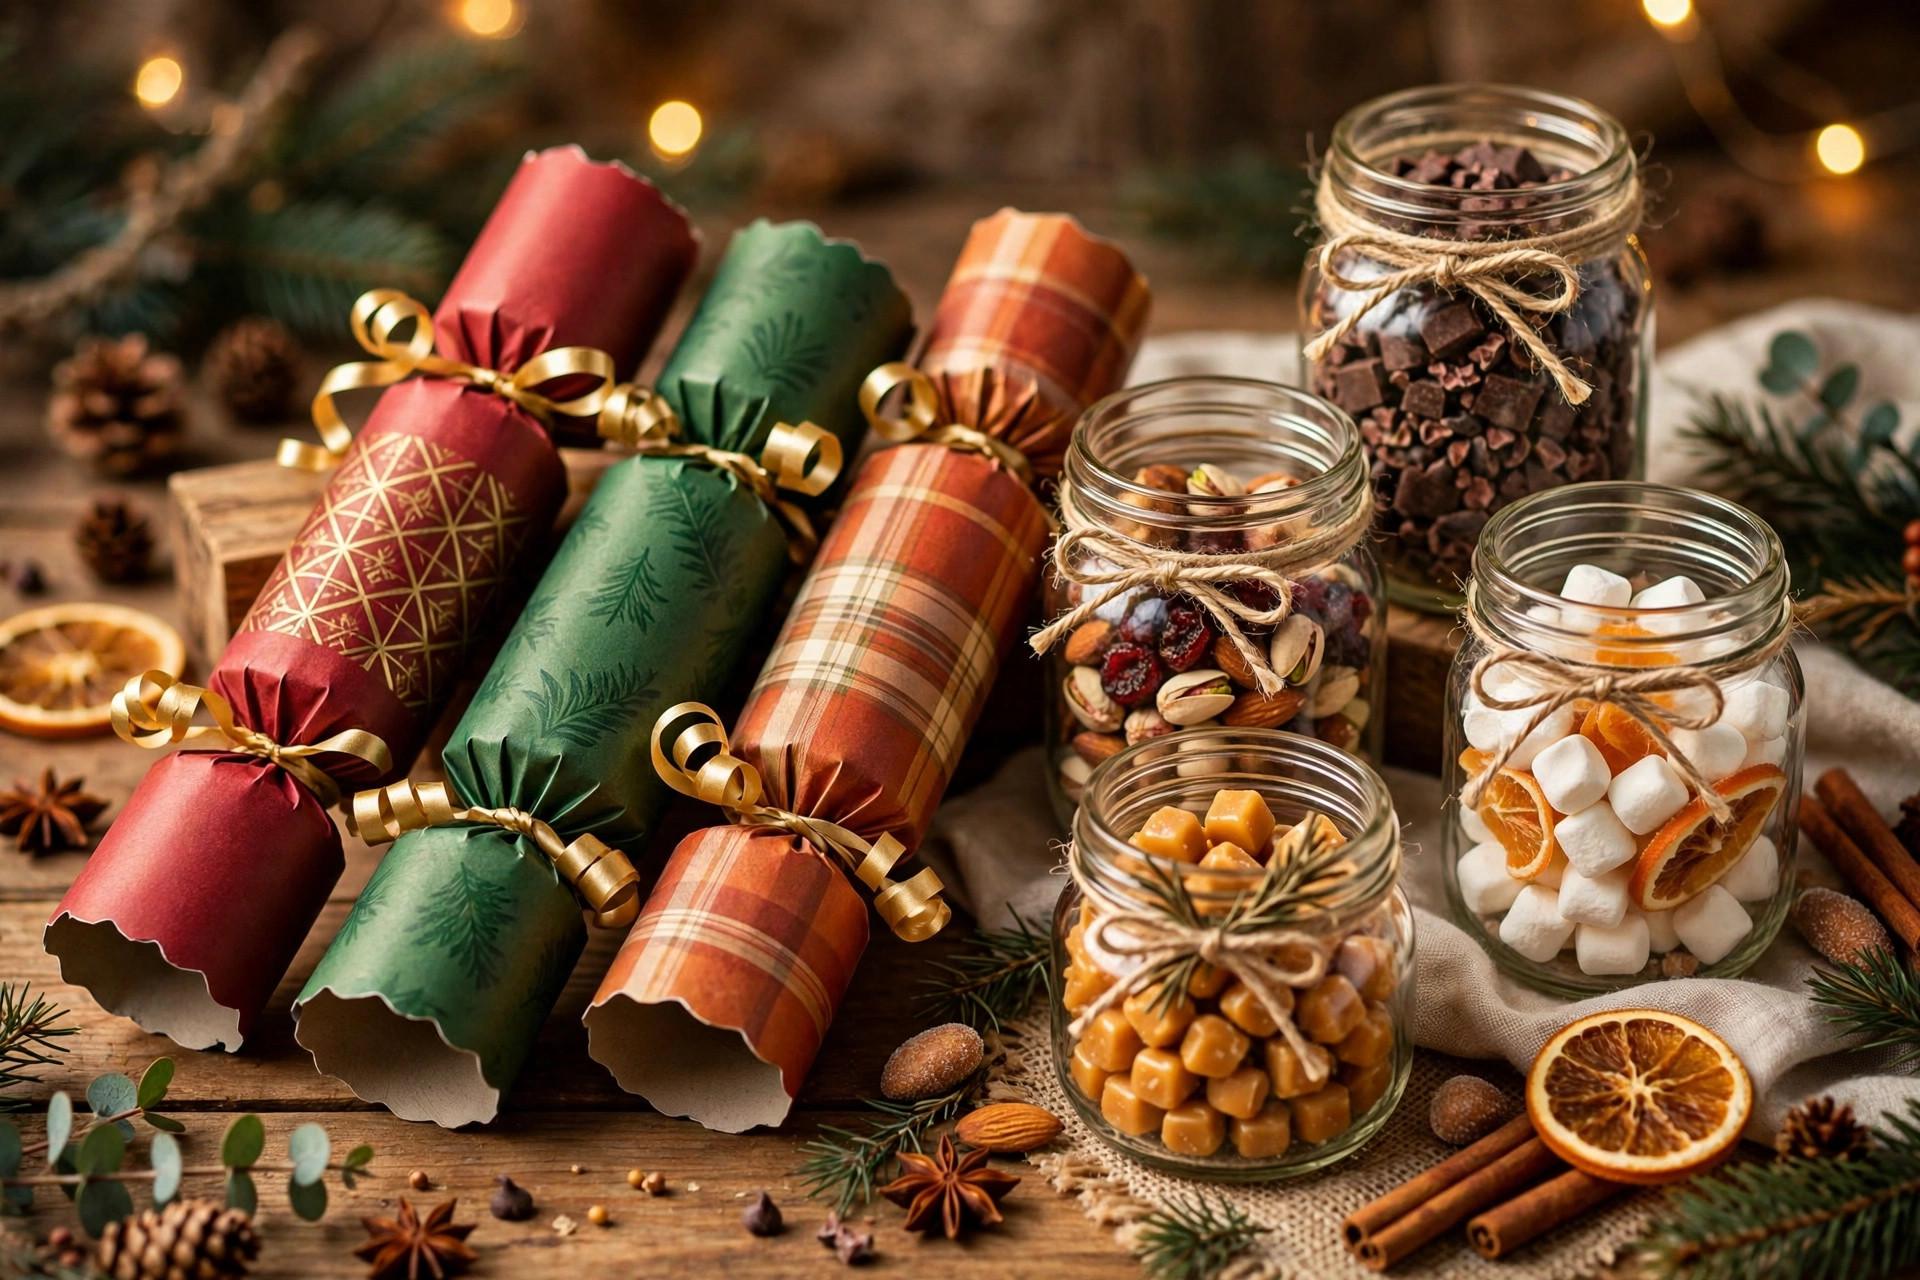
Save your tubes for a few weeks —” or raid the recycling. Fill each tube, twist wrapping paper or tissue around it like a Christmas cracker, tie the ends with ribbon or yarn, and number them. Pile them in a basket, a bowl, or a wooden crate. The cracker shape makes opening them genuinely fun, and the whole thing costs nothing but paper you were going to recycle anyway. Fill with stickers, temporary tattoos, coins, wrapped candy.
6. Mason Jar Collection
Line up 24 small mason jars (4-ounce jelly jars are perfect) on a shelf or windowsill, each with a numbered tag tied around the neck. Fill with layered treats —” red and green M&Ms, mini marshmallows, tiny ornaments —” so they double as decoration. The jars catch the light beautifully. After Christmas, they go back to pantry duty. This one’s the prettiest of the bunch, and it’s nearly indestructible.
7. Matchbox Drawers
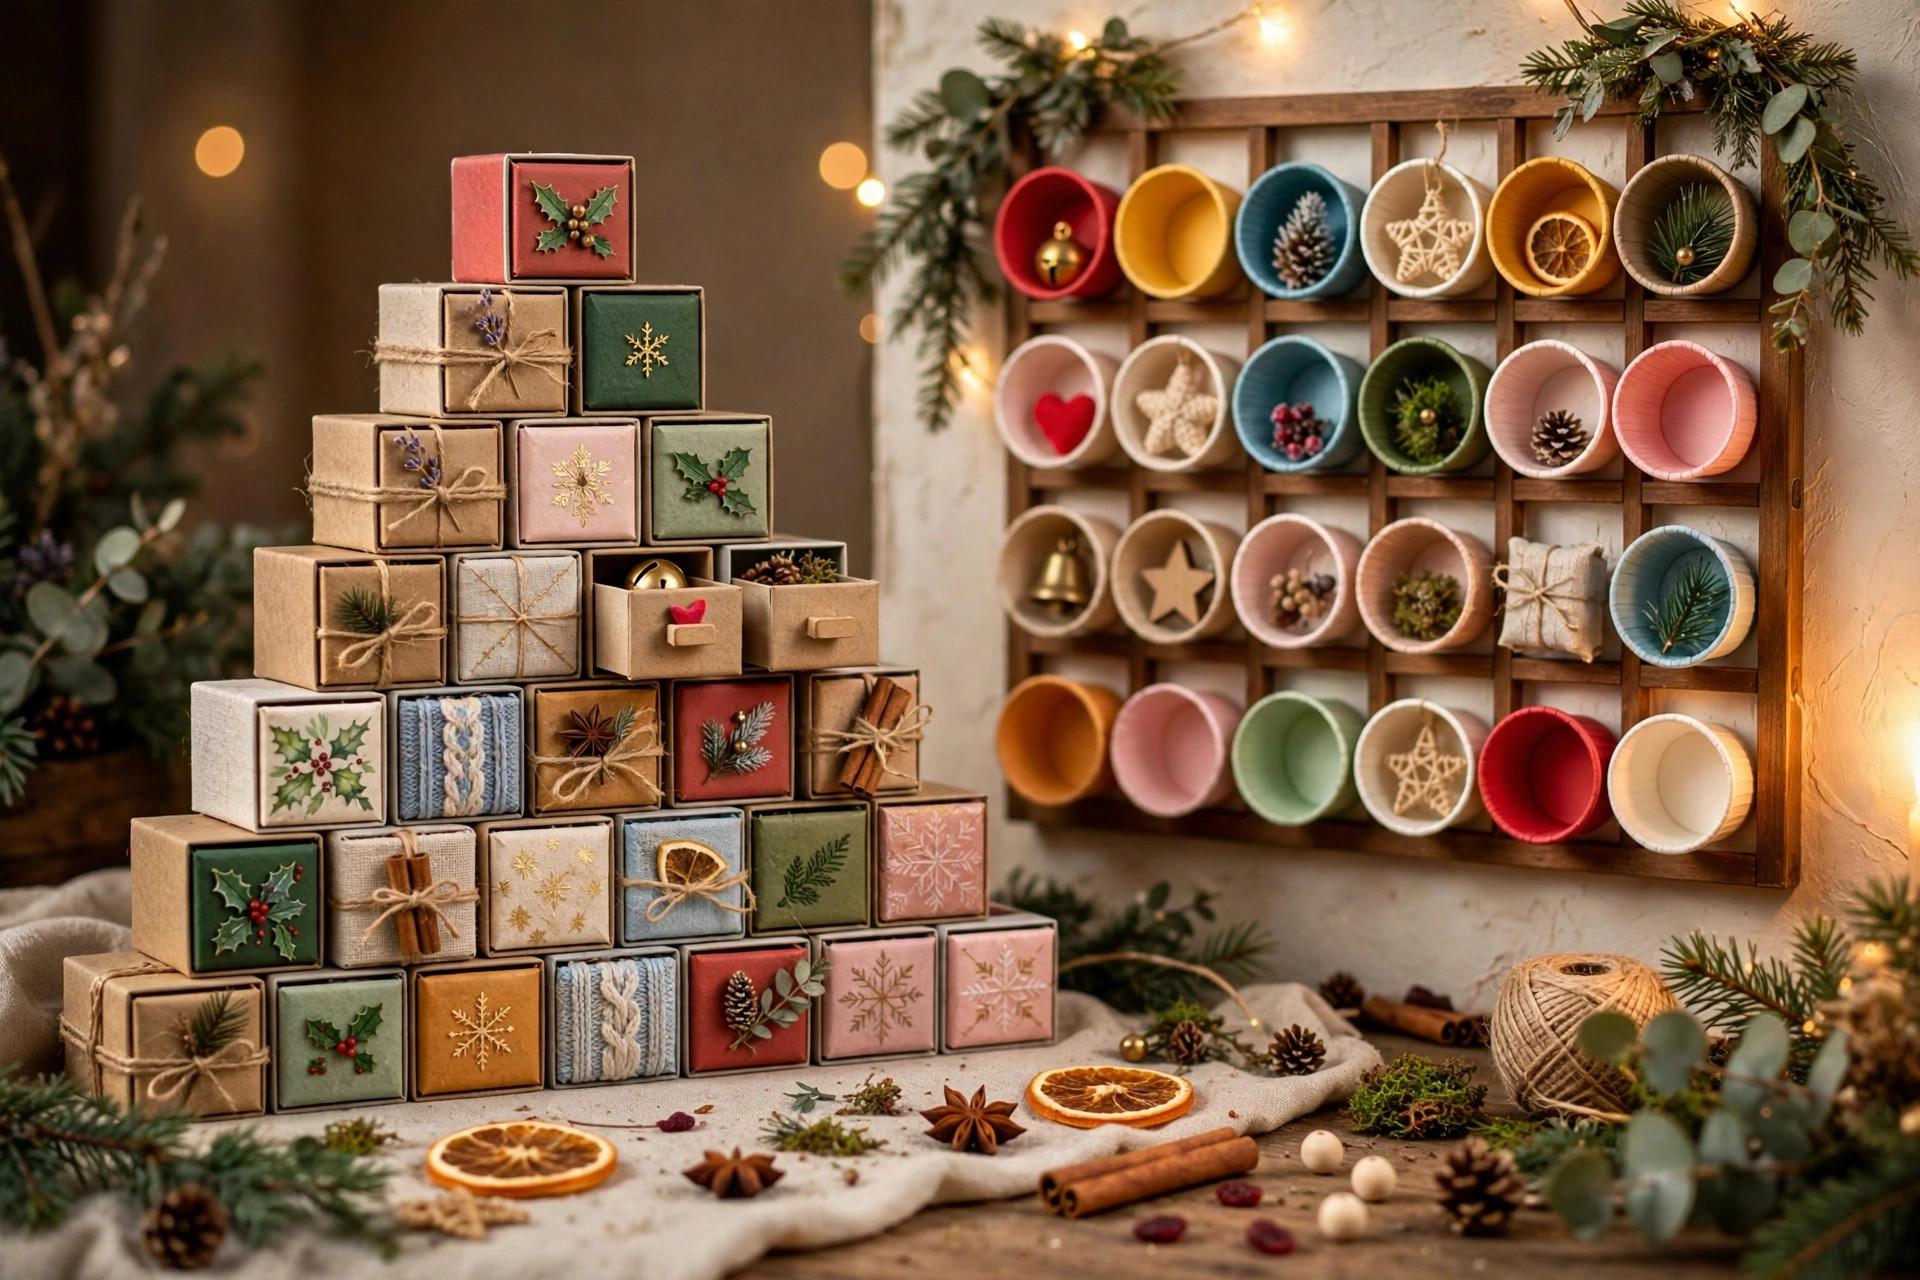
Empty matchboxes —” the small sliding-drawer kind —” each hold one tiny treasure. Wrap each box in a scrap of wrapping paper, number the top, and stack them into a pyramid, a tree shape, or a simple grid glued to cardboard. The drawers sliding open is deeply satisfying; there's a reason this design keeps showing up. Fill with beads, charms, erasers, a single fancy chocolate. Save boxes for a month or ask a smoker friend —” kidding, mostly.
8. Paper Cup Wall
Twenty-four paper cups, numbered, each covering a treat taped to a large piece of cardboard or foam board. The kids punch through one cup each morning. Arrange the cups in a tree shape on the board for maximum effect. Use the small bathroom cups for tiny treats or the big party cups for bigger ones. This is the loudest, most chaotic option —” cup-punching is not a quiet activity —” so maybe don't hang it in a shared apartment wall.
9. Pillow-Box Pouches From Cereal Boxes
Cut thin cardboard (cereal boxes are ideal) into the classic pillow-box shape —” there are free templates everywhere, or just eyeball it —” fold, fill, and pinch the ends shut. Decorate with stamps, stickers, or washi tape. They look genuinely professional, hold flat items like gift cards and notes beautifully, and the cardboard is free. Hang them on the tree itself as ornaments that get opened one by one. Two jobs, one craft.
10. Envelope Garland Down the Staircase
Same numbered envelopes as idea one, but strung down the staircase banister or across a big window in a long swag. The vertical drop makes it dramatic —” 24 envelopes cascading down two floors is a genuine showpiece. Alternate envelope colors if you have them (white and kraft, or last year's leftover red). This is the one guests photograph. It takes ten extra minutes over the basic version and looks ten times fancier.
11. Tiny Gift Bags in a Basket
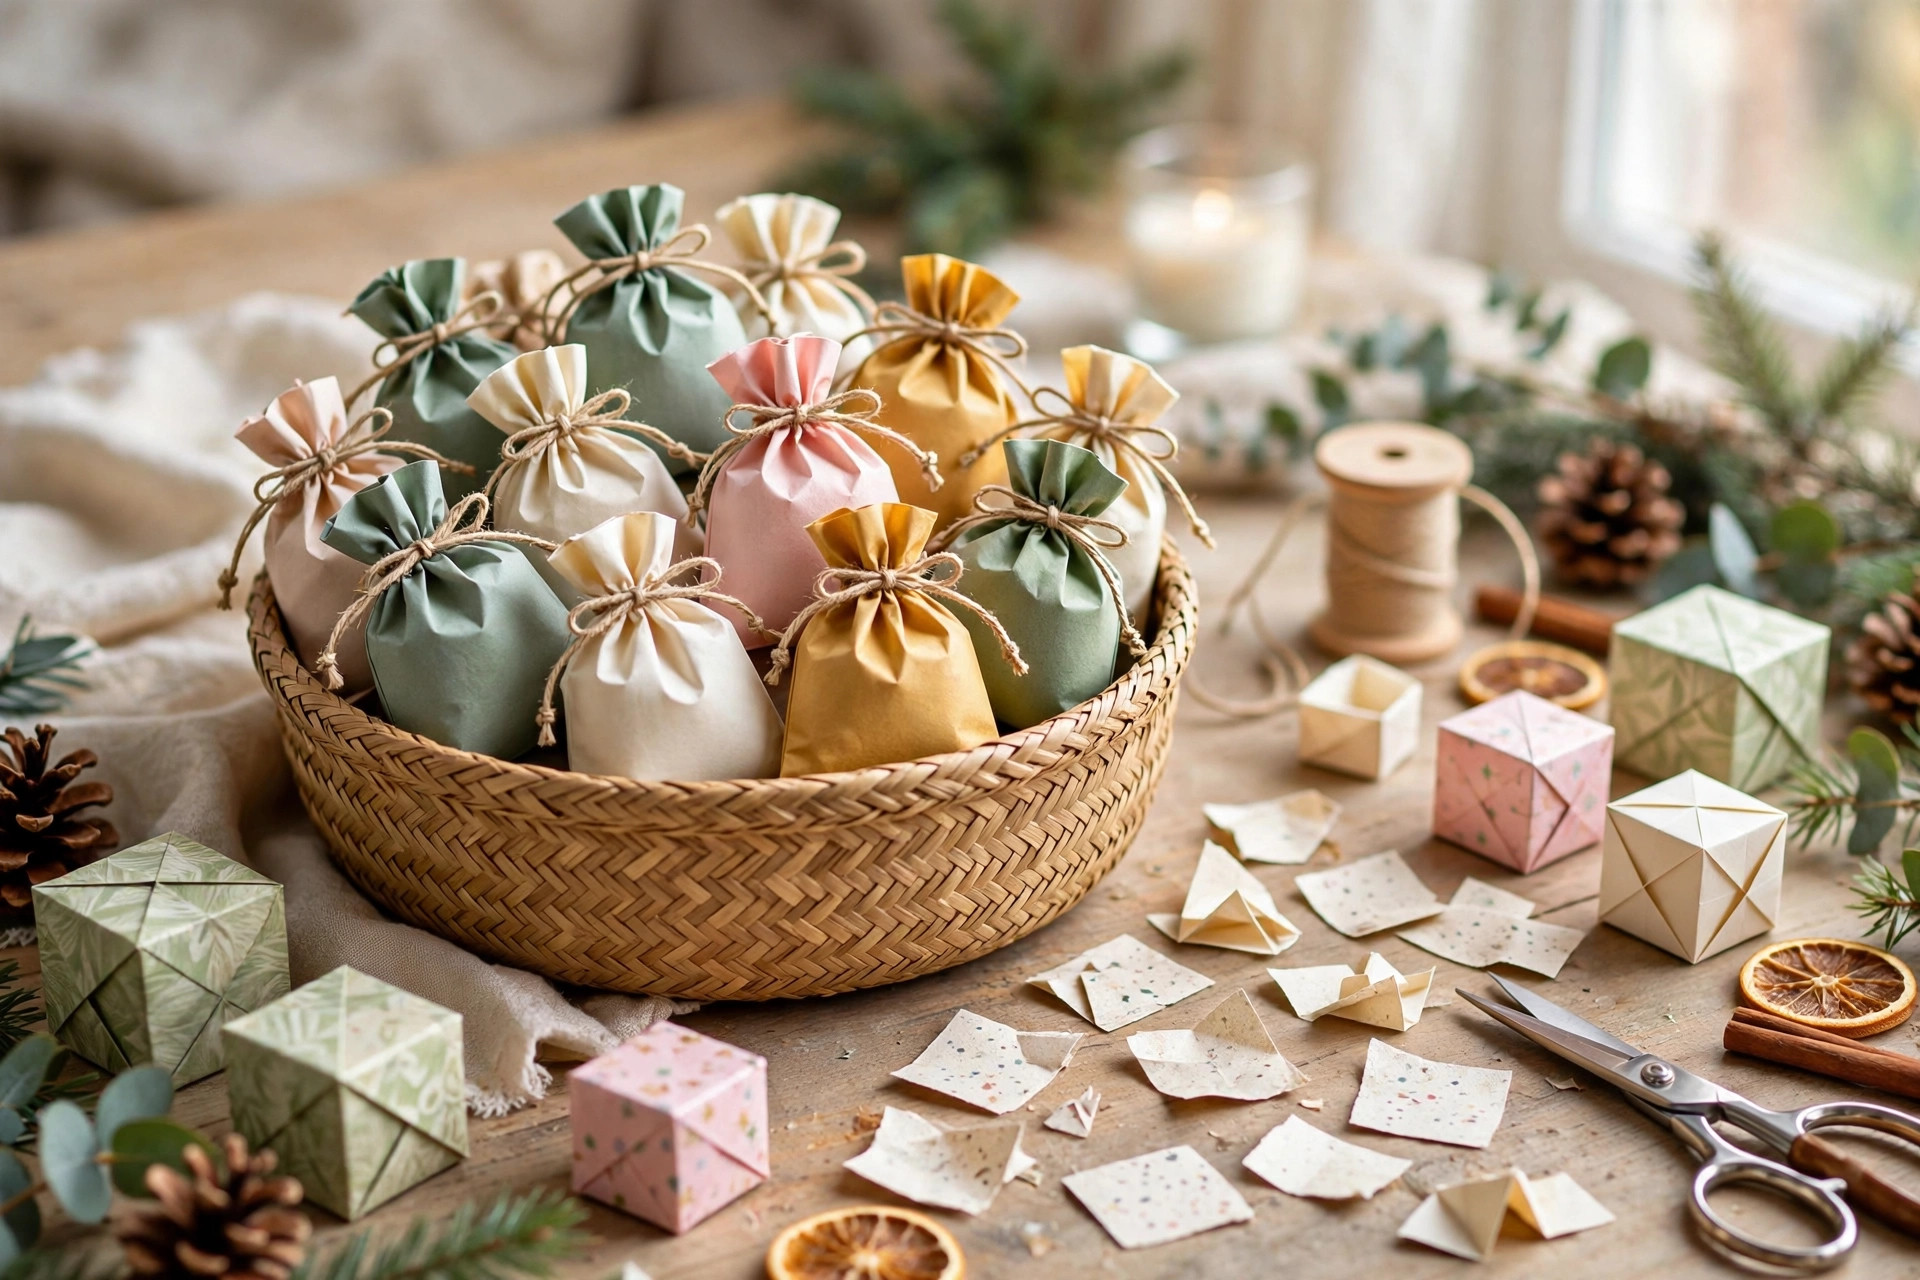
Those little favor bags everyone has left over from parties —” gather 24, number them, fill, and pile them in a big basket or wooden bowl by the tree. No hanging, no construction, nothing to fall down at 2 a.m. Each morning the kid digs out one bag. It's the lowest-effort option here and it still feels special because the basket overflows. Refill the basket each night if little hands "preview" tomorrow's bag.
12. Origami Boxes (Easier Than They Sound)
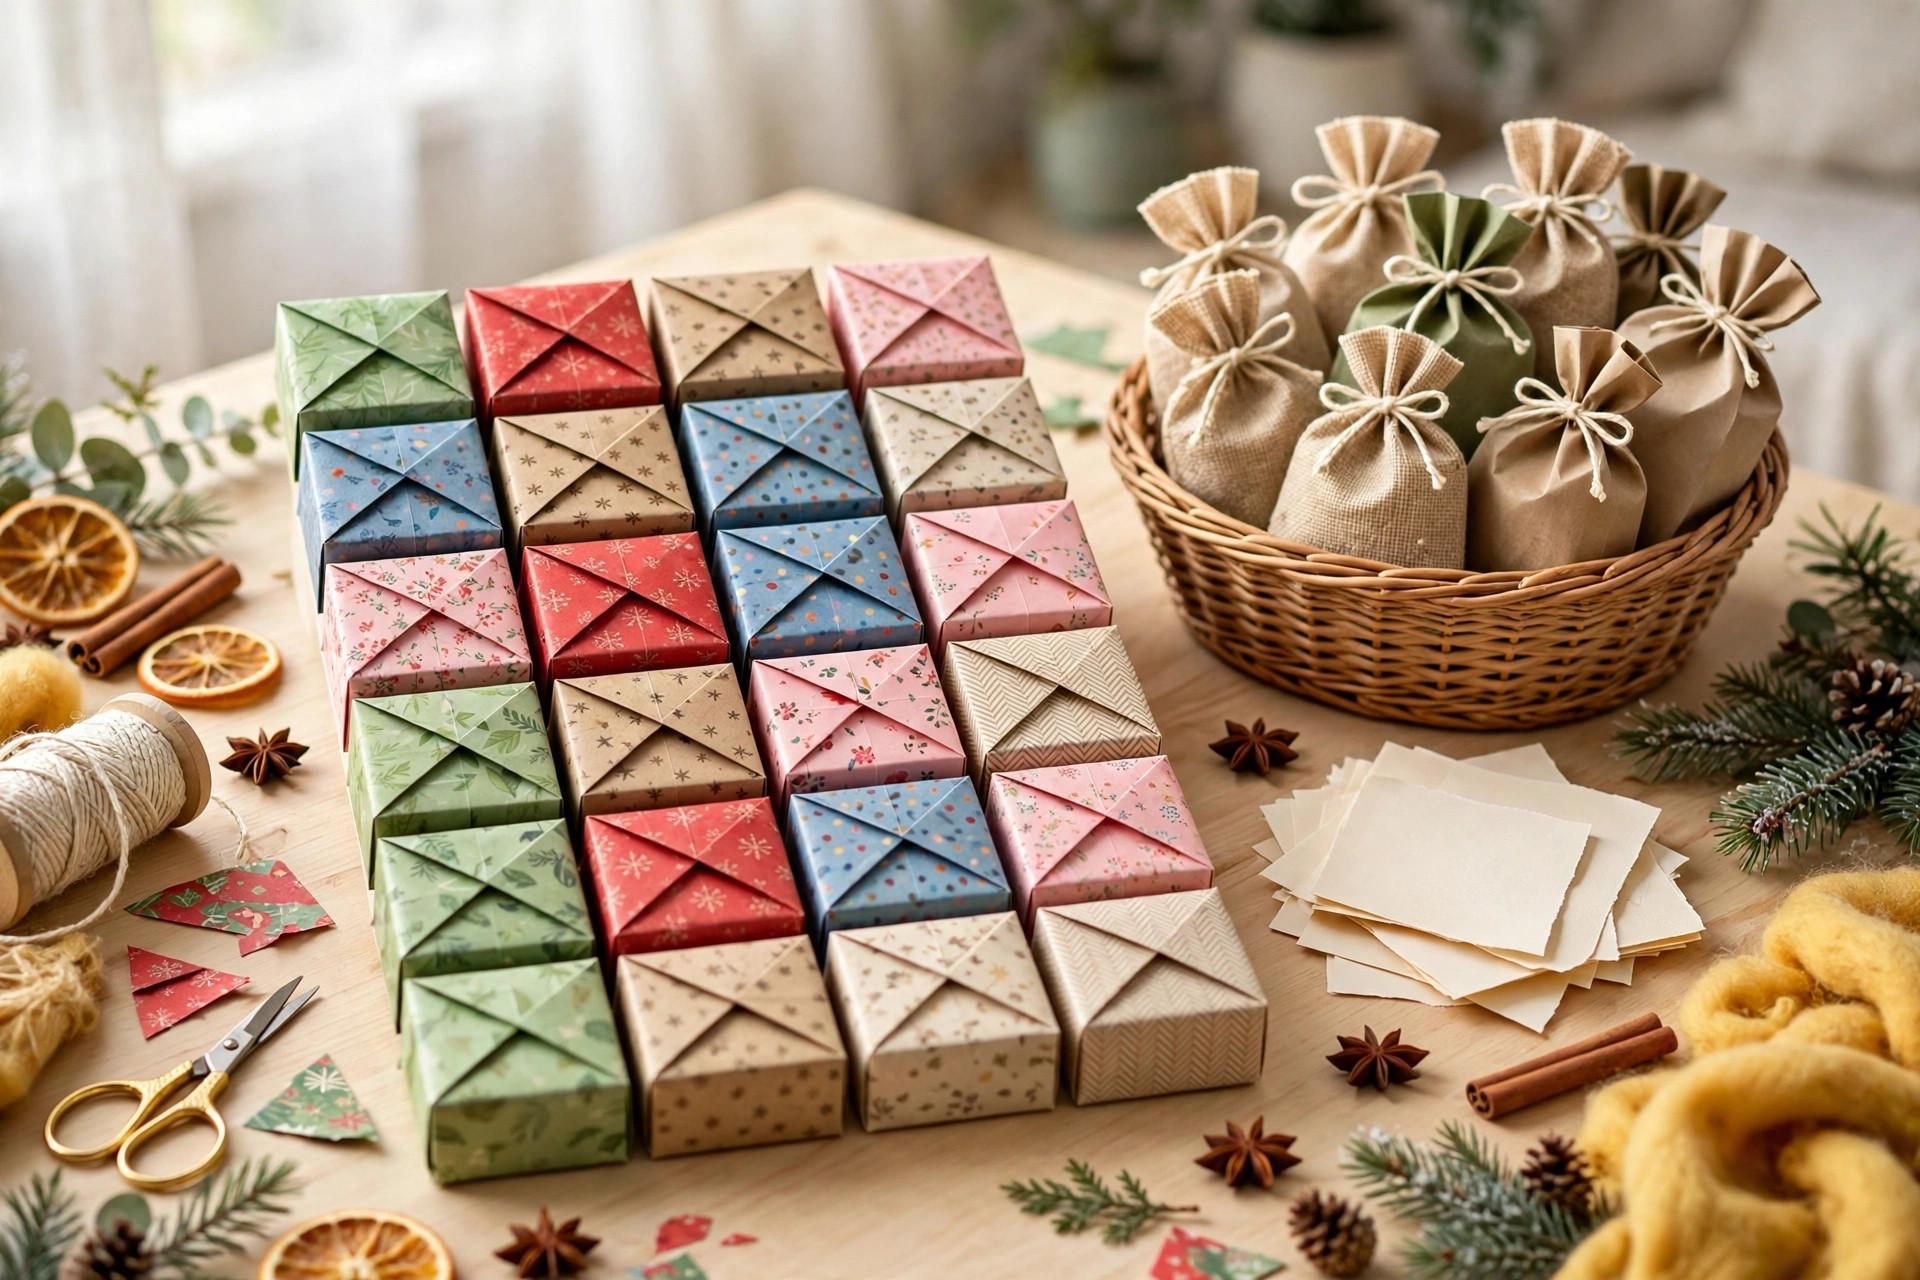
The classic masu origami box takes about ninety seconds to fold once you've done two —” square paper, a few folds, done. Make 24 from scrapbook paper, old maps, or even newspaper comics pages for a quirky look. They hold flat treats and notes, stack into a pyramid, and the handmade-ness is the whole point. Fold them while watching TV over a few evenings; it's meditative. Kids old enough to fold can help make their own calendar, which is its own activity.
13. The Activity-Slip Calendar (Any Container)
The best twist, and it works with any container above: make at least half the days activity slips instead of treats. "Drive around looking at lights." "Bake cookies for the neighbors." "Watch the Muppets Christmas movie with popcorn." "Write a letter to Santa." "Donate a toy." Write them on slips, mix with a few candy days, and the calendar becomes a month of family plans instead of a month of sugar. Years later, nobody remembers the chocolate from day 9. They remember the night you all drove around rating light displays.
Fillers that actually work: stickers, temporary tattoos, hair clips, mini Play-Doh, bouncy balls, coins, polished stones, lip balm, fancy hot chocolate packets, LEGO minifigure pieces (one per day builds something by Christmas), jokes on slips, coupons for experiences. Skip anything that stains, anything with forty tiny pieces, and anything you'll step on barefoot at midnight.
Wrap your advent treats with our brown paper Christmas gift wrapping ideas with natural touches.
Almost anything that holds 24 small items: envelopes, paper bags, muffin tins, socks, toilet paper tubes, mason jars, matchboxes, paper cups, or small gift bags. Number each compartment 1—“24 and hang, stack, or line them up.
Mix small treats (stickers, temporary tattoos, mini toys, wrapped candy) with activity slips —” “bake cookies,” “drive to see lights,” “movie night.” Activities are remembered far longer than candy, and they cost nothing.
Number stickers are fastest, but a marker works fine. For a nicer look, stamp numbers, use letter stickers, or write them on gift tags tied with twine. The numbering doesn’t need to be fancy —” kids care about the opening, not the typography.
Build it the last weekend of November so it’s ready December 1st. Collect containers (tubes, matchboxes, jars) through November, and buy or gather fillers the week before. Rushing it November 30th is how you end up with 24 identical candy canes.