

13 Trunk-or-Treat Displays Made From Household Supplies
Trunk-or-treat displays work best when they’re built from what you already own. You don’t need a craft-store haul to pull this off — your garage, linen closet, and recycling bin are already stocked.
1. Pirate Ship From Moving Boxes and a Broom Handle
Cut the flaps off two large boxes and tape them end to end for the hull, then brown packing paper covers the tape seams. A broom handle becomes the mast; a pillowcase with a skull drawn in marker is your sail. Park the “ship” so the open trunk is the captain’s quarters — candy bowl sits in a laundry basket lined with a striped towel.
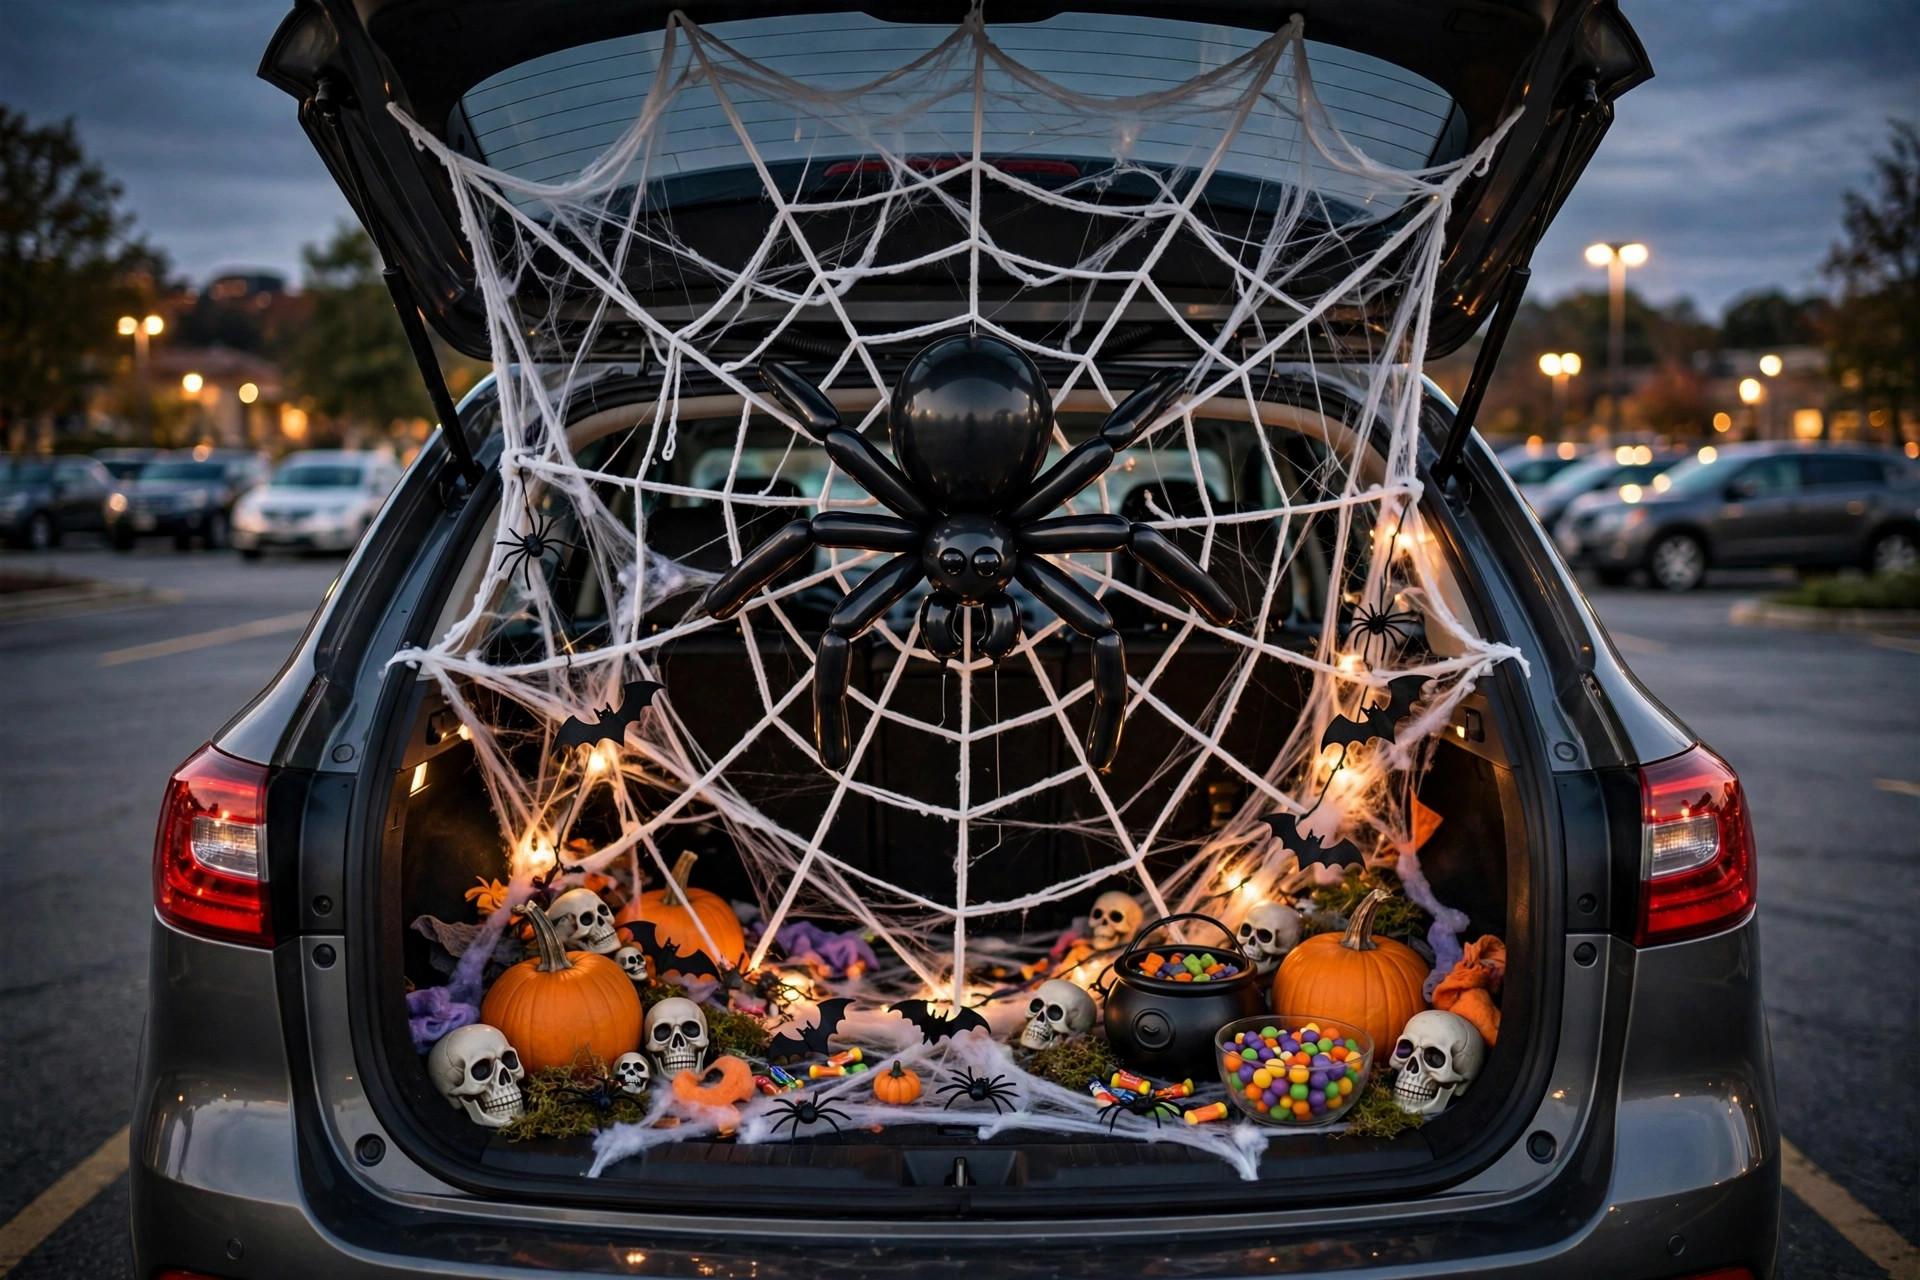
2. Spider Web Trunk With a Dollar’s Worth of Yarn (You Already Own)
White or black yarn strung from the raised hatch to the bumper in a fan pattern reads instantly as a web. The trick is anchoring: loop the yarn around the hatch hinges and side mirrors so wind doesn’t collapse it. Hang one big spider made from a black balloon and pipe cleaners — or crumpled newspaper wrapped in a black trash bag — right in the center where headlights catch it.
3. Drive-In Movie Theater With Cardboard Marquee
This one wins “most likely to be photographed.” Cut a marquee shape from a flattened appliance box, paint it with leftover house paint, and prop it across the back of the SUV. Write your “movie title” in chalk marker — something like NOW SHOWING: CANDY. Kids sit on a blanket in the open trunk for a photo, and you hand them popcorn bags (the cheap lunch-bag kind) with the candy.
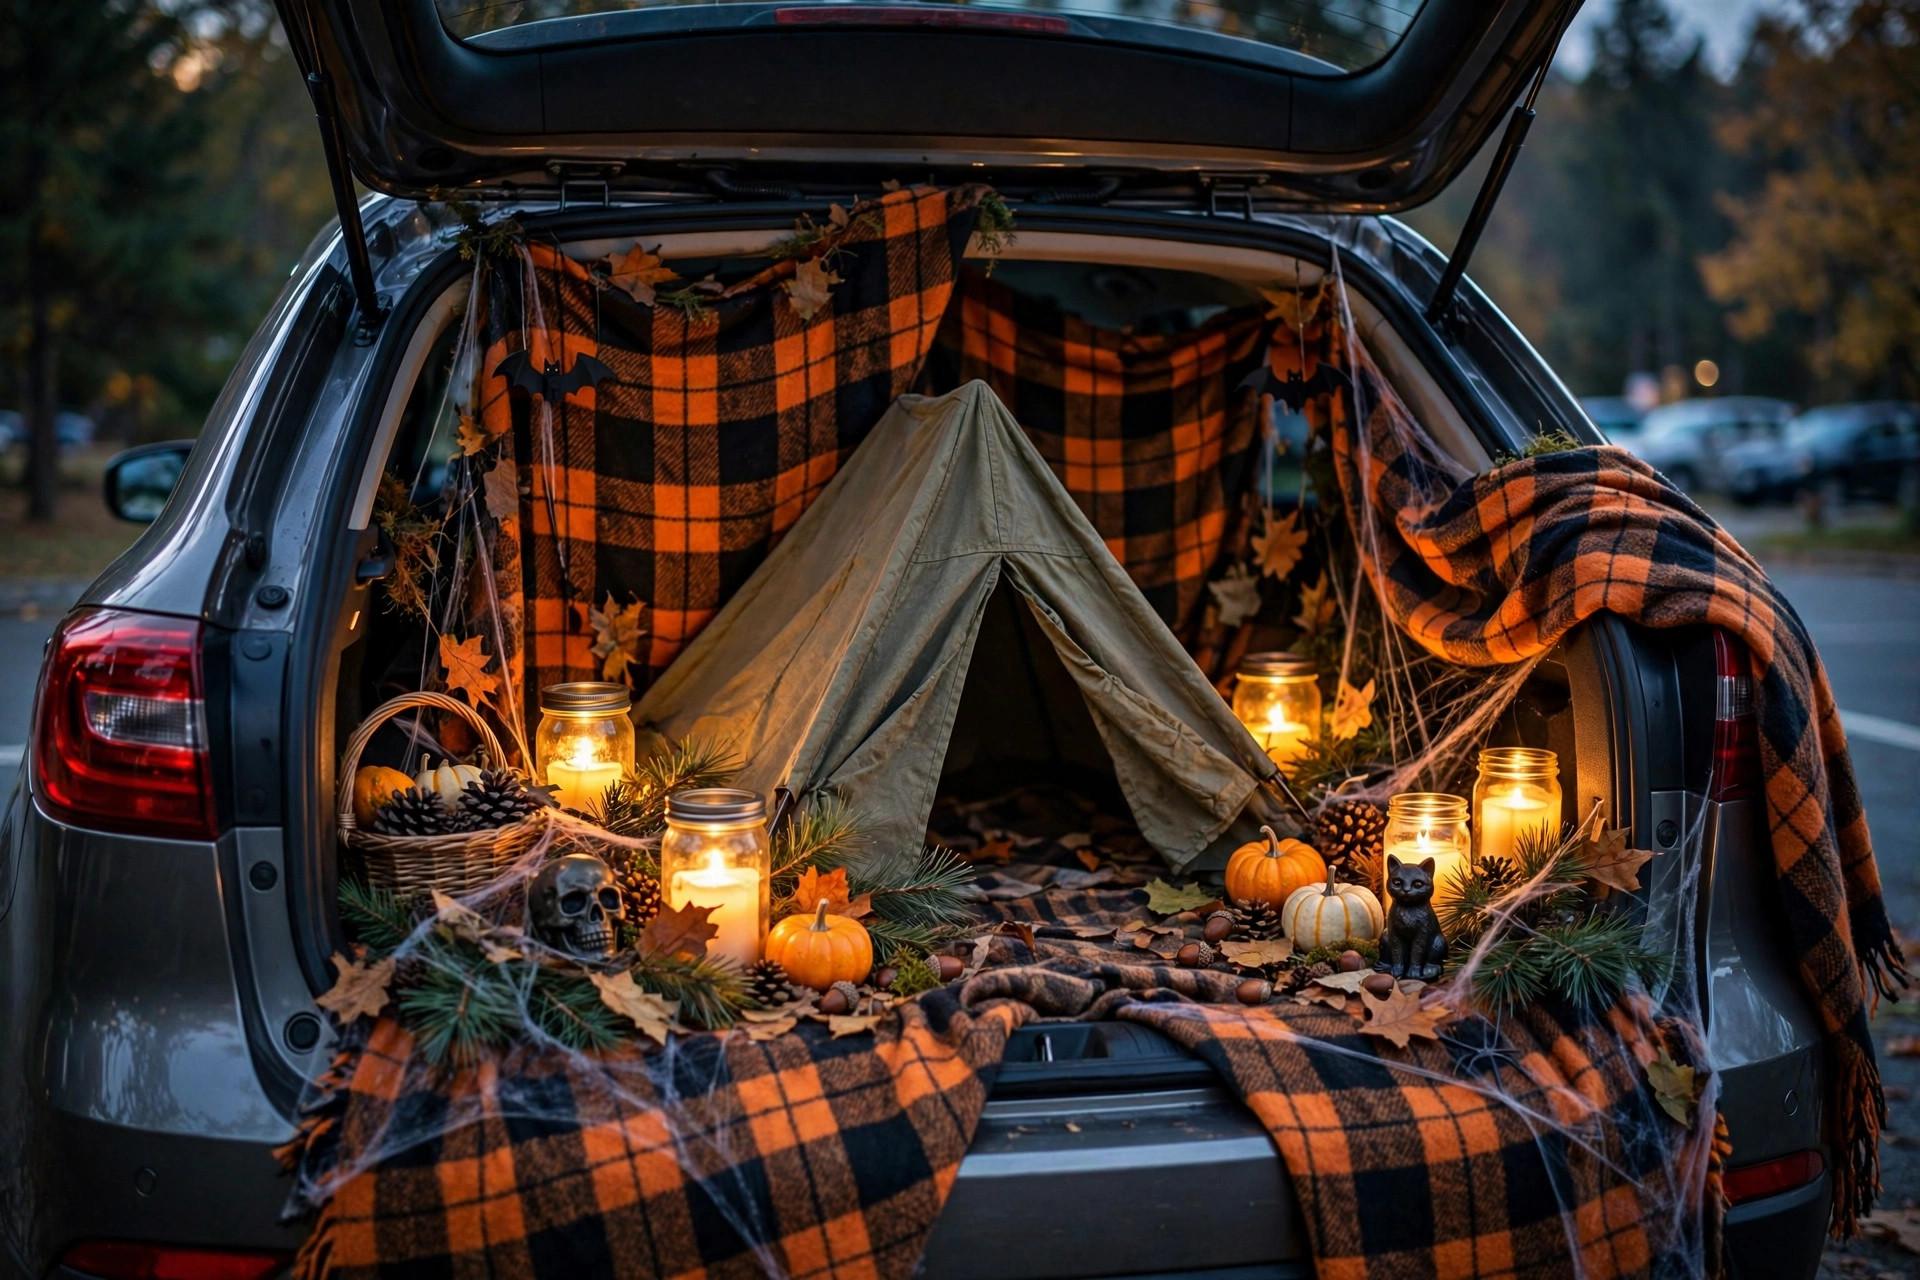
4. Haunted Campsite With Blankets and Battery Candles
Drape dark blankets over the open hatch to make a tent, scatter a few battery-operated candles (never real flames near fabric) on a cooler “campfire” built from rolled brown paper bags. A plaid throw on the ground and a thermos complete it. Parents love this one because it photographs warm instead of scary, and teardown is literally folding blankets.
5. Mad Scientist Lab From Kitchen Containers
Line the trunk with a white sheet, then arrange mason jars, measuring cups, and plastic containers filled with water tinted by food coloring. A desk lamp behind the jars makes them glow. Label everything with masking tape — “BAT WINGS,” “WITCH FINGERS” — in your worst handwriting. Kids go feral for the jars; the whole display packs back into the kitchen in ten minutes.
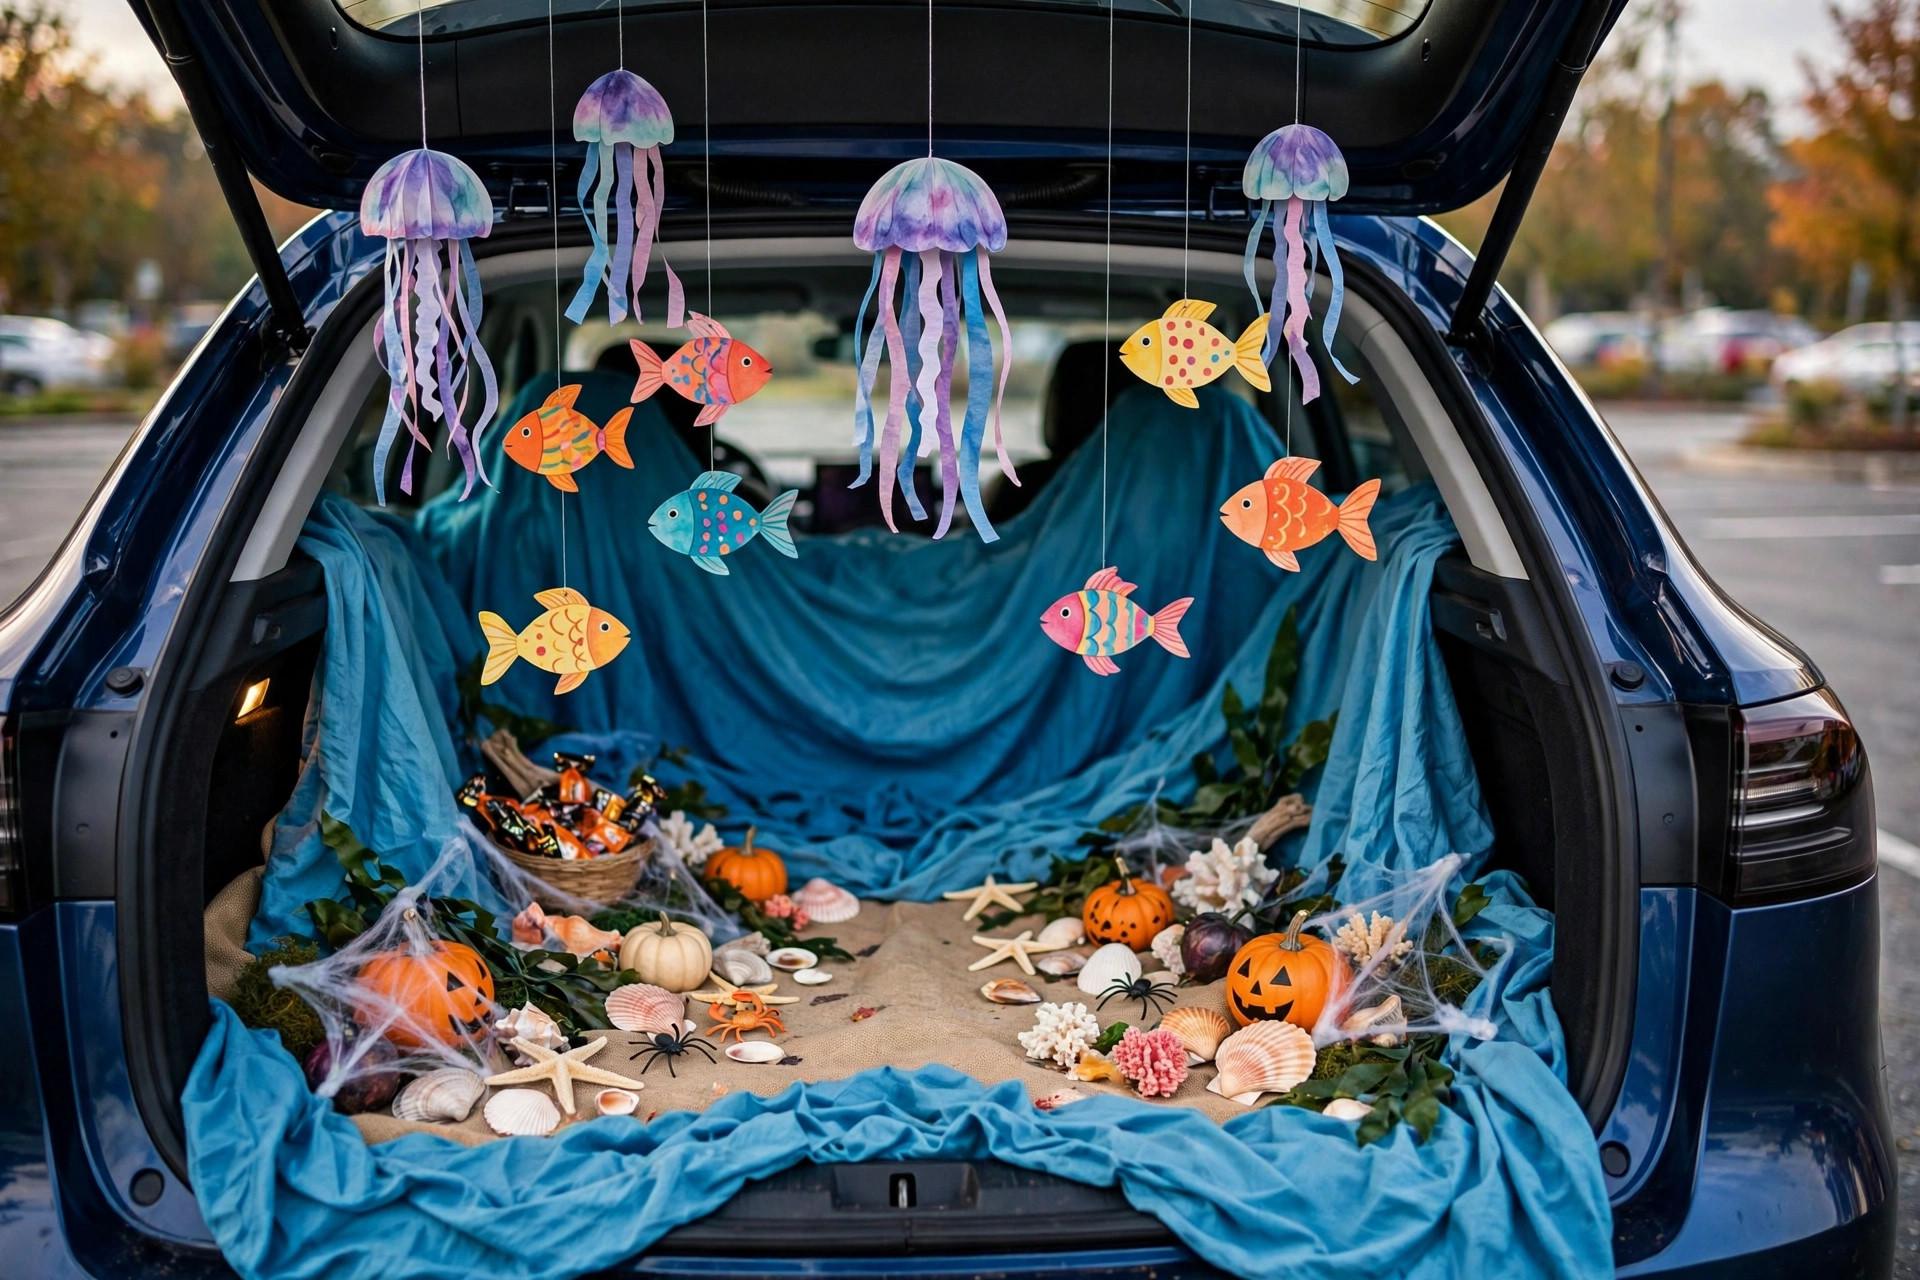
6. Under-the-Sea Trunk With Blue Sheets and Paper Fish
Two blue flat sheets — one across the hatch, one as a trunk liner — and you’ve got water. Cut fish and jellyfish from paper plates and grocery bags, hang them from the hatch with string at different lengths. A string of white Christmas lights woven through reads as bubbles at dusk. Hand out candy from a sand bucket, obviously.
7. Scarecrow Patch With Old Clothes and a Laundry Basket
Stuff your old jeans and a flannel shirt with crumpled newspaper, prop the scarecrow against the open trunk, and surround it with pumpkins — real or the foam ones from last year. A laundry basket of hay-colored shredded paper (run brown bags through the shredder, or just tear them) makes the “patch.” This is one of the fastest builds on the list, taking around 35 minutes including the stuffing.
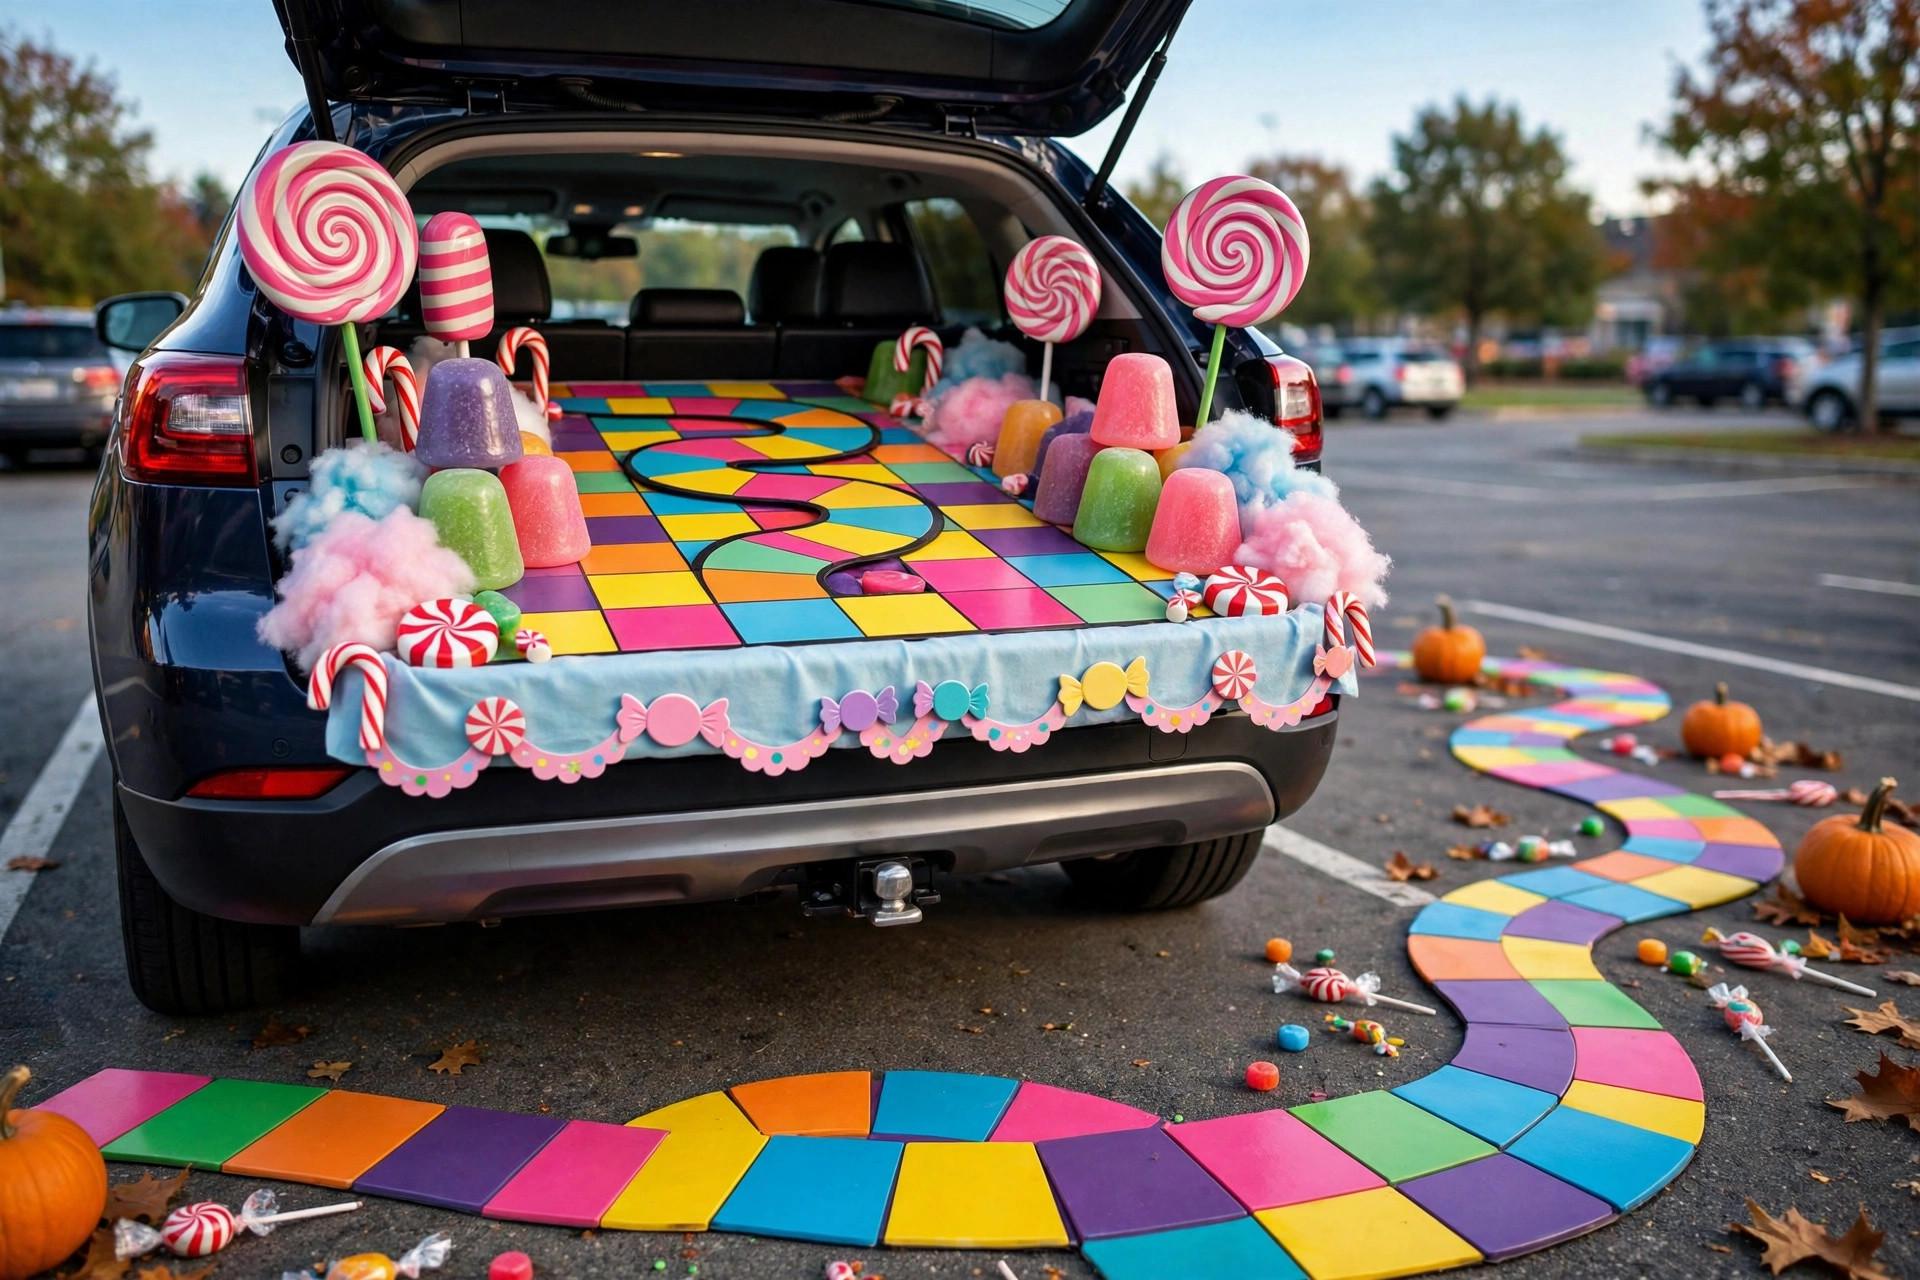
8. Candy Land Board Game Trunk
Paint big cardboard squares in bright colors and lay them in a winding path from the bumper into the trunk. Pool-noodle “lollipops” (wrap them in cellophane from the kitchen drawer) stuck in buckets mark the route. It’s cheerful, it’s instantly recognizable to every kid under ten, and nothing here can blow away if you tape the squares down with painter’s tape.
9. Spooky Graveyard With Cardboard Tombstones
Cut tombstone shapes from cardboard, gray them up with whatever paint or even coffee staining, and write punny names in marker — “Barry M. Deep,” “Dee Ceased.” Stick them in the trunk bed with the hatch up behind them like a mausoleum wall. Drape a gray sheet over the whole thing and cut eye holes — no, kidding. Leave the sheet as a backdrop; the tombstones do the work. Fog machine optional, but a five-dollar one from last year makes this legendary.
10. Taco Truck From a Cardboard Menu Board
Big box across the back becomes the serving window; a hand-lettered menu on poster board lists your “specials” (all candy, obviously). An apron and a paper hat from the kitchen make you the vendor. This theme works because it’s funny to adults and exciting to kids, and the build is one box plus markers. Serve candy from a foil takeout container for the full effect.
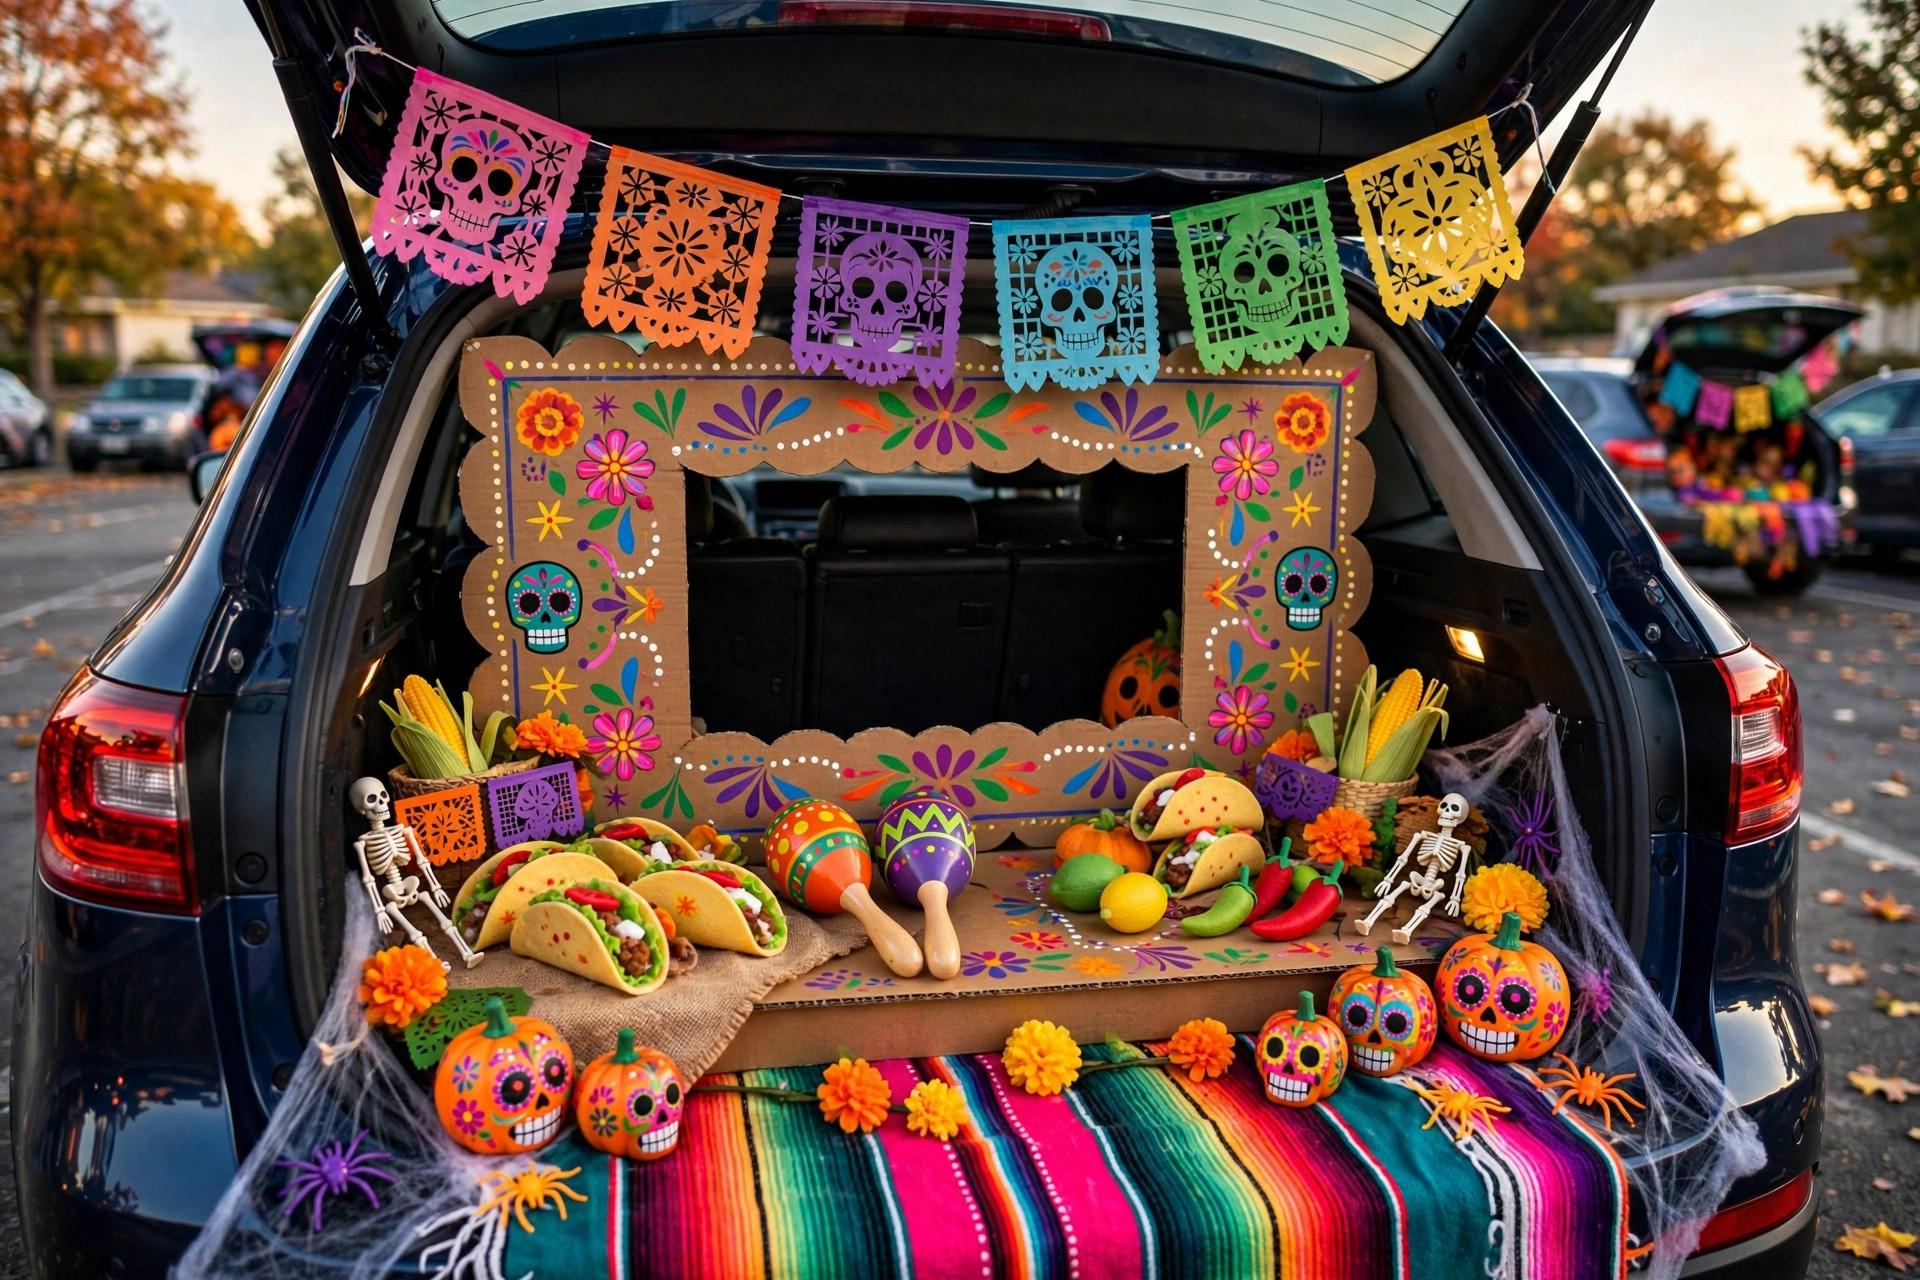
11. Witches’ Potion Corner With Jars and a Cauldron Pot
A black soup pot or Dutch oven becomes the cauldron — fill it with candy and you’re done with the centerpiece. Around it, cluster your spice jars and any glass bottles with food-colored water, and hang a paper-bag “broom” on the hatch. Dry ice is the classic upgrade, but honestly a small desk fan blowing a ripped trash bag behind the pot gives you drifting mist with zero hassle.
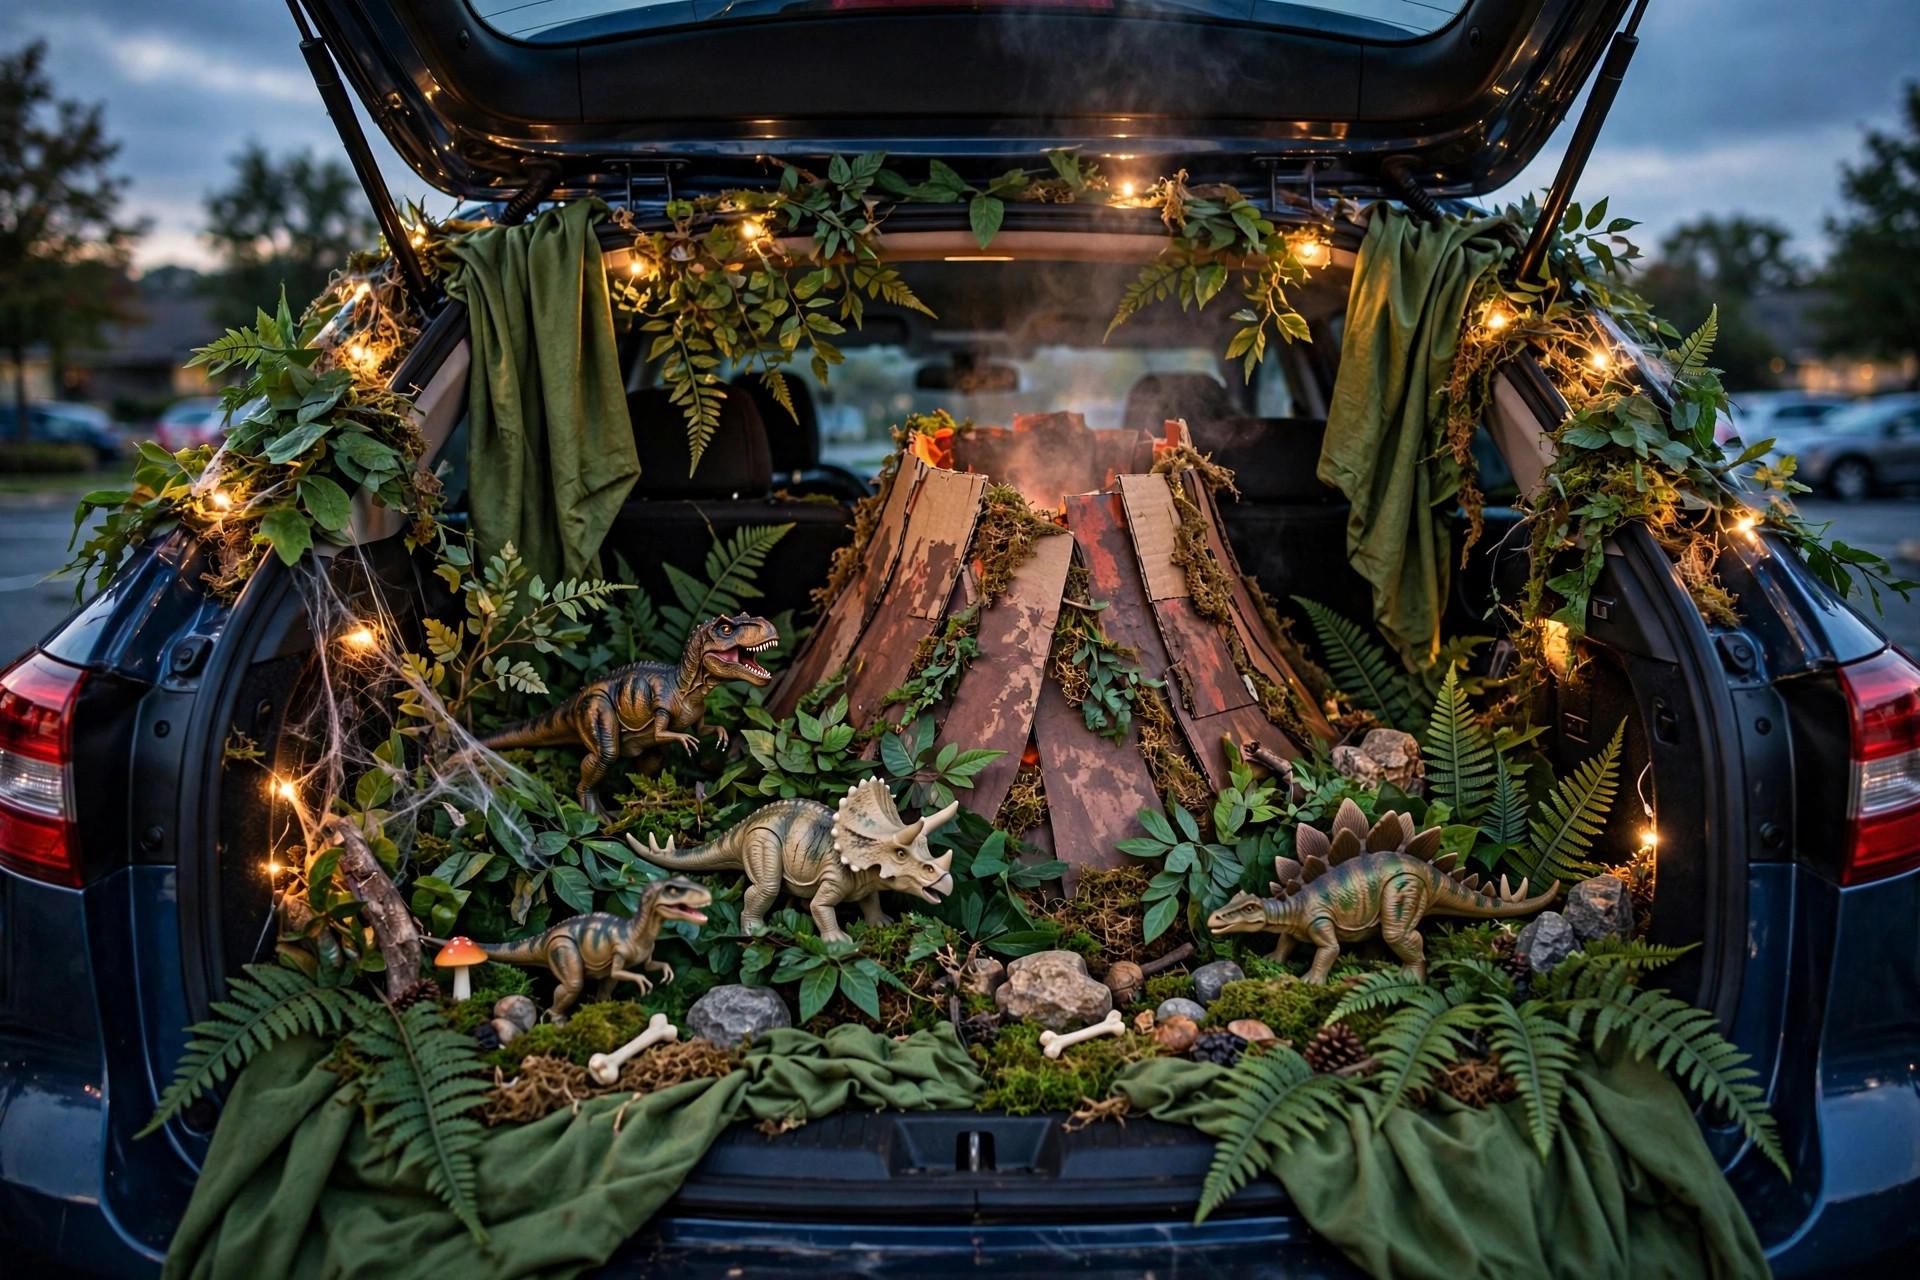
12. Jurassic Trunk With Green Blankets and Toy Dinosaurs
Green and brown blankets over the hatch make jungle; every toy dinosaur you own goes in the trunk bed among crumpled-paper “rocks.” Print a JURASSIC PARK-style sign on printer paper — or hand-letter it, the wobble adds charm. This is the go-to when you have thirty minutes and a kid who is dinosaur-obsessed, because the toys are the display and you already own them.
13. Cozy Fall Harvest Trunk (the Anti-Scary Option)
Not every trunk needs to be spooky. Plaid blankets, pumpkins, pinecones from the yard, a thermos of cider, and a “GRATEFUL” banner made from paper bags — done. Toddlers who find skeletons terrifying will actually approach this trunk, and their parents will thank you. It also works well as a backup plan for when a bigger build falls through.
A finished trunk beats a perfect trunk. Pick the idea that matches what you already own, build it the afternoon of the event, and bring extra tape — you will always need extra tape. If you’re decorating the house too, our dollar-store Halloween decor projects use the same stash-the-supplies mindset.
Large cardboard boxes, bedsheets, blankets, yarn, paper bags, and kitchen containers cover almost every theme. Tape (packing and painter’s), markers, and scissors are the only tools most builds need.
Anchor everything to the car itself — loop yarn and string around hatch hinges, mirrors, and roof rails. Tape cardboard to the trunk bed with painter’s tape, and weigh down lightweight pieces with bags of candy or bottled water hidden behind the display.
Arrive 45 to 60 minutes before the event starts. Most household-item builds take 30 to 40 minutes to assemble on site; the complicated-looking ones just use more boxes.
Usually not. The one thing worth having is extra tape and a few battery-operated candles or string lights for after-dark visibility. Everything structural can come from boxes, linens, and containers you already own.
Battery-operated candles, string lights, and a headlamp pointed at the display all work. A desk lamp can run off a portable phone-charger battery pack with a USB plug for a couple of hours — plenty for one evening.