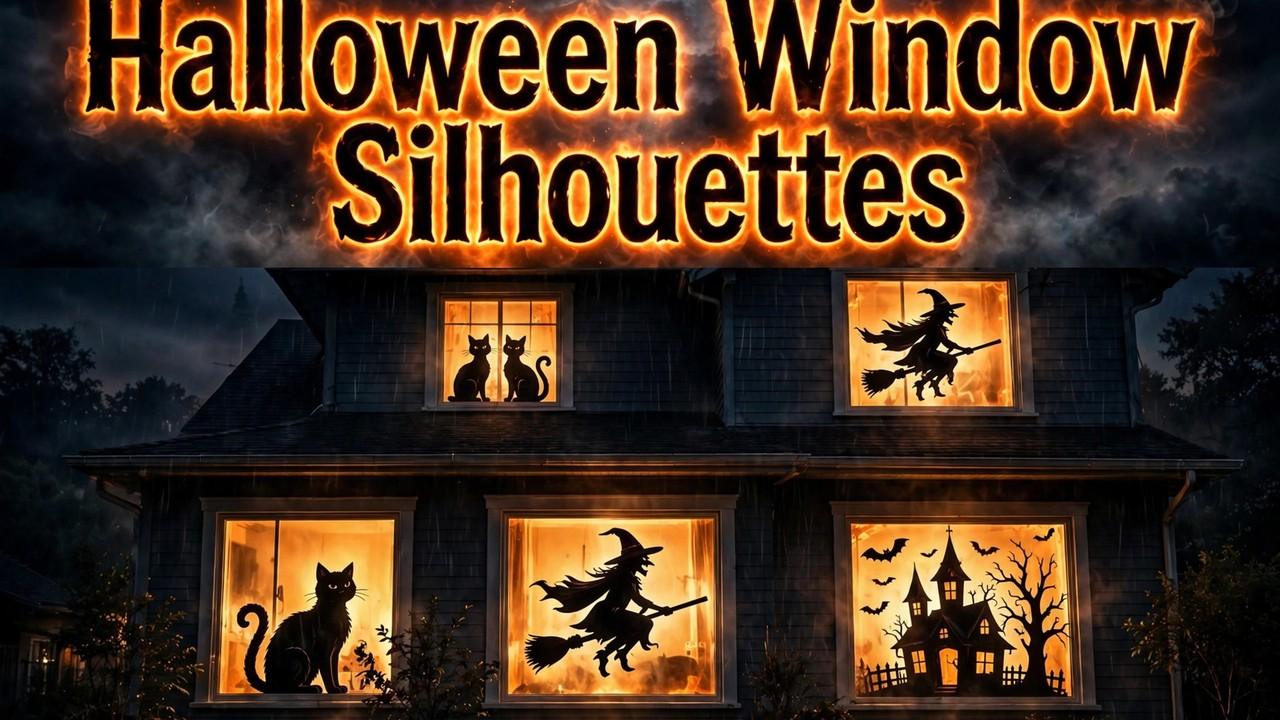
Removable Backlit Halloween Window Silhouettes for Renters
Backlit window silhouettes are one of the highest-impact Halloween decorations per dollar around — a black shape glowing in a dark window stops foot traffic. And the renter version comes off cleanly in November with no paint damage and no landlord conversation. The method below has been refined across multiple setups.
By the end you'll have a glowing silhouette scene in your window that installs in about an hour and removes in ten minutes.
What you'll need
- Black poster board or black craft paper (poster board is sturdier; craft paper covers bigger windows cheaper — pick based on your window size)
- Painter's tape (the blue kind — it removes cleanly from glass and frames for weeks)
- Scissors or a craft knife, pencil, and a ruler or tape measure
- A backlight: LED string lights, an LED puck light, or even a desk lamp with a warm bulb
- White tissue paper or a white shower-curtain liner (the diffuser — this is the piece most tutorials skip)
That diffuser is the difference between "black blob" and "glowing scene." Light directly behind black paper creates harsh hotspots; a tissue-paper layer between the light and the silhouette softens everything into that classic glowing look.
Step 1: Measure the pane, not the window
Measure the glass pane itself — height and width inside the frame. Your silhouette scene should fill about 70% of the pane; full-bleed looks crowded from the street, and too small looks timid. Write the measurements down. For a standard apartment window (roughly 28 x 36 inches of glass), one full poster board sheet (22 x 28) is about right.
Step 2: Choose and scale your silhouette
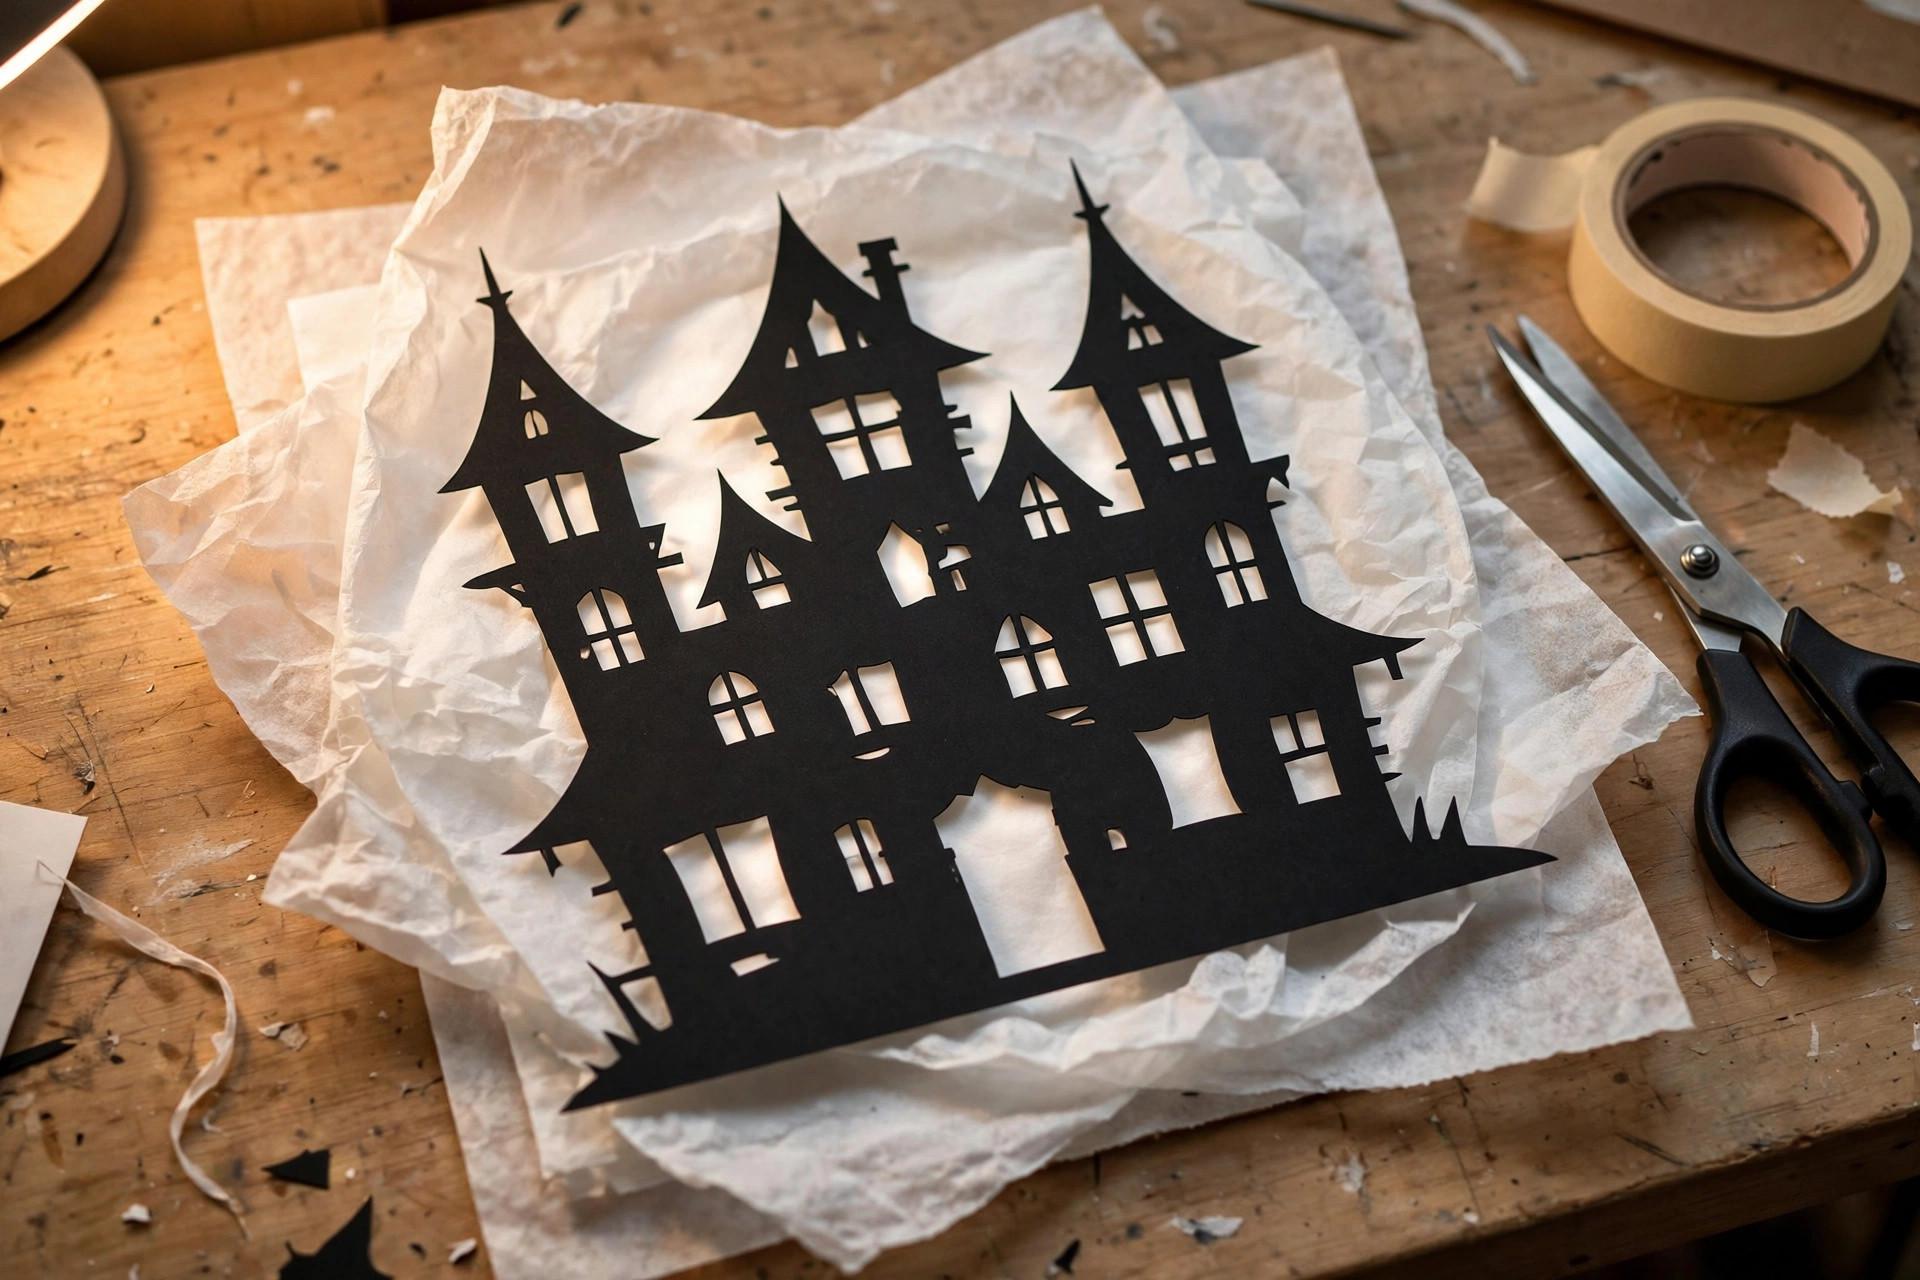
Pick shapes with bold, simple outlines — they read best from a distance. Haunted house with a moon, bare tree with bats, witch on a broomstick, cat with arched back, graveyard scene. Intricate details disappear at night; big shapes win.
Scale the design to your measurements: sketch it on printer paper first, then grid it up. Draw a 1-inch grid on your sketch and a matching scaled grid on the poster board (if your sketch is 7 inches wide and the board is 28, that's a 4-inch grid). Copy square by square. It sounds fussy and takes ten minutes; freehanding directly on the big board takes longer and looks worse.
Step 3: Cut and build the scene in layers
Cut the main silhouette from black poster board. Then cut a second layer of detail shapes — window panes for the haunted house (cut them out so light shines through as windows), individual bats, stars. Layering two depths of black paper creates dimension when backlit; single-layer silhouettes look flat by comparison.
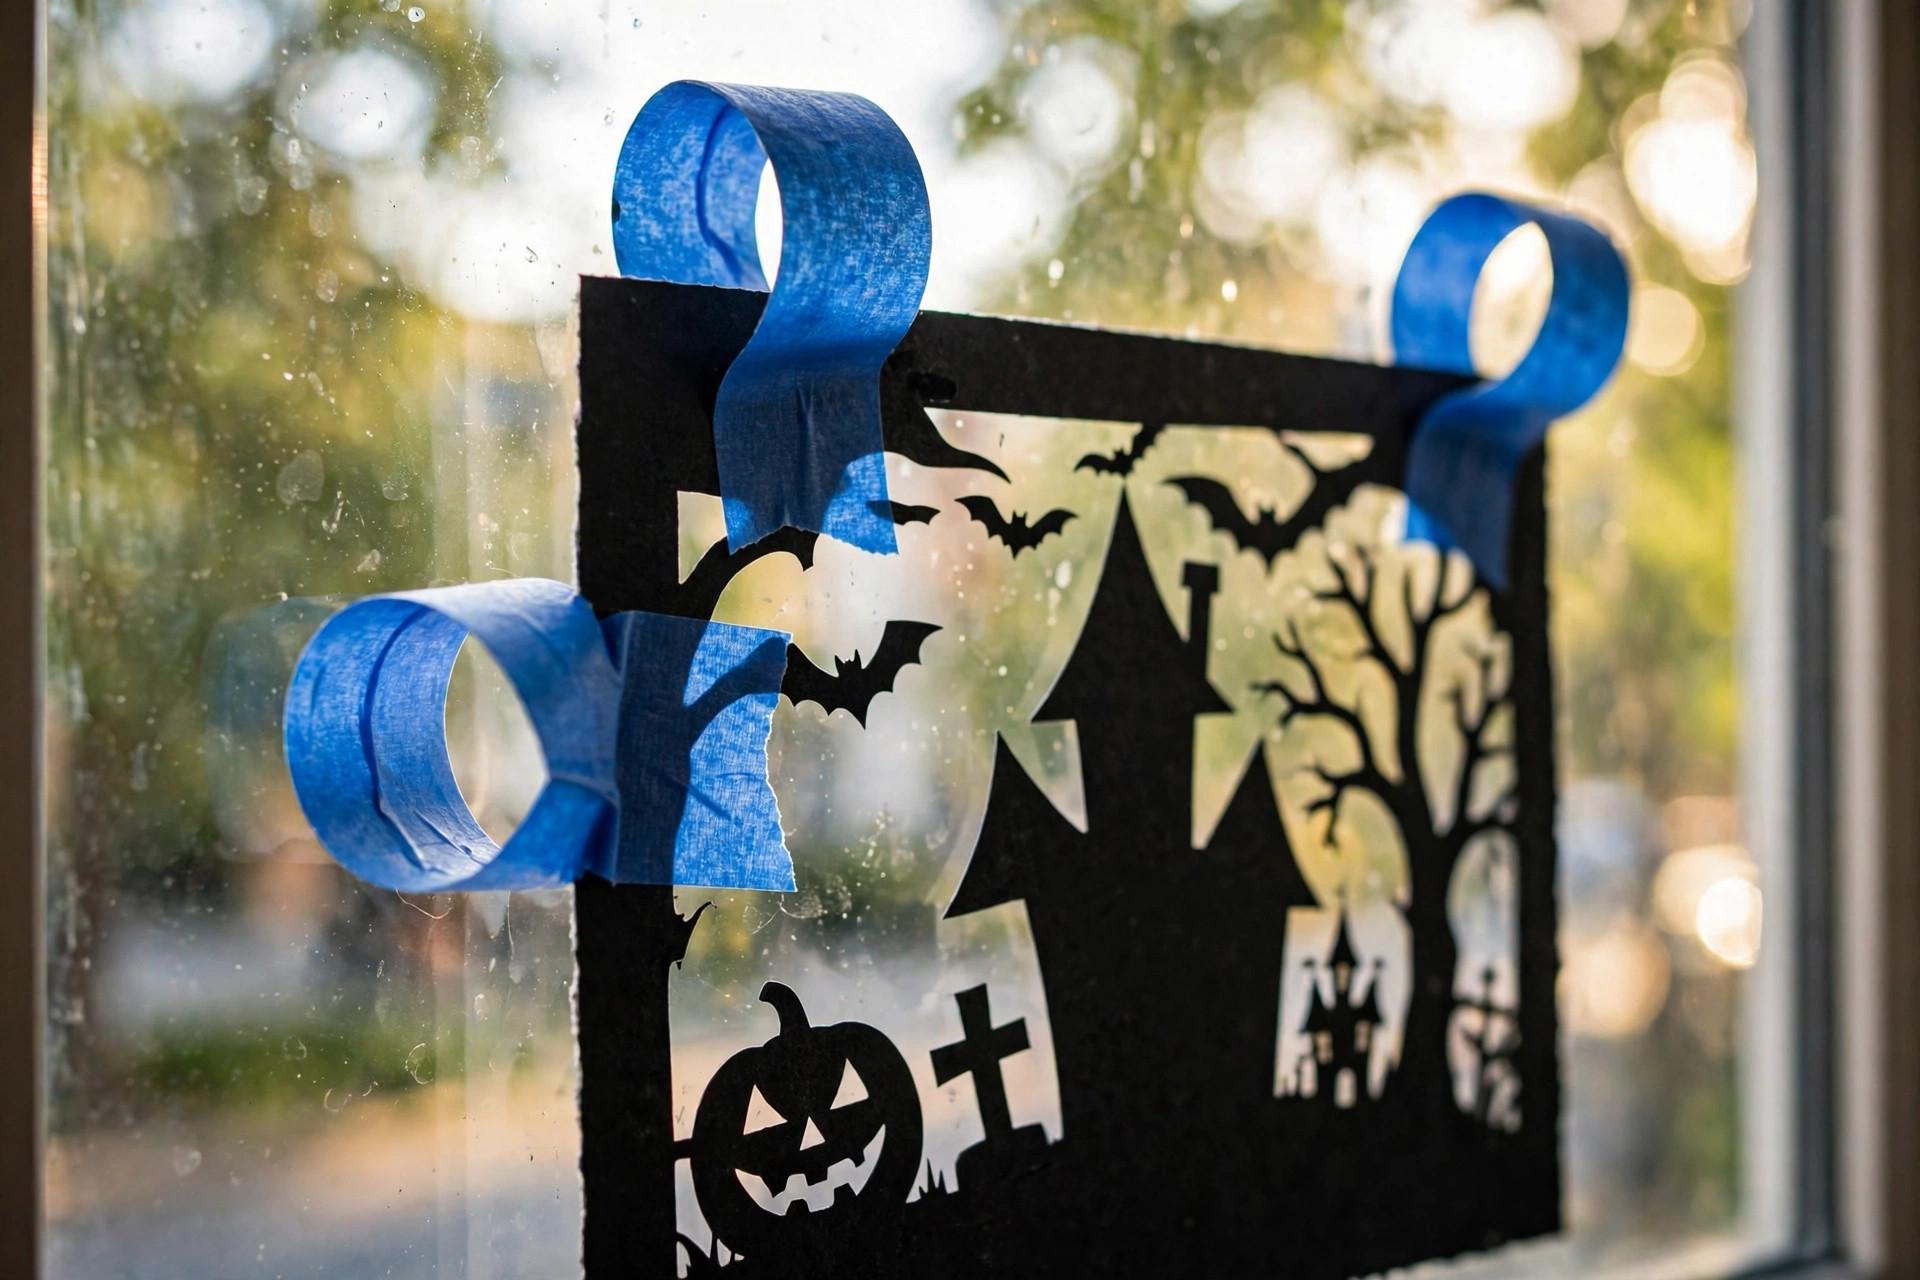
Tape the layers together from the back with small rolls of painter's tape. Work on the floor or a table — don't try to assemble this on the glass.
Step 4: Add the diffuser behind the silhouette
Cut tissue paper or the shower-curtain liner to the same size as your silhouette panel and tape it to the back. This goes between the silhouette and the light source. White tissue paper gives a warm, even glow; the shower-curtain liner is sturdier if you're reusing the scene next year. One layer is enough — two layers dim the effect noticeably.
Step 5: Mount it with painter's tape (the renter part)
Tape the finished panel to the inside of the glass with painter's tape loops — rolled pieces stuck to the back of the panel, pressed to the glass. Four to six loops hold a poster-board panel securely. For heavier multi-layer scenes, run a strip of painter's tape along the top edge onto the window frame as well.
Painter's tape on glass for a month removes cleanly. The thing to avoid is masking tape or packing tape — those bake onto glass in sunlight and you'll be scraping in November. If any residue does appear, a razor blade at a low angle on wet glass takes it off; that's a window-cleaning technique, not wall repair.
Step 6: Place the backlight
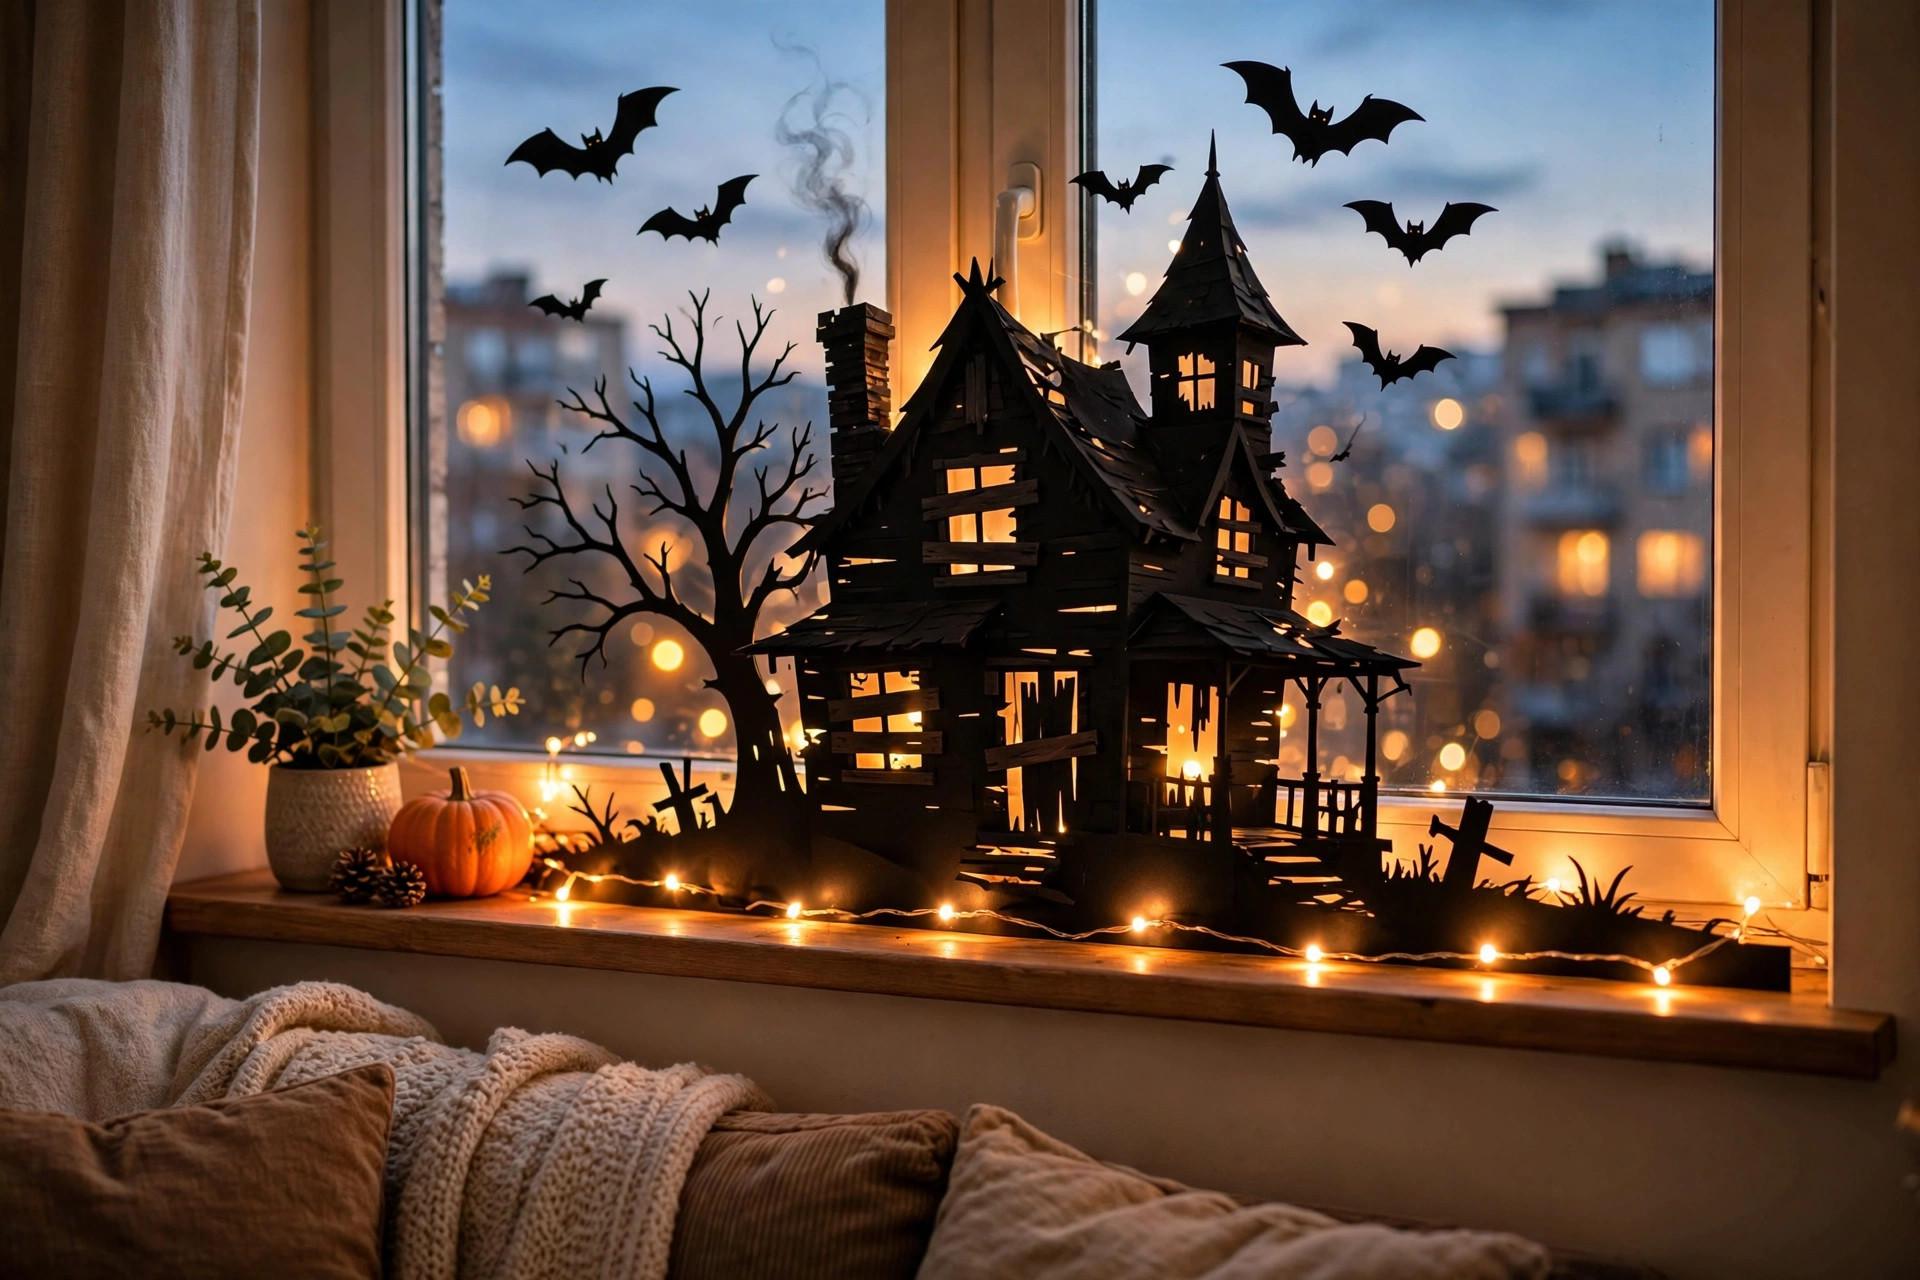
Set your light source on the windowsill behind the panel (room side), a few inches back from the diffuser. String lights draped along the sill work beautifully — the multiple points of light even out the glow. A single puck light centered behind creates a moon-like halo effect, which is perfect if your scene includes a moon shape. Turn off the room's overhead light; the silhouette only glows when it's the brightest thing in the room.
LEDs, always. They run cool against paper and tissue all evening without worry. A plug-in string light on a timer (on at dusk, off at 10) means you set it once and forget it for the whole season.
Step 7: Check it from the street
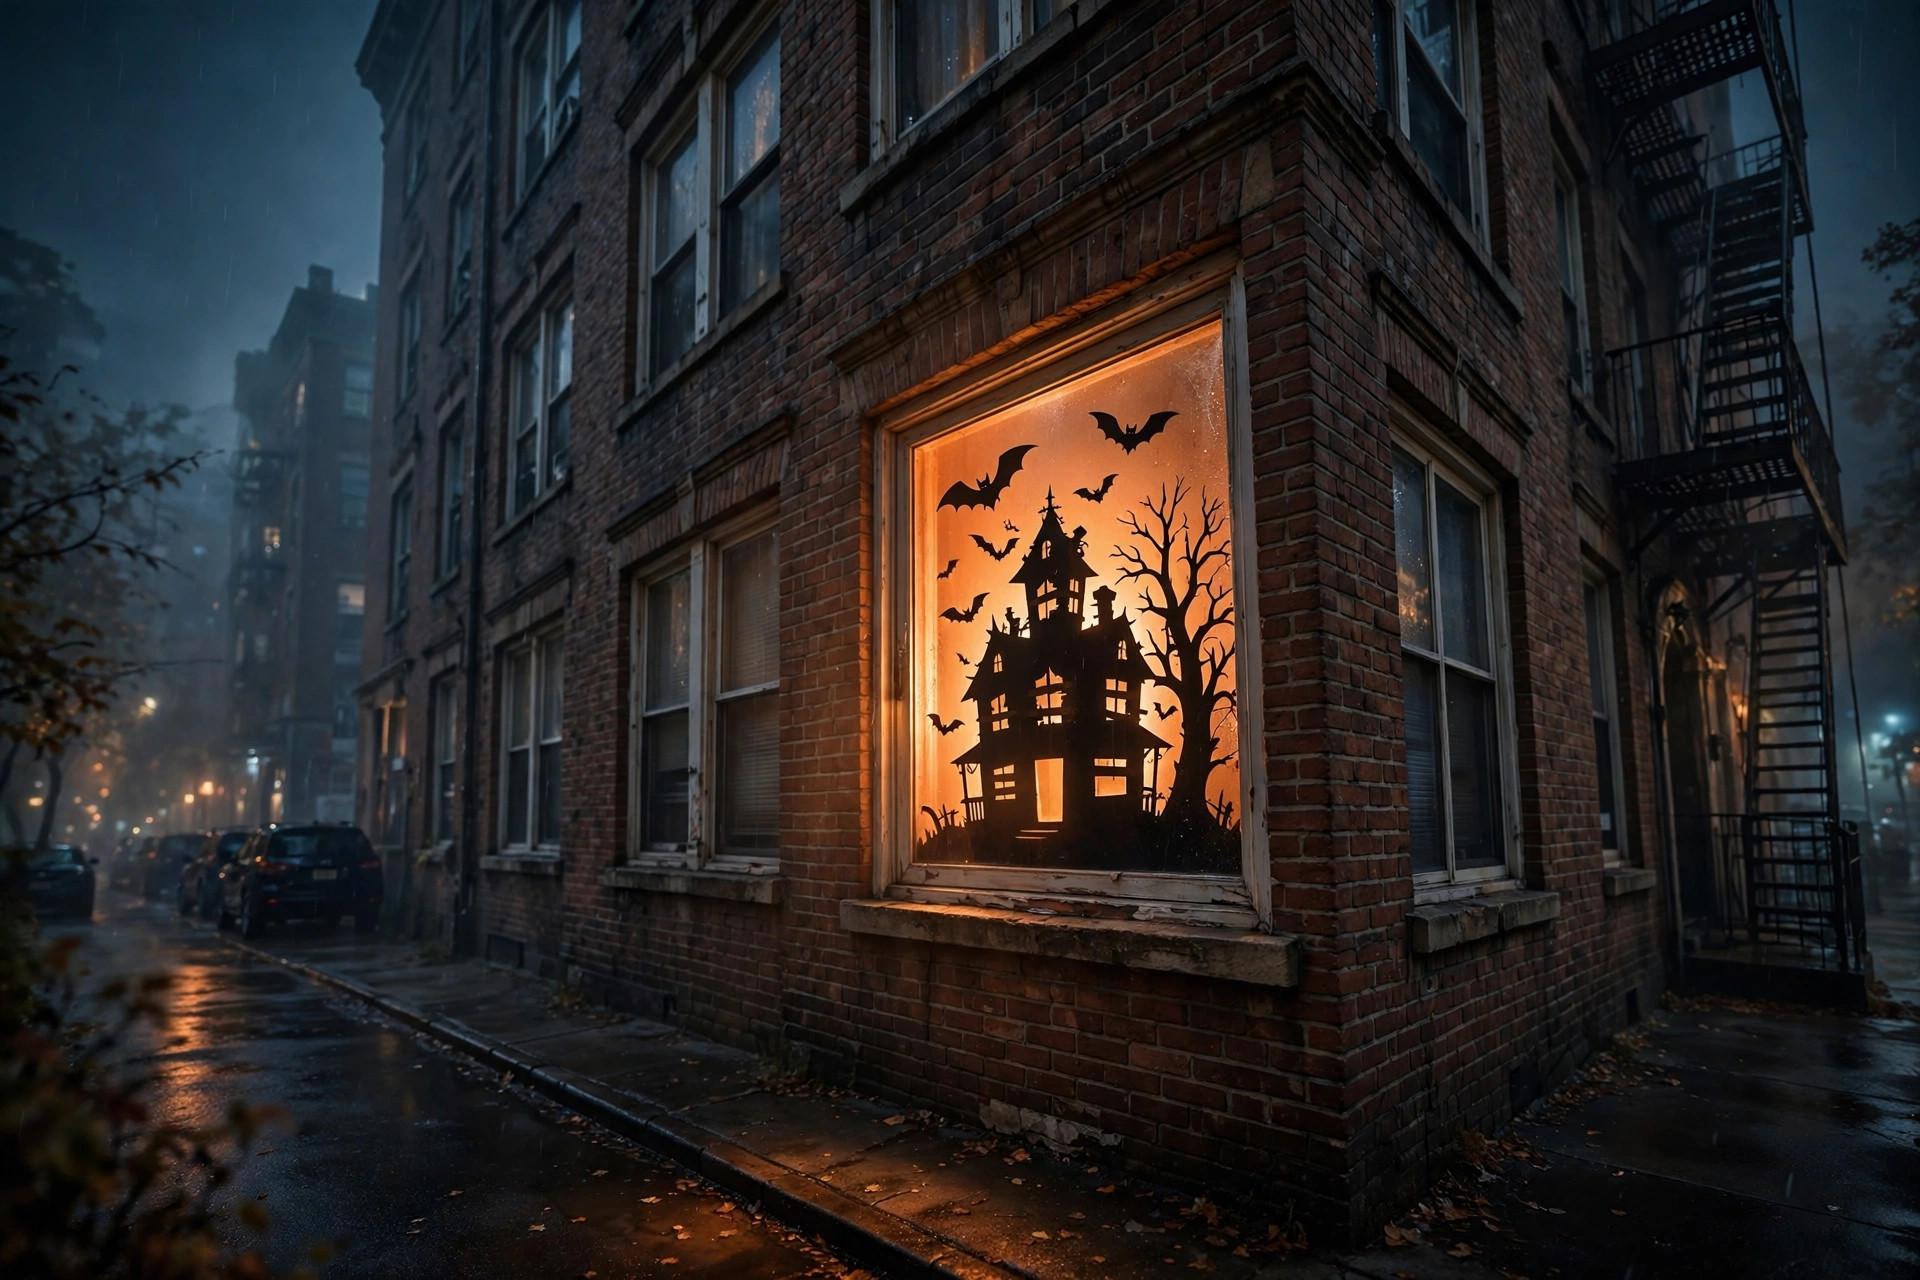
Walk outside and look. This is the step everyone skips and it's the most important one — silhouettes are for the street view. Check for: light leaking around the panel edges (add tissue paper to the gaps), the scene sitting crooked (fix the tape now), and whether the design reads at distance (if it's muddy, you need bigger shapes, not more detail). Adjust once and you're done for the season.
The common mistake: making the scene too detailed. From the sidewalk, your intricate haunted-house windows merge into a gray smudge. Bold shapes, big moon, three bats — that's the whole recipe. Restraint photographs better than ambition here.
Removal day
Peel the tape loops slowly, pulling parallel to the glass rather than straight out. Roll the panel up tissue-side-out and store it flat under a bed or behind furniture — the whole thing reuses next year, which is when this project really pays off. Wipe the glass with standard cleaner and there's no evidence it was ever there.
Pair these with our LED paper-bag luminaries along the walkway and your place looks professionally decorated for about five dollars in tape and paper.
Tape black poster-board silhouettes to the inside of the glass with painter’s tape loops — it holds for weeks and usually removes cleanly. Nothing attaches to walls or frames permanently.
LED string lights or puck lights on the windowsill behind the panel. Add a tissue-paper diffuser between the light and the silhouette for an even glow without hotspots. Always use LEDs — they run cool against paper.
Painter’s tape on glass removes cleanly even after a month. Avoid masking tape or packing tape, which can bake onto glass in sunlight. Pull tape slowly, parallel to the glass.
The silhouette needs to be the brightest thing in the room — turn off overhead lights and backlight the panel with LEDs from the room side. Check the effect from the street and adjust.
Yes. Store the panels flat (under a bed works) with the diffuser attached, and they’ll go back up in minutes next October. Poster board lasts several seasons stored flat and dry.
Frequently Asked Questions
how to hang halloween decorations on windows in a rental without damage
Tape your finished silhouette panel to the inside of the glass with loops of painter's tape - four to six rolled loops hold a poster-board panel for weeks and peel off cleanly in November. Run a strip along the top edge onto the window frame for heavier multi-layer scenes. Never use masking or packing tape; those bake onto glass in sunlight and turn removal day into a scraping job.
what is the best material for halloween window silhouettes
Black poster board for standard windows, black craft paper for oversized ones - poster board is sturdier and cuts cleaner, craft paper covers big glass cheaper. Either way, pick shapes with bold, simple outlines: a haunted house with a moon, a bare tree with bats, a witch on a broomstick. Intricate detail disappears at night, so big shapes win from the street.
why do my window silhouettes look like dark blobs instead of glowing
You are probably missing the diffuser - a layer of white tissue paper or a white shower-curtain liner taped between the silhouette and the light source. Light directly behind black paper makes harsh hotspots; the tissue layer softens it into that classic even glow. One layer is enough - a second layer dims the effect noticeably.
what lights go behind paper window silhouettes for halloween
LED string lights draped along the windowsill behind the panel, a few inches back from the diffuser - multiple points of light even out the glow. A single puck light centered behind the scene creates a moon-like halo, which is perfect if your design includes a moon. Use LEDs only since they run cool against paper, and put a plug-in string on a timer so it clicks on at dusk and off around ten.
how do you take down window silhouettes without leaving tape residue
Peel the tape loops slowly, pulling parallel to the glass rather than straight out. If any residue shows up, a razor blade held at a low angle on wet glass takes it off - that is a window-cleaning technique, not wall repair. Roll the panel up tissue-side-out, store it flat under a bed, and it goes back up in minutes next October.