13 Dollar Store Halloween Decor DIYs That Look Expensive
Walk into a dollar store in October and you’ll find the raw materials for genuinely good Halloween decor — if you know what to look for. The trick isn’t buying the pre-made spooky stuff. It’s buying the plain stuff and combining it in ways that look intentional.
Every project here starts with dollar store finds and costs under $10 total. Most take less than an hour. The through-line: restraint. A few well-placed pieces beat a yard full of plastic every time.
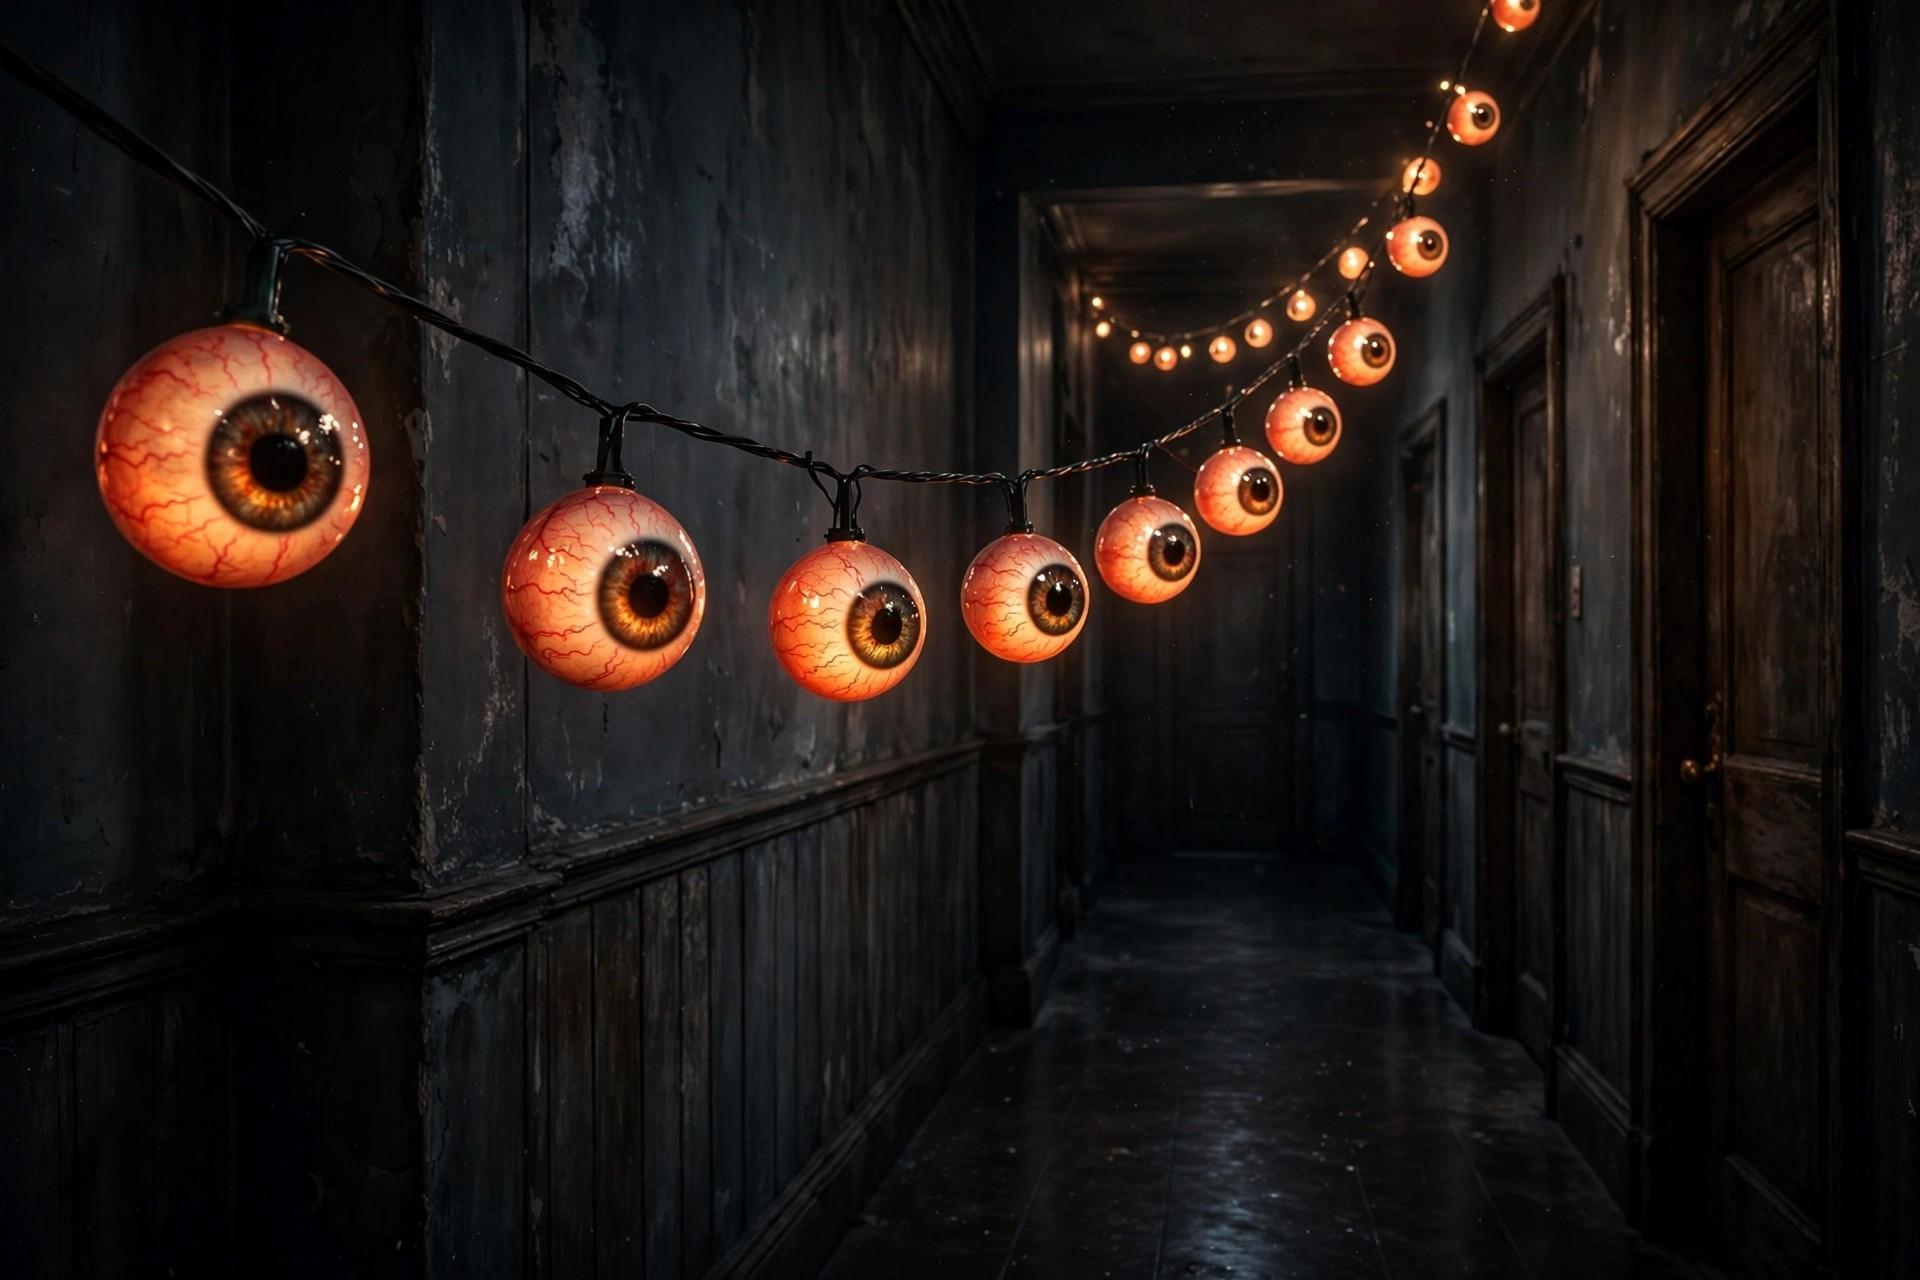
1. Bloodshot Eyeball String Lights
Buy a string of white ping-pong-ball lights (or plain globe lights) and draw red veins on each ball with a red permanent marker, adding a black pupil dot in the center. Strung down a dark hallway, they read as floating eyeballs. The marker work takes about 20 minutes for a full strand. Battery-operated strands work best since you can hang them anywhere without hunting for an outlet.
Tip: Draw the veins radiating from the pupil outward — random scribbles look messy, but radial veins look anatomical.
2. Witch Leg Planter
Stuff a pair of striped knee socks with newspaper, stick them upside down into a plant pot, and add cheap black shoes at the “feet” end. It looks like a witch crash-landed in your fern. Dollar stores sell striped socks and tiny plastic shoes in the toy aisle every October. A handful of Spanish moss around the base hides the newspaper and makes it look like a real planting. Style the whole entryway around it with these Halloween porch decor ideas.
Tip: Angle the legs slightly differently from each other — perfectly parallel legs look staged instead of crashed.

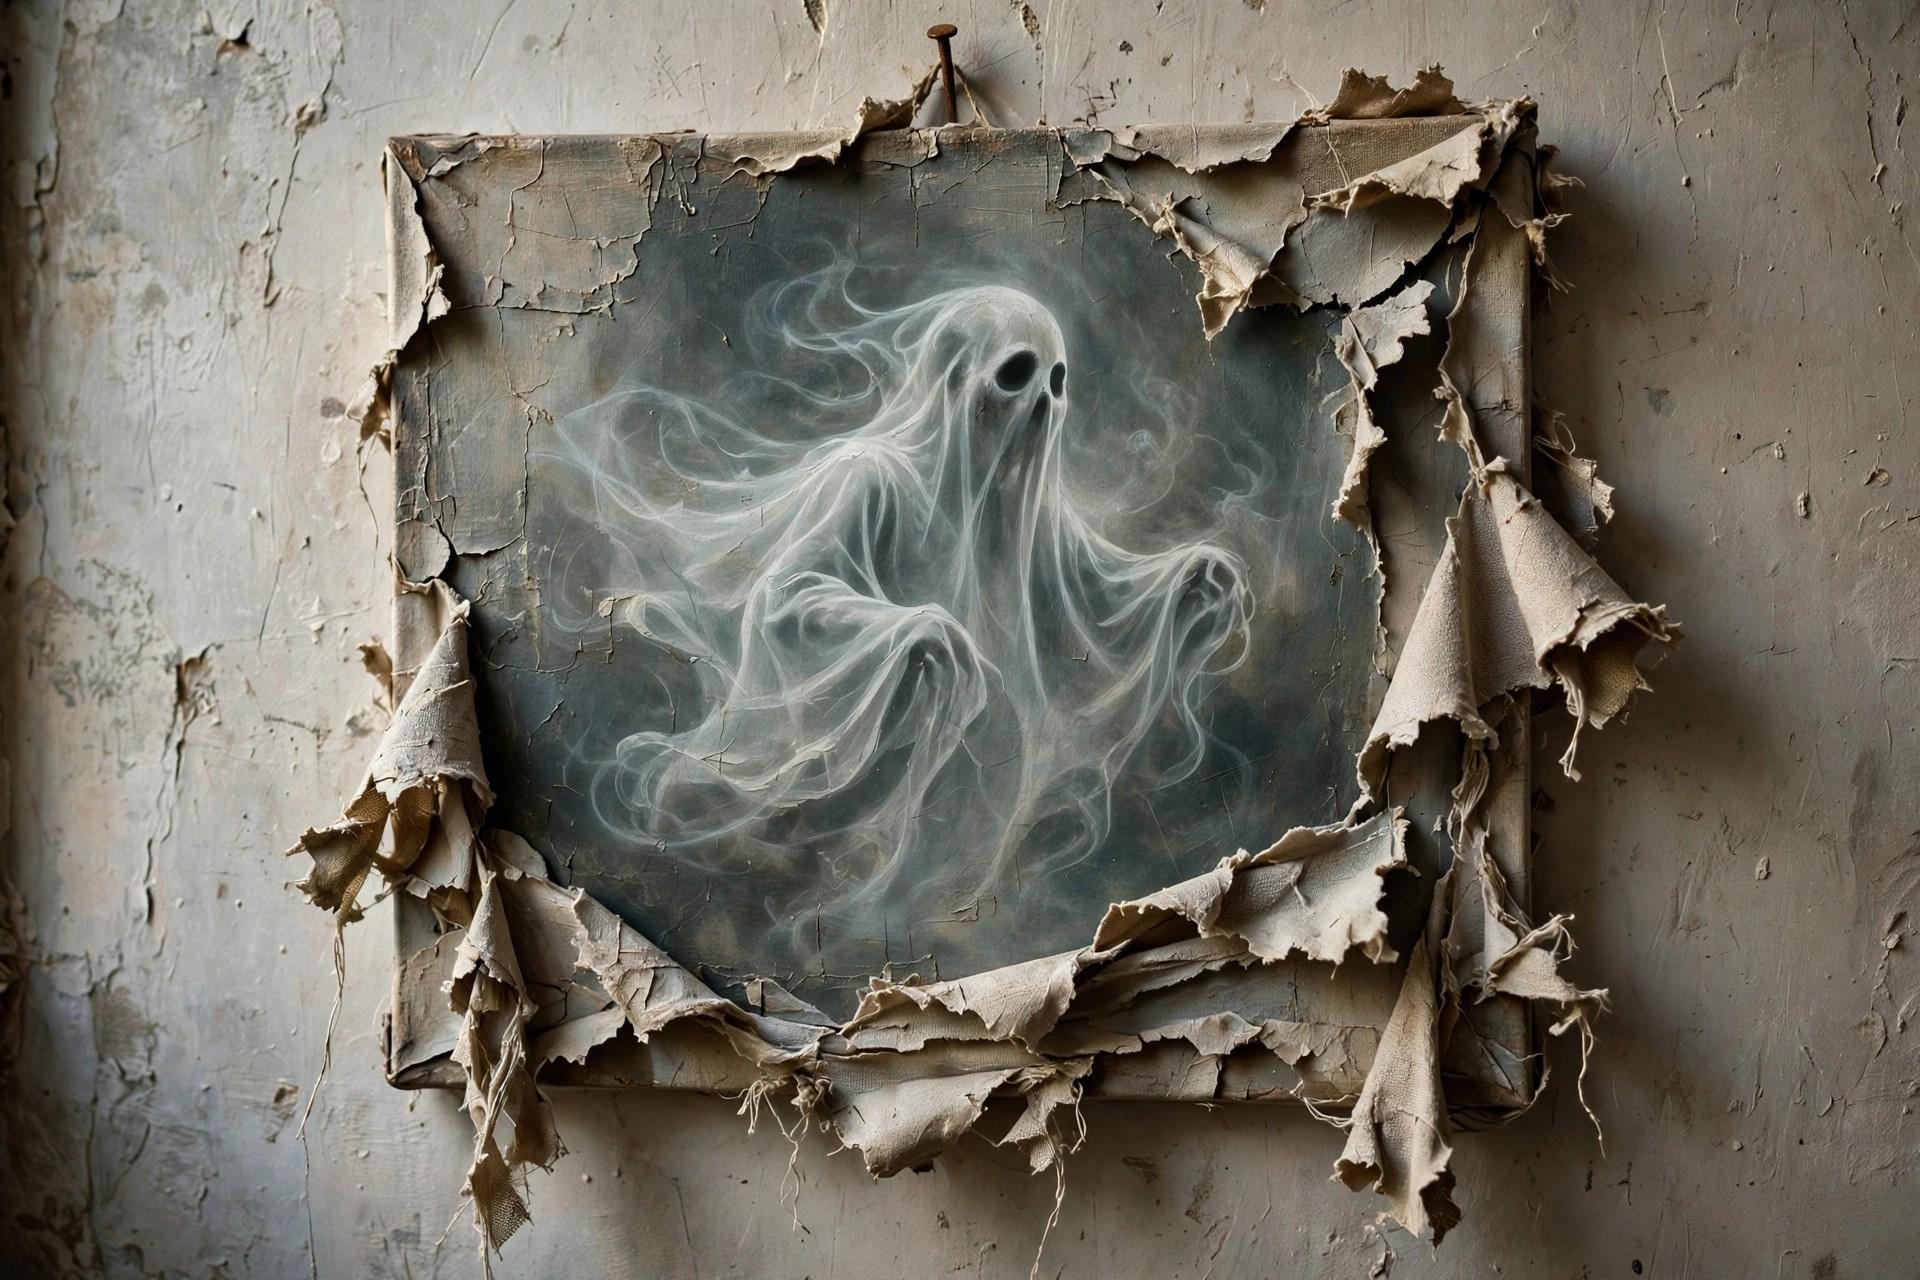
3. Busted Canvas Ghost Art
This one’s everywhere for a reason. Buy a small canvas, paint it black, then glue a torn white fabric “ghost” shape bursting through a slit cut in the canvas. The 3D torn edges sell the illusion. It looks like a $40 boutique print and costs about $4.
Tip: Fray the torn canvas edges with your fingers before gluing — clean cuts look fake, frayed edges look ripped.
4. Mummy-Wrapped Vases
Wrap plain glass vases or jars in white medical gauze from the dollar store’s first-aid aisle, securing with dots of hot glue. Add googly eyes and a tea light inside. Grouped in threes on a mantel, they look like something from a catalog. Vary the vase heights for a styled look — three identical jars in a row reads as a set, not a display.
Tip: Leave the wrapping slightly uneven and let a few strips dangle — too-neat wrapping reads as bandages, not mummies.
5. Gold Bug Specimen Frames
Buy plastic bugs, spray-paint them metallic gold, and mount them in cheap black frames on white paper. It mimics those expensive natural-history prints. A set of three in a row makes a hallway look curated instead of decorated.
Tip: Two light coats of spray paint beat one heavy coat — heavy coats pool in the bug details and hide them.
6. Spooky Apothecary Jars
Fill assorted glass jars with water tinted by food coloring, then drop in plastic eyeballs, rubber rats, or fake fingers. Cluster them on a tray with a flickering LED candle. The murky colored water does most of the visual work.
Tip: A single drop of green plus a single drop of yellow makes the perfect murky potion color — straight green looks like mouthwash.
7. Cheesecloth Ghosts
Drape cheesecloth over balloons, stiffen with a spray bottle of liquid starch or diluted white glue, let dry, then pop the balloons. Hang the hollow ghosts from the ceiling with fishing line. They drift in air currents and genuinely startle people. Hang them in a doorway rather than a corner so guests walk through them.
Tip: Two layers of cheesecloth hold their shape better than one, and black felt eyes glued on after drying complete the look.
8. Black Cat Wreath
Wrap a foam wreath form in black yarn, then hot-glue on triangle ears, a bow tie, and big green gem eyes from the craft aisle. It takes 30 minutes and looks sharp on a front door. The yarn texture is what lifts it past a kids’ craft.
Tip: Wrap the yarn tightly with no gaps — visible foam underneath ruins the effect instantly.
9. Floating Witch Hats
Hang cone-shaped witch hats from the ceiling at different heights with clear fishing line. From across the room they appear to float. Add LED tea lights inside a few for glowing hats. A hallway full of them is genuinely magical. In daylight they look a bit plain, so save this one for rooms you can keep dim.
Tip: Vary the heights by at least six inches between hats — uniform height looks like a store display.
10. Skull Candle Holders
Dollar stores sell small plastic skulls every fall. Cut a hole in the top, nestle in an LED tea light (never a real flame in plastic), and line them down a table. A row of glowing skulls is the highest impact-per-dollar on this list. Scatter a few plastic spiders or autumn leaves around the base to ground the arrangement.
Tip: Use warm-white LED candles, not cool-white — the warm glow looks like candlelight, the cool one looks like a hospital.
11. Haunted Dollhouse Makeover
Find a cheap wooden dollhouse or birdhouse, paint it matte black, add tiny plastic skeletons in the windows and moss on the roof. It’s weird, specific, and visitors always ask about it. Gray dry-brushing over the black adds an aged-stone look.
Tip: Check the toy aisle rather than the Halloween aisle — plain wooden dollhouses are cheaper there and paint covers everything.
12. Spiderweb Table Runner
Cut a long strip of black fabric and stretch white yarn or string across it in a web pattern, securing with hot glue. Lay it down the center of your table with a few plastic spiders. It frames your food and makes the whole table look styled.
Tip: Iron the fabric first — wrinkles under the webbing make the whole thing look sloppy.
13. Potion Bottle Label Set
Print vintage-style apothecary labels (free templates are everywhere online) and stick them on dollar-store glass bottles. Fill with colored water. “Eye of Newt” and “Bat Wings” on a shelf look like a real collection. Group odd numbers of bottles together — three or five always looks more deliberate than two or four. The labels are doing 90% of the work here.
Tip: Soak the bottles in warm soapy water first to remove the original labels cleanly — residue shows through the new ones.
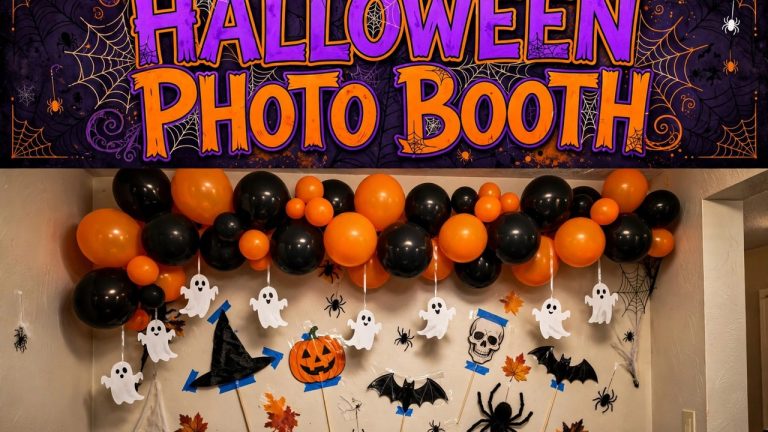
For more full-room inspiration, our 13 Halloween decor ideas cover bigger statement pieces — and if you loved the apothecary jars, these spooky jar decor ideas take the concept even further. Start with one project this weekend; the hardest part is leaving the dollar store with only what you came for. If pumpkins are your starting point, these no-carve pumpkin decorating ideas pair perfectly with the budget builds above. For the windows, hang removable backlit Halloween window silhouettes — they come off cleanly in November with no paint damage. Setting up a party corner? Build this renter-safe Halloween photo-booth backdrop entirely from dollar-store tablecloths.
Taking the DIY spirit out to the car? These trunk-or-treat displays made from household supplies use the same stash-the-supplies mindset for your vehicle.
Most single projects on this list cost $3 to $8 in materials. A fully decorated mantel or entryway runs $25 to $40 total — roughly the price of one mid-range decoration at a home store. Buy the LED candles and spray paint first; they’re the force multipliers.
LED tea lights, black spray paint, cheesecloth, plastic skulls and bugs, glass jars, and plain wreath forms. These show up every fall and sell out by mid-October, so shop early. The craft aisle restocks less reliably than the seasonal aisle.
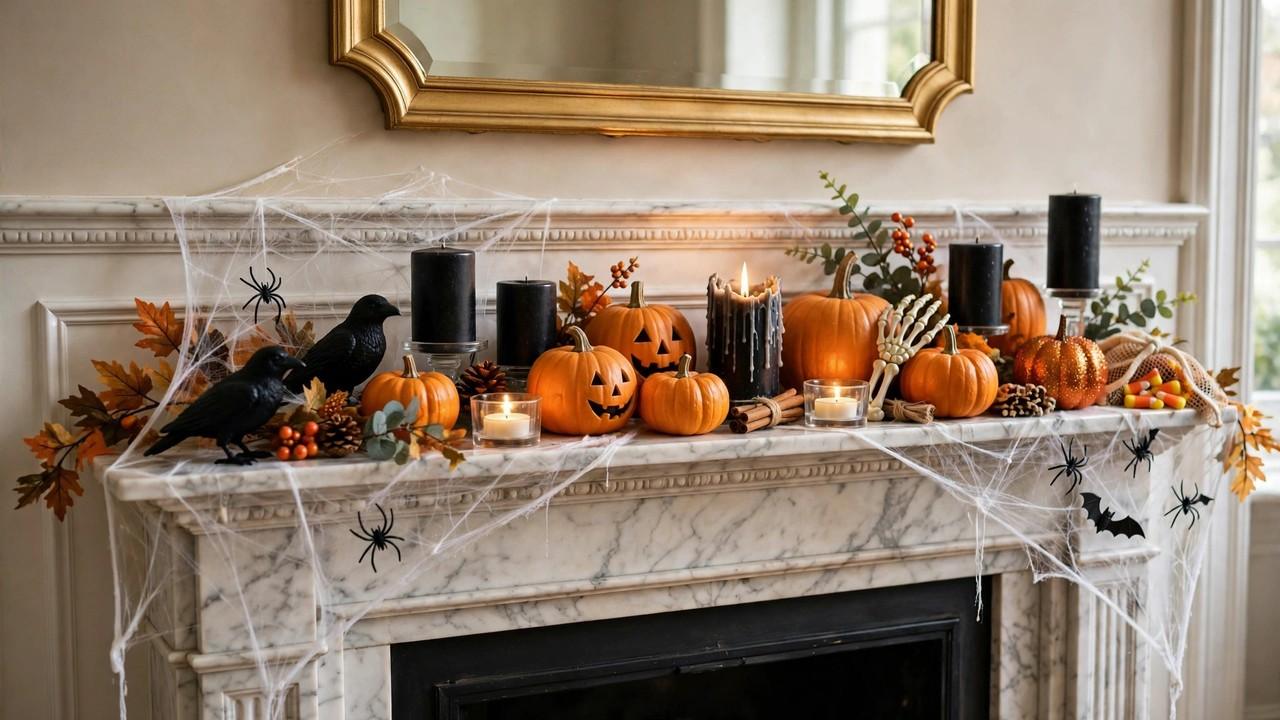
Three rules: stick to a limited color palette (black, gold, and one accent), group items in odd numbers, and hide anything that looks shiny-plastic with paint. Matte finishes read expensive; glossy plastic reads cheap. Lighting does the rest — everything looks better by candlelight.
Use LED candles anywhere near fabric, plastic, paper, or dried materials — which is most of this list. Real candles are fine only in glass or ceramic holders on stable surfaces, away from anything flammable, and never unattended. The warm-white LEDs are nearly indistinguishable in dim light.
Most of these pack flat or nest. Wrap painted items in tissue so they don’t scratch, coil string lights loosely, and store everything in one labeled bin in a dry spot. The cheesecloth ghosts crush flat and re-fluff with a shake.
For covered porches, yes. For fully exposed spots, upgrade to outdoor spray paint and hot glue (which holds better than craft glue in damp weather). Bring fabric-based pieces inside during rain — a soaked cheesecloth ghost takes days to dry.
Frequently Asked Questions
How much does it cost to decorate for Halloween from the dollar store?
Most single projects cost between 3 and 8 dollars in materials. A fully dressed mantel or entryway runs about 25 to 40 dollars total, roughly the price of one mid-range decoration at a home goods store. If you are starting from scratch, buy the LED tea lights and the spray paint first; those two supplies lift nearly every project on the list.
What dollar store items are best to stock up on for Halloween decor?
LED tea lights, black spray paint, cheesecloth, plastic skulls and bugs, plain glass jars, and foam wreath forms are the real workhorses. They sell out by mid-October, so shop early in the month. Oddly enough, the craft aisle restocks less reliably than the seasonal aisle, so grab what you need when you see it.
How can I make cheap dollar store Halloween decor look expensive?
Three rules carry most of the weight: stick to a limited palette like black, gold, and one accent; group pieces in odd numbers; and dull anything shiny-plastic with matte paint, because matte reads expensive and glossy reads cheap. Varying heights inside a grouping also matters. Then let lighting finish the job, since everything looks better by candlelight.
Can I use real candles in dollar store Halloween DIYs?
Use LED candles anywhere near fabric, plastic, paper, or dried materials, which covers most of these builds. Real flames are fine only in glass or ceramic holders on stable surfaces, kept away from anything flammable and never left unattended. In dim light, warm-white LEDs are nearly indistinguishable from the real thing.
How do I store dollar store Halloween decorations for next year?
Most of these pack flat or nest, so one labeled bin in a dry spot usually covers everything. Wrap painted items in tissue so they do not scratch each other, and coil string lights loosely rather than winding them tight. Cheesecloth ghosts crush flat and fluff right back up with a shake the following October.