
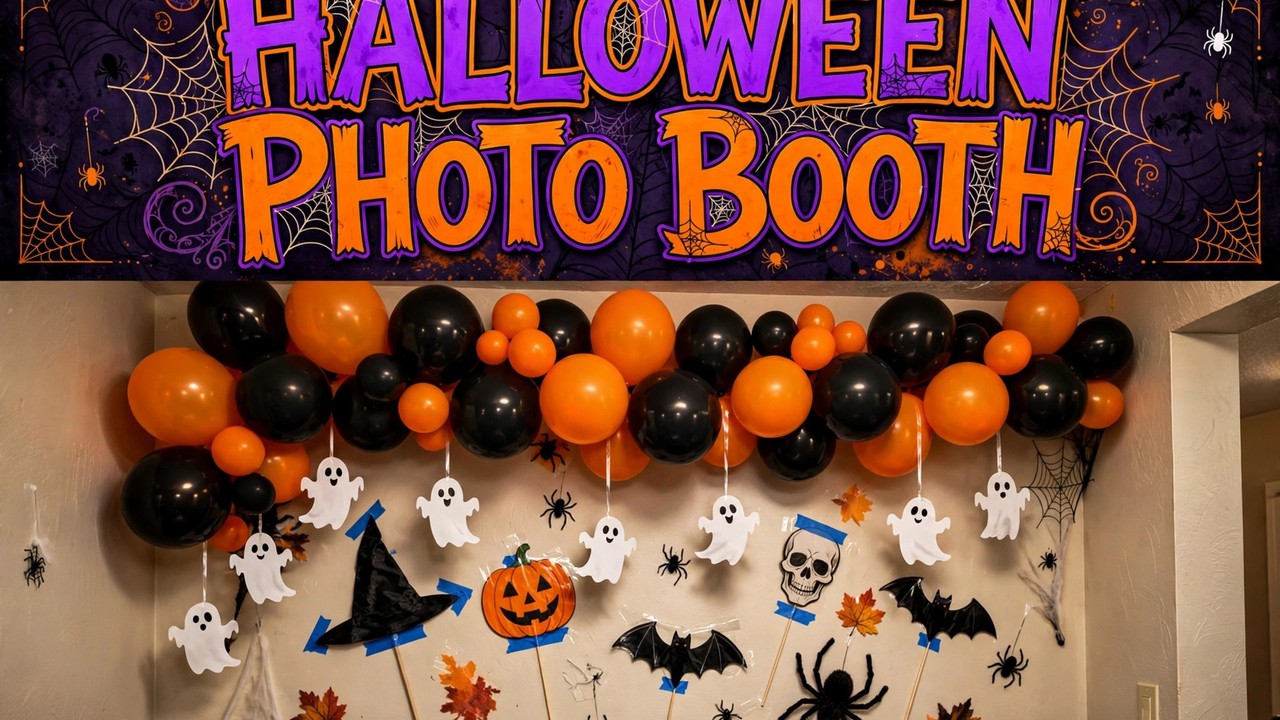
Renter-Safe Halloween Photo-Booth Backdrop for a Small Wall
A photo booth is the thing guests remember from a Halloween party — and the backdrop is 90% of it. This build makes a 4-foot-wide layered fringe backdrop that hangs on any small wall with zero damage, photographs like a professional setup, and comes down in five minutes. The first version was built for an apartment party with twelve guests and a four-foot gap between the bookshelf and the door; the method hasn't changed since.
By the end you'll have a freestanding-look backdrop sized for phone photos, hung with removable adhesive, ready for props.
What you'll need
- Plastic tablecloths in 2-3 Halloween colors (black, orange, purple — the dollar-store kind; you'll need 3-4 total)
- A tension rod, curtain rod, or even a broom handle (the support bar)
- Two removable adhesive hooks rated for 3+ pounds (the kind with pull-tab strips)
- Painter's tape, scissors, and a ruler or tape measure
- Props: a stick mustache on a skewer, paper bats on sticks, an empty frame to hold up — keep it to five or six props max
- A small LED clip light or desk lamp for lighting faces
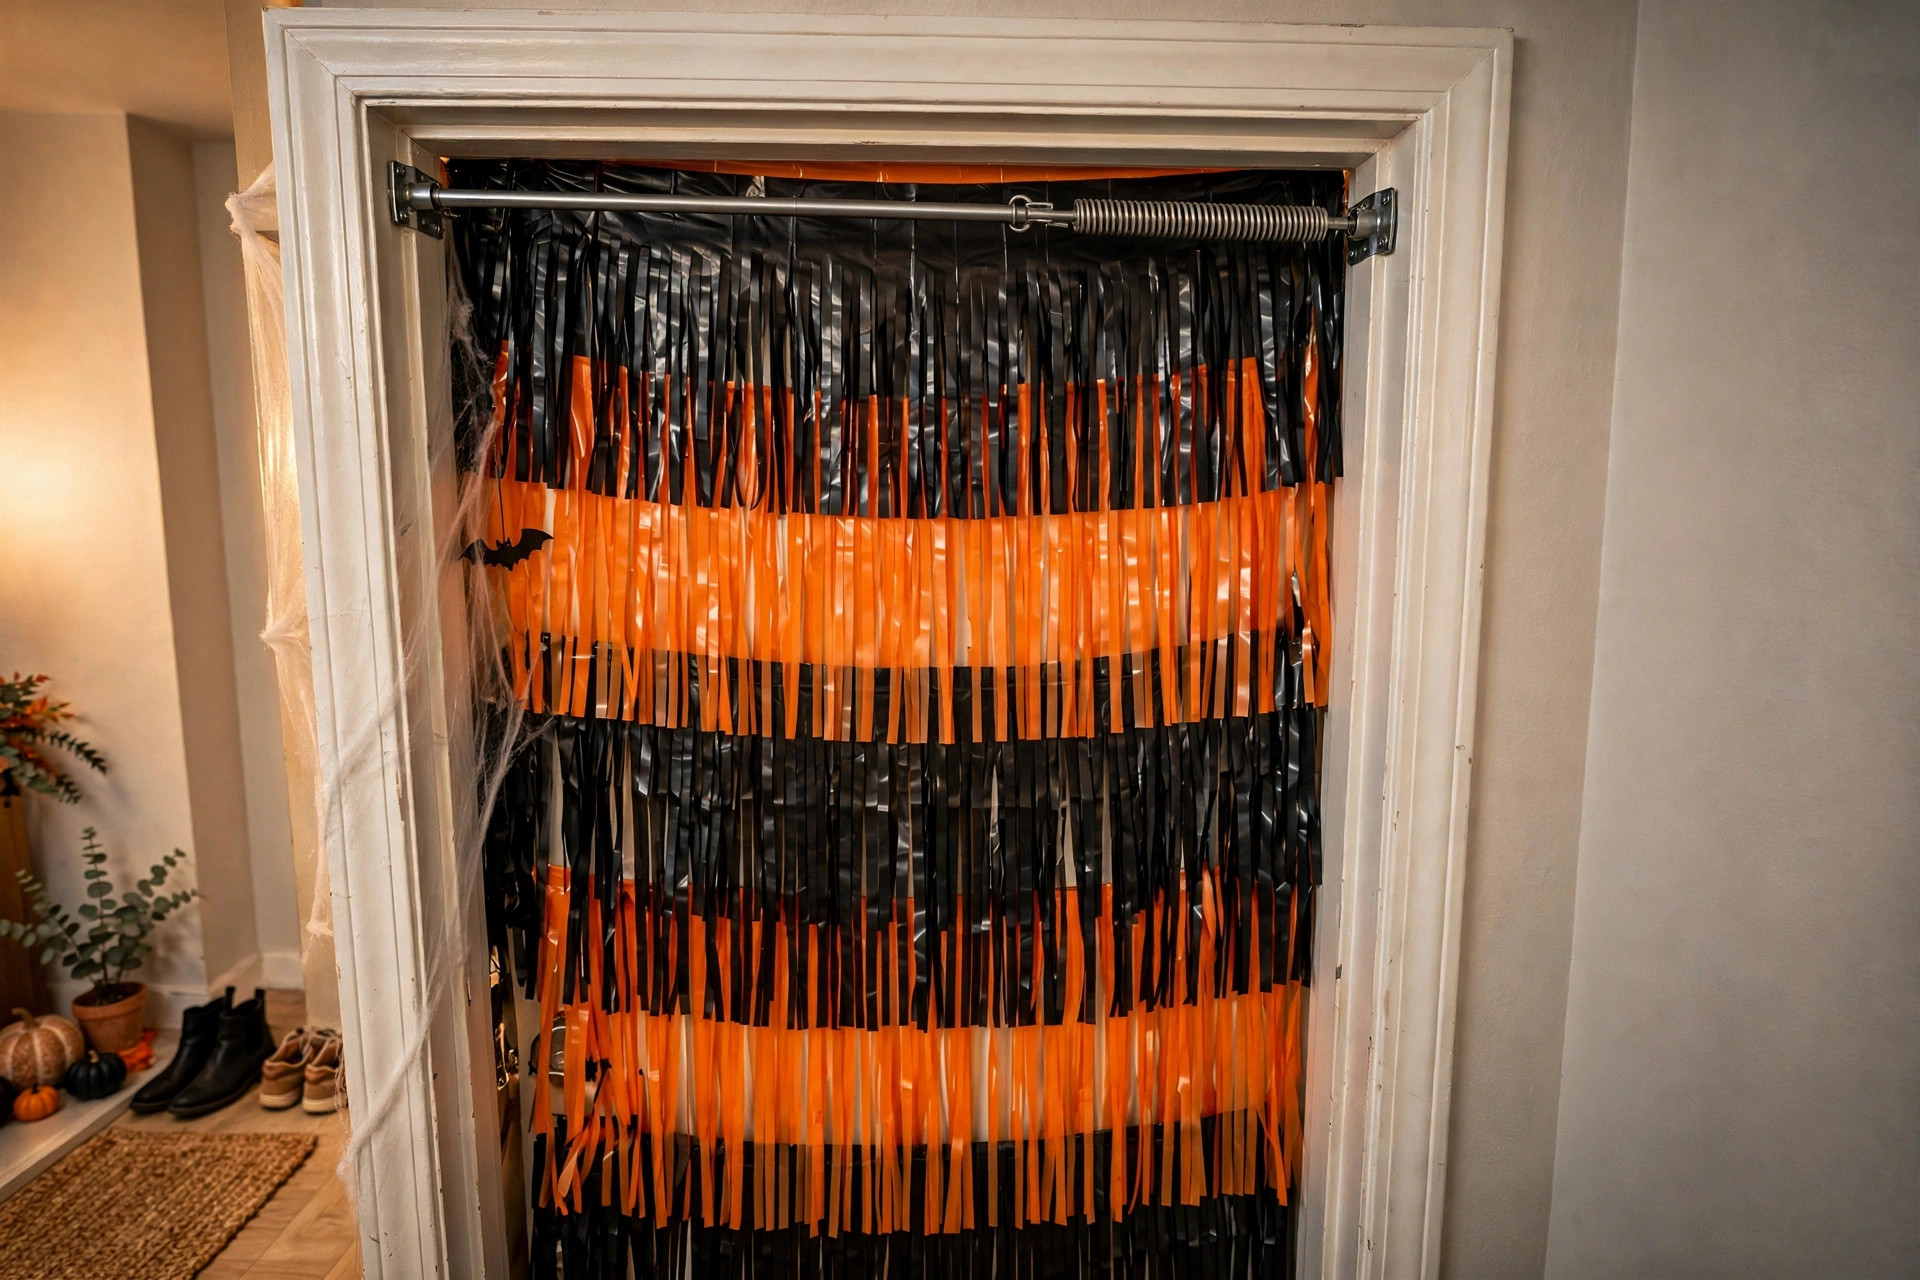
The tension rod is the renter's secret weapon here. Wedged in a doorway or between two pieces of furniture, it holds the whole backdrop with nothing touching the walls. If your small wall has no doorway nearby, the adhesive hooks on the wall hold the rod instead — still zero holes.
Step 1: Measure your photo zone
You need a 4-foot-wide by 6-foot-tall area minimum — that's the phone-photo frame for two to three people. Measure your wall and mark the width lightly with painter's tape. The backdrop hangs from about 6 feet high down to the floor; fringe that stops at waist height looks unfinished in photos, so full length matters more than full width.
Check the floor in front: you need 4-5 feet of clear space for the photographer to stand back. Move the side table now, not when guests arrive.
Step 2: Mount the support bar (no holes)
Option A — tension rod in a doorway or between furniture: twist to fit, test with a firm tug. This holds up to 10 pounds easily, way more than plastic fringe weighs.
Option B — adhesive hooks on the wall: stick two hooks 4 feet apart at the 6-foot height, wait the full hour the package demands (the adhesive needs the cure time — hanging early is the number one hook failure), then rest the rod across them.
Either way, the rod should be level. A crooked backdrop is visible in every single photo.
Step 3: Cut the fringe layers
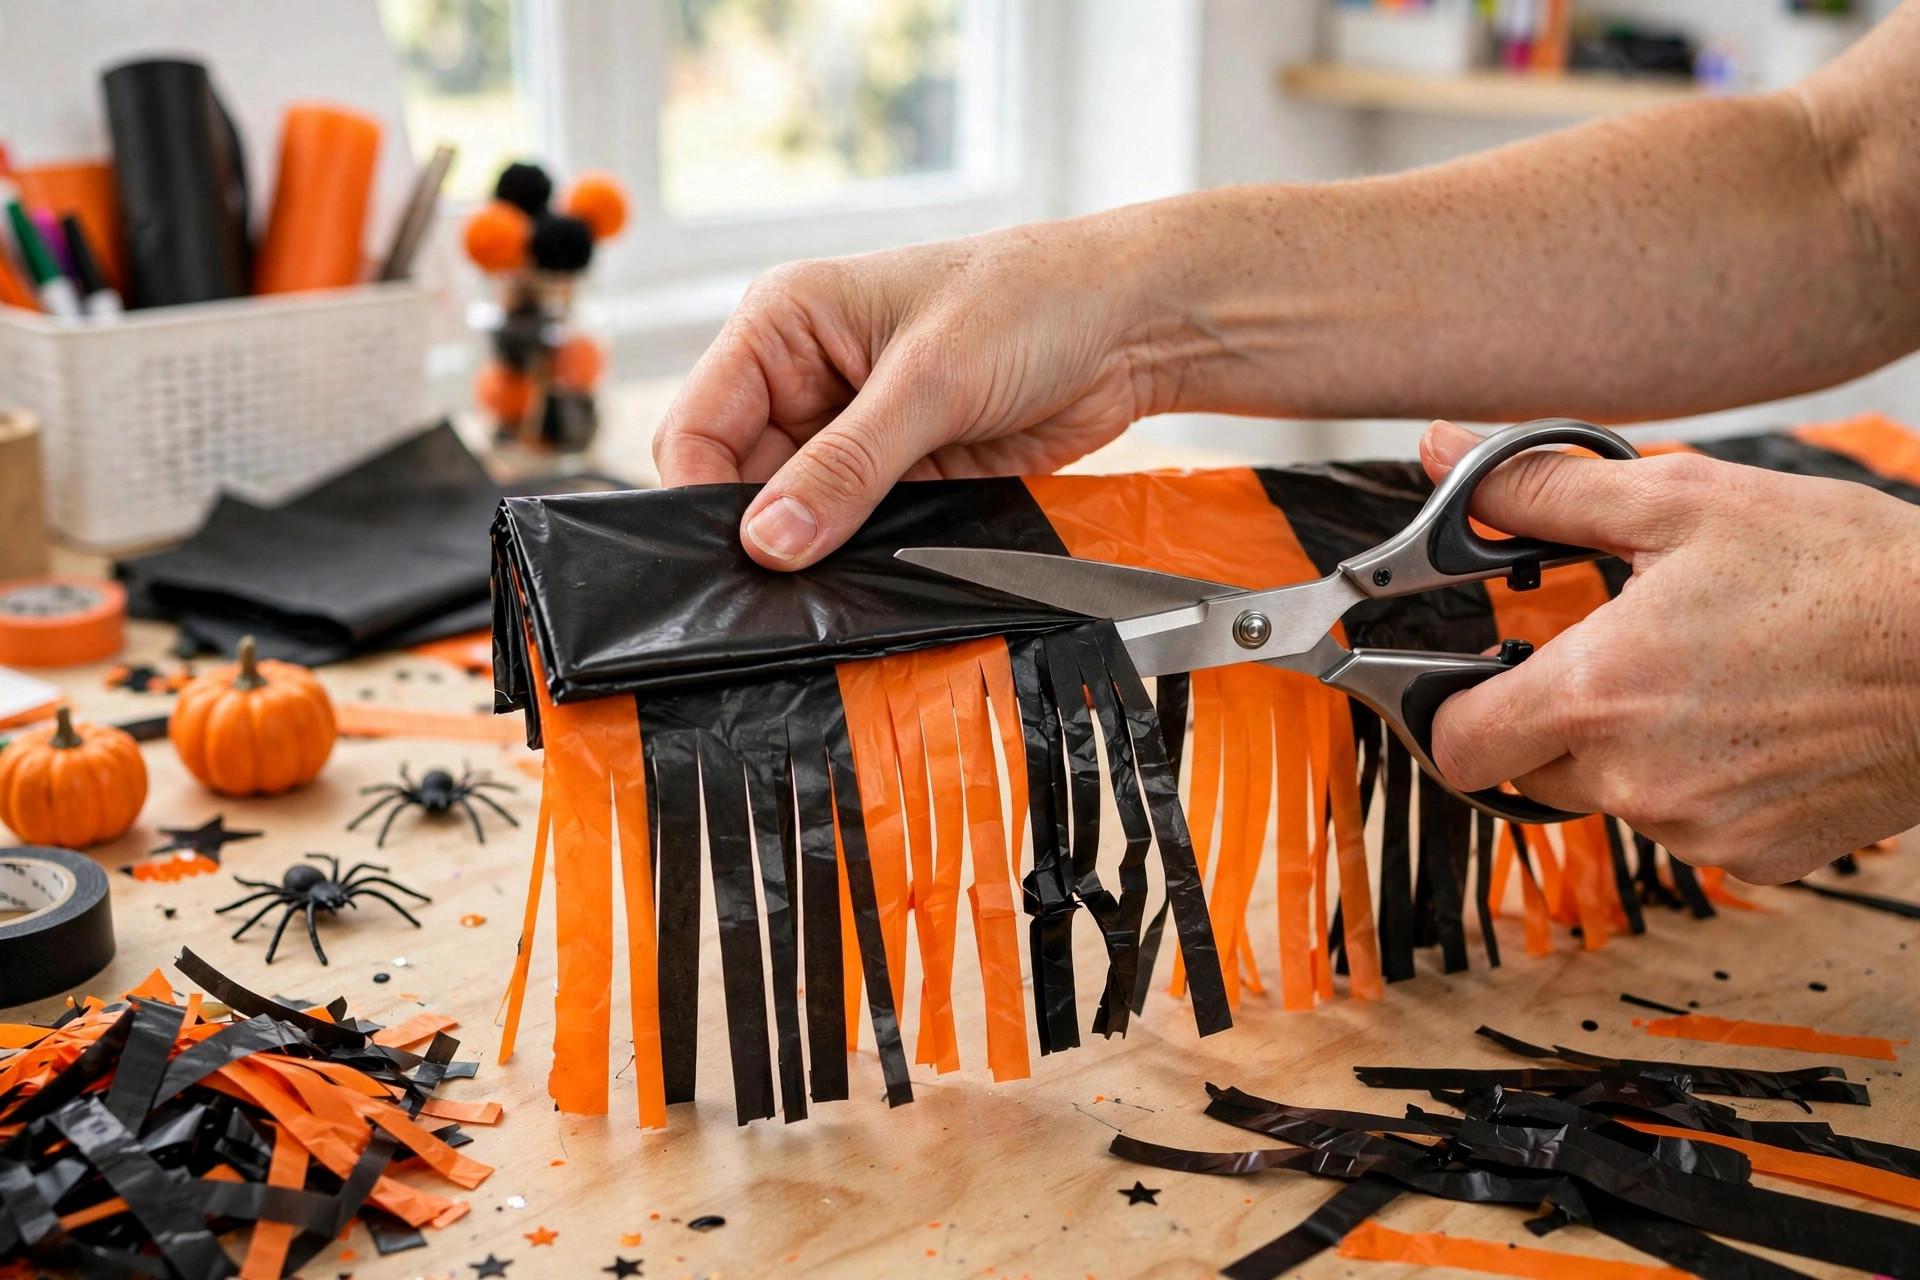
Lay a plastic tablecloth flat and cut it into strips: cut from the bottom edge up, stopping 6 inches from the top, making each strip about 2 inches wide. Don't separate the strips at the top — the uncut 6-inch band is what hangs on the rod. Repeat with all tablecloths.
Layer order on the rod: back layer darkest color (black), middle layer orange or purple, front layer a second black or a metallic if you have one. Drape each tablecloth's uncut band over the rod so the fringe hangs down. The layered colors peeking through each other is what makes this look rich instead of flat — single-color fringe reads as a car wash.
Step 4: Fluff and shape the fringe
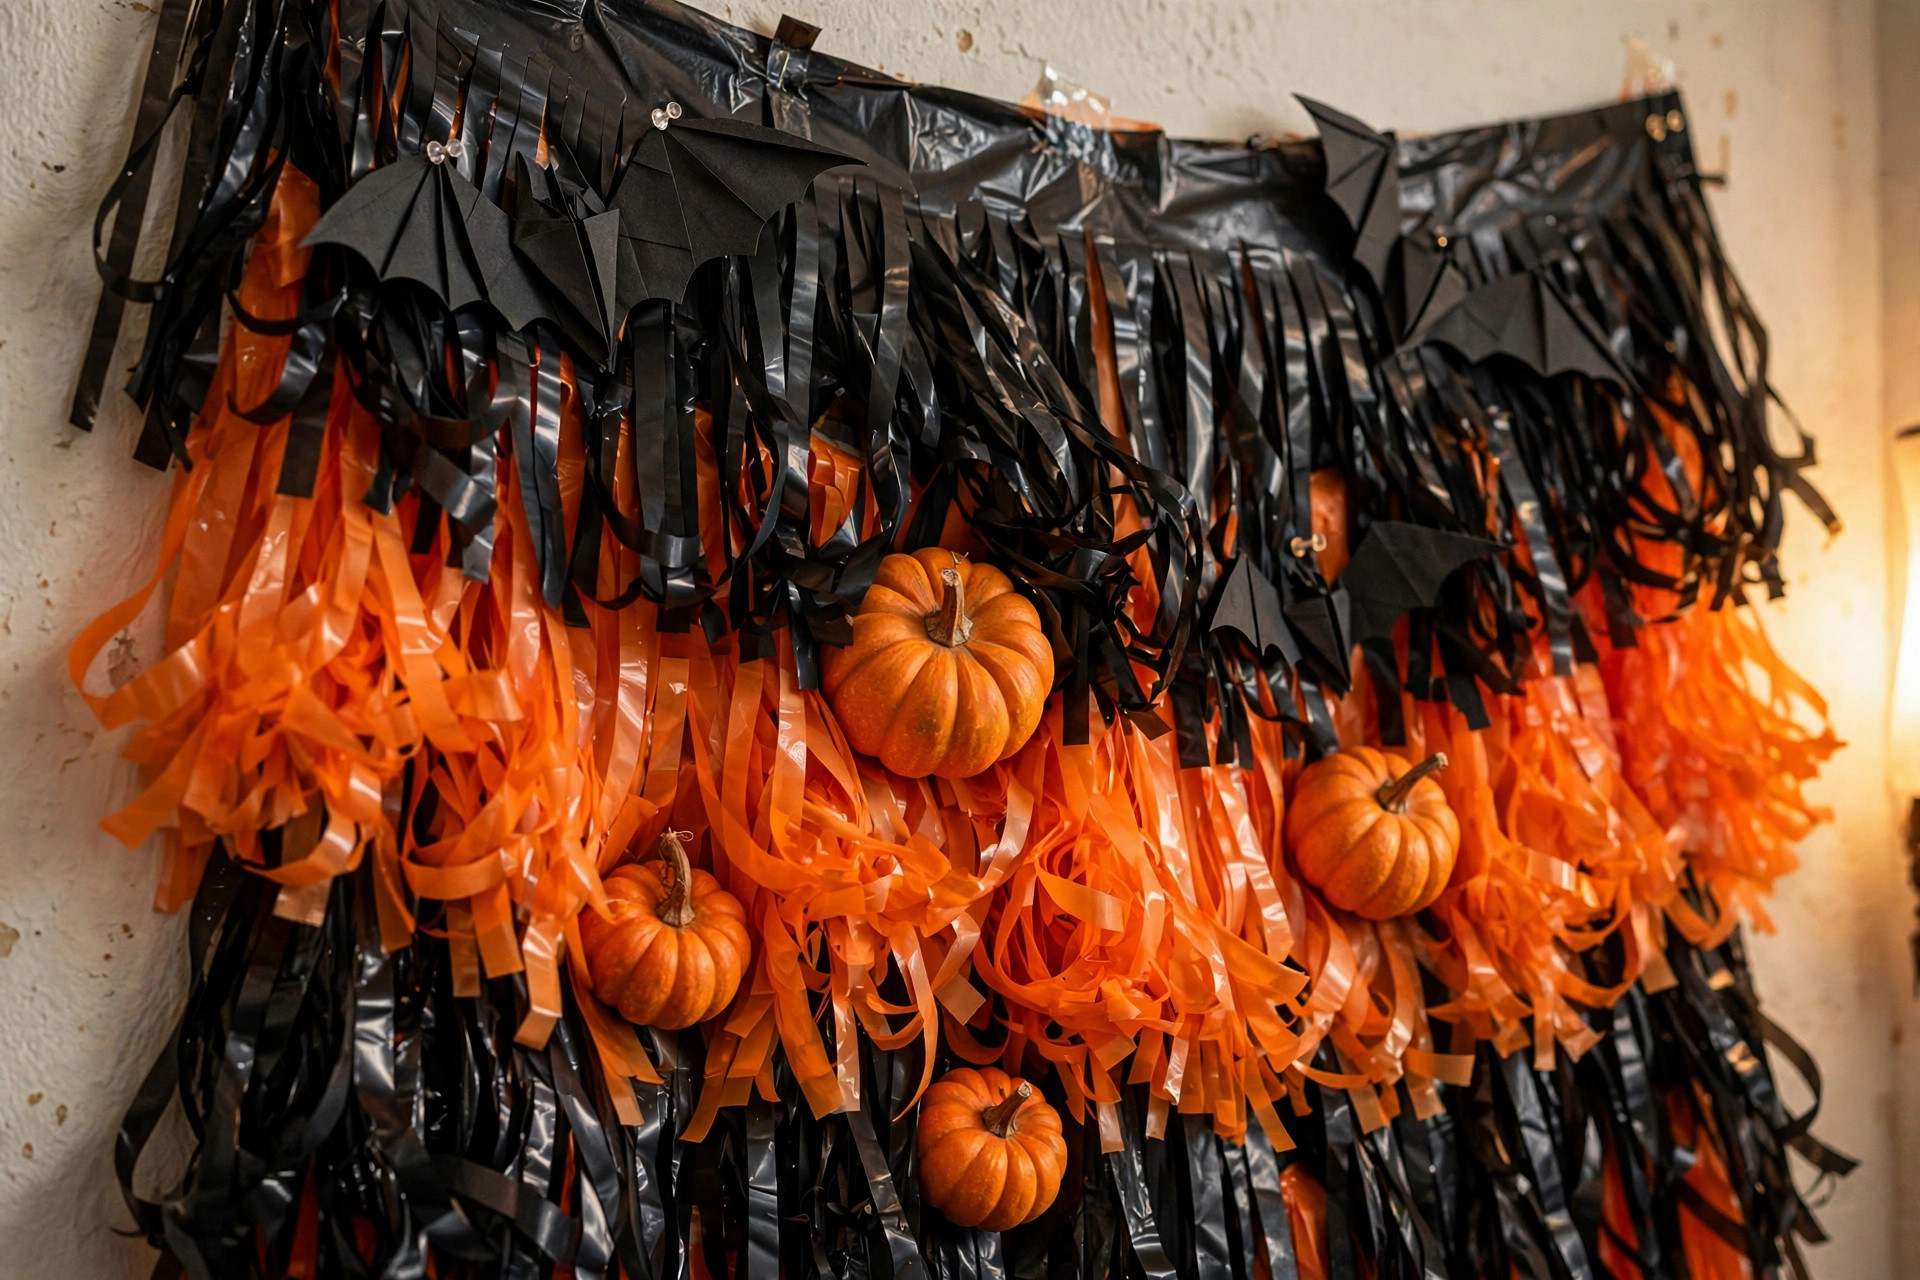
Separate the strips with your fingers, alternating which way they fall. Twist a few strips loosely for texture variety. Trim the bottom edge into a slight curve or points — a straight-across cut looks manufactured; an uneven hand-trimmed edge looks styled. Step back six feet and squint: gaps where wall shows through need another tablecloth layer behind them.
This fluffing step takes ten minutes and it's the difference between "plastic strips" and "photo backdrop." Don't skip it.
Step 5: Add the focal pieces
A backdrop needs one or two focal elements so photos have a center:
- Big paper bats (cut from black construction paper, taped to the fringe at different depths — the depth variation photographs beautifully)
- A "BOO" or "EEK" banner in metallic letters across the top third
- One oversized moon: a paper plate painted cream, hung slightly off-center
- Hanging ghosts: white tissue paper over a cotton ball, tied with string at varied lengths from the rod
Pick two, not four. The fringe is already busy; focal pieces are punctuation, not paragraphs.
Step 6: Light the faces, not the backdrop
The classic photo-booth failure: the backdrop is lit and the faces are in shadow. Put your light source in front of and slightly above the subjects — a clip light on a bookshelf across from the backdrop, or a desk lamp bounced off a white wall. Phone flash works in a pinch but flattens everything; a steady warm light two feet to the side of the photographer gives you dimension.
Test with one photo before the party. Check for: harsh shadows on faces (move the light farther), backdrop too bright behind dark faces (dim the backdrop light or move subjects a foot forward), and color cast (warm white light, not the cool blue of a cheap LED).
Step 7: Props and the five-minute teardown
Set props in a bucket or vase next to the backdrop — on sticks, easy to grab. Cap it at six props; more becomes clutter people trip over. The empty picture frame is the crowd favorite every time — people hold it up and pose inside it, and it needs zero explanation.
Teardown: lift the tablecloths off the rod, pull the adhesive strips straight down (the pull-tab kind remove cleanly when you pull slowly along the wall, not outward), collapse the tension rod. The whole backdrop fits in a grocery bag for next year. Wipe any tape residue with a damp cloth and the wall looks untouched.
Put this in the corner with the best natural light if your party is daytime, or near your blacklight setup if you're running the glow party from our other guide — the fringe looks incredible under UV with white and neon tablecloths swapped in.
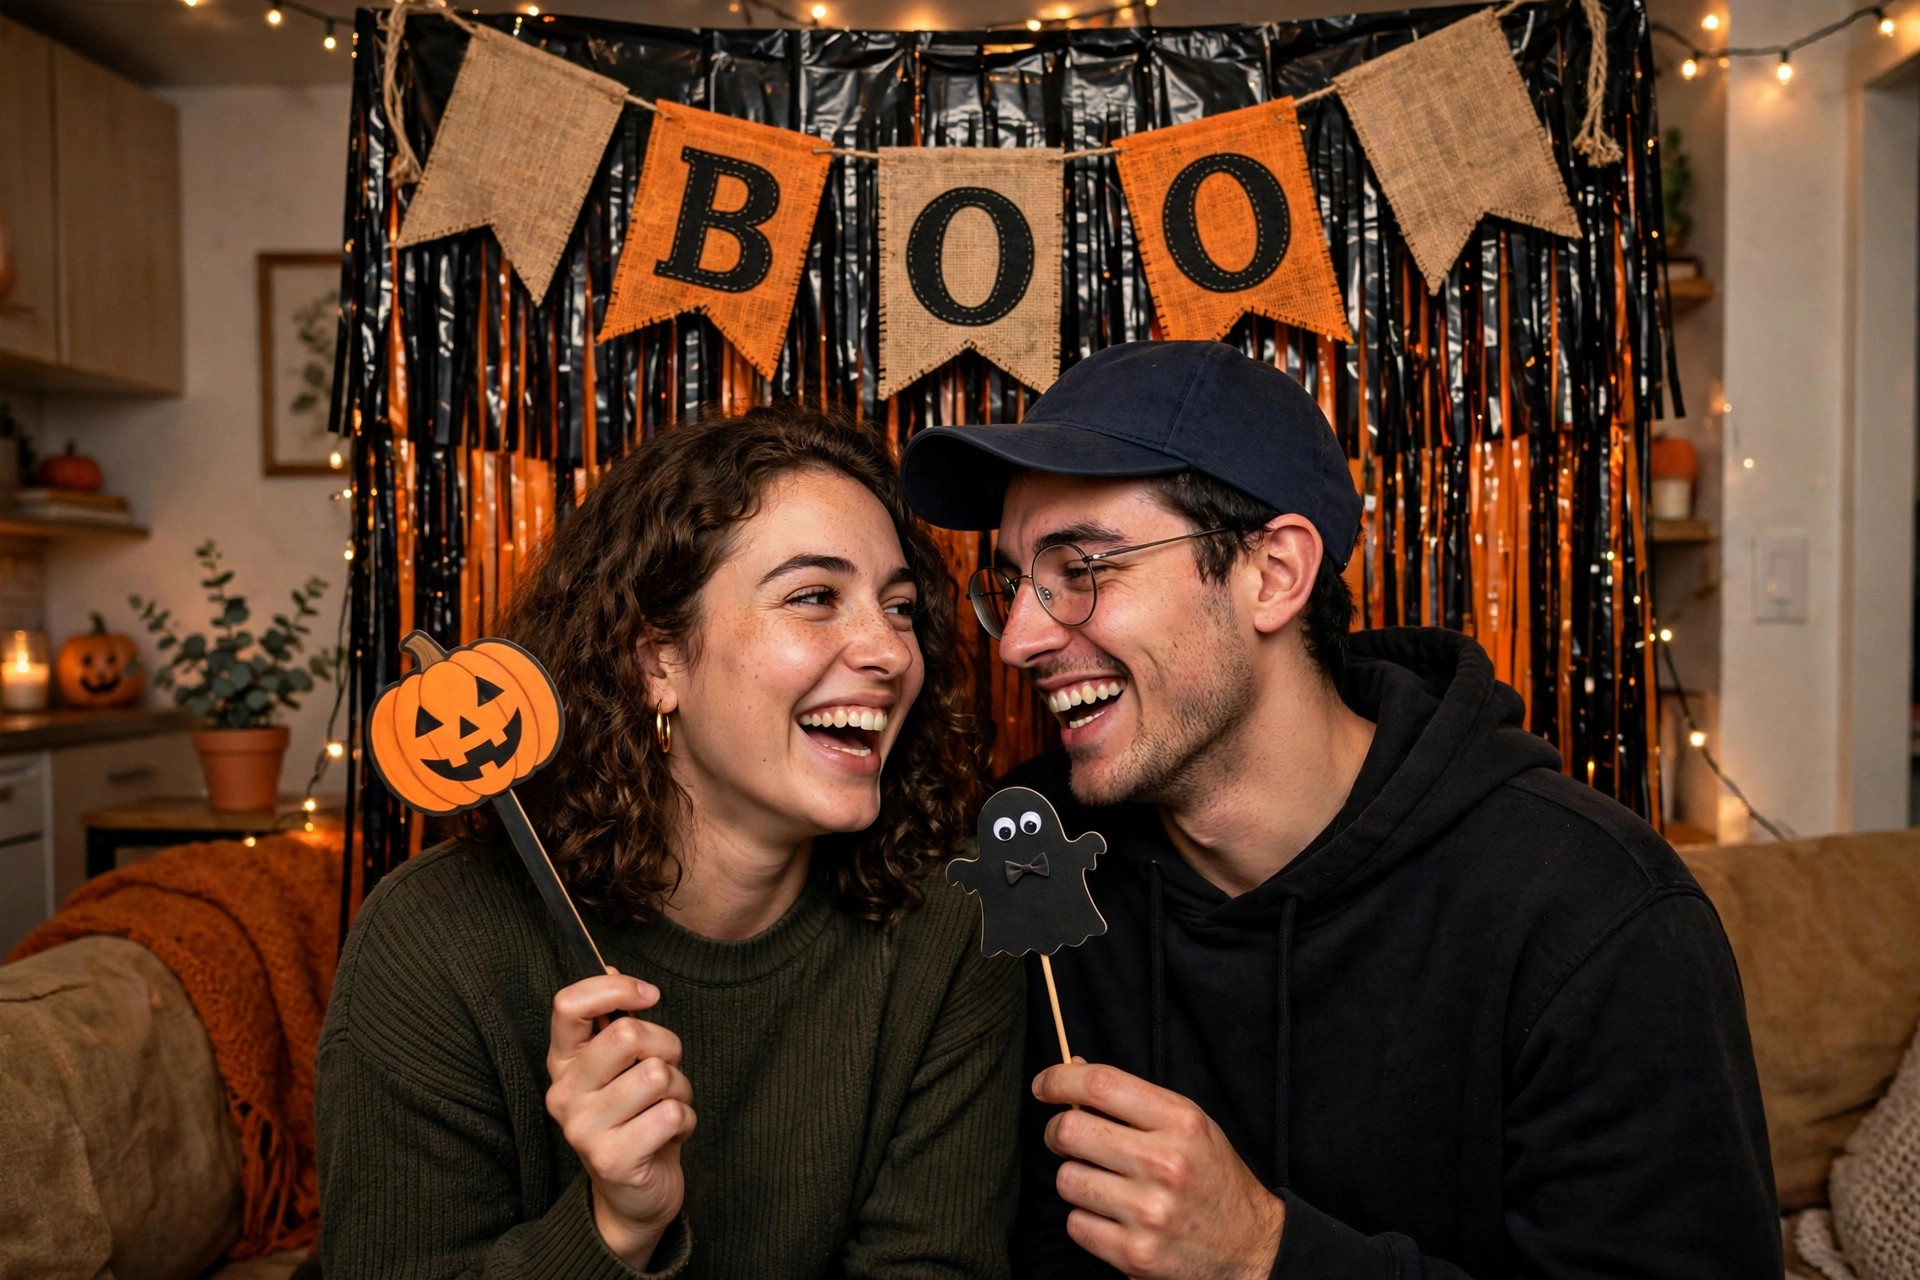
Use a tension rod wedged in a doorway or across two adhesive hooks — the backdrop hangs from the rod, so nothing attaches to walls permanently. Pull-tab adhesive strips remove cleanly when pulled slowly downward.
Four feet wide by six feet tall minimum for phone photos of 2-3 people. Leave 4-5 feet of clear floor space in front for the photographer to stand back.
Plastic tablecloths from the dollar store — 3-4 in Halloween colors, cut into fringe strips and layered on a rod. The whole backdrop costs under ten dollars.
Light the faces, not the backdrop — place a warm light source in front of and slightly above the subjects. Test with one photo first and check for harsh shadows.
Lift the tablecloths off the rod and fold them into a grocery bag. They’ll be wrinkled but the fringe hides it; refluff for ten minutes when rehanging.
Frequently Asked Questions
How do you hang a Halloween photo booth backdrop in a rental without damage?
Hang everything from a tension rod, which is the renter's secret weapon. Wedge it in a doorway or between two pieces of furniture, and it holds up to 10 pounds with nothing touching the walls. If there is no doorway nearby, stick two removable adhesive hooks rated for 3 plus pounds on the wall 4 feet apart, wait the full hour the package demands for the adhesive to cure, and rest the rod across them.
What is the cheapest material for a DIY Halloween photo booth backdrop?
Dollar-store plastic tablecloths in two or three Halloween colors, three or four total, cut into fringe strips and layered on a rod. Cut from the bottom edge up, stopping six inches from the top, in strips about two inches wide, and drape each tablecloth's uncut band over the rod. The whole backdrop costs under ten dollars.
How big should a DIY photo booth backdrop be?
Four feet wide by six feet tall minimum, which is the phone-photo frame for two to three people. Hang it from about six feet high down to the floor, because fringe that stops at waist height looks unfinished in photos. Leave four to five feet of clear floor space in front so the photographer can stand back.
How do you light a photo booth backdrop so faces are not in shadow?
Light the faces, not the backdrop. Put a warm light source, like a small LED clip light on a bookshelf across from the backdrop or a desk lamp bounced off a white wall, in front of and slightly above the subjects. Test with one photo before the party and check for harsh shadows, a too-bright backdrop behind dark faces, and color cast.
How do you store a fringe tablecloth backdrop for next Halloween?
Lift the tablecloths off the rod and fold them into a grocery bag, and the whole thing takes five minutes to tear down. Pull the adhesive hook strips slowly straight down along the wall, not outward, and they remove cleanly. The fringe will be wrinkled when you rehang it, but the texture hides it, so refluff for ten minutes.