
13 Under-Stairs Closet Wardrobe Conversions Worth Copying
The space under a staircase is the most underused square footage in most houses — a dark triangle that collects vacuum cleaners and good intentions. The sloped ceiling that looks like a problem is actually the asset: it forces storage designed around real measurements instead of a default rod and shelf. Here’s what actually works, from simple weekend projects to full rebuilds.
One thing before the ideas: if your conversion involves moving a load-bearing stud, cutting into the stair stringer, or adding new electrical wiring for lighting, get a licensed contractor or electrician for that part. Cosmetic work is fair game for DIY; structural and electrical work is where a mistake gets expensive or dangerous.
1. Pull-Out Drawers on Full-Extension Slides
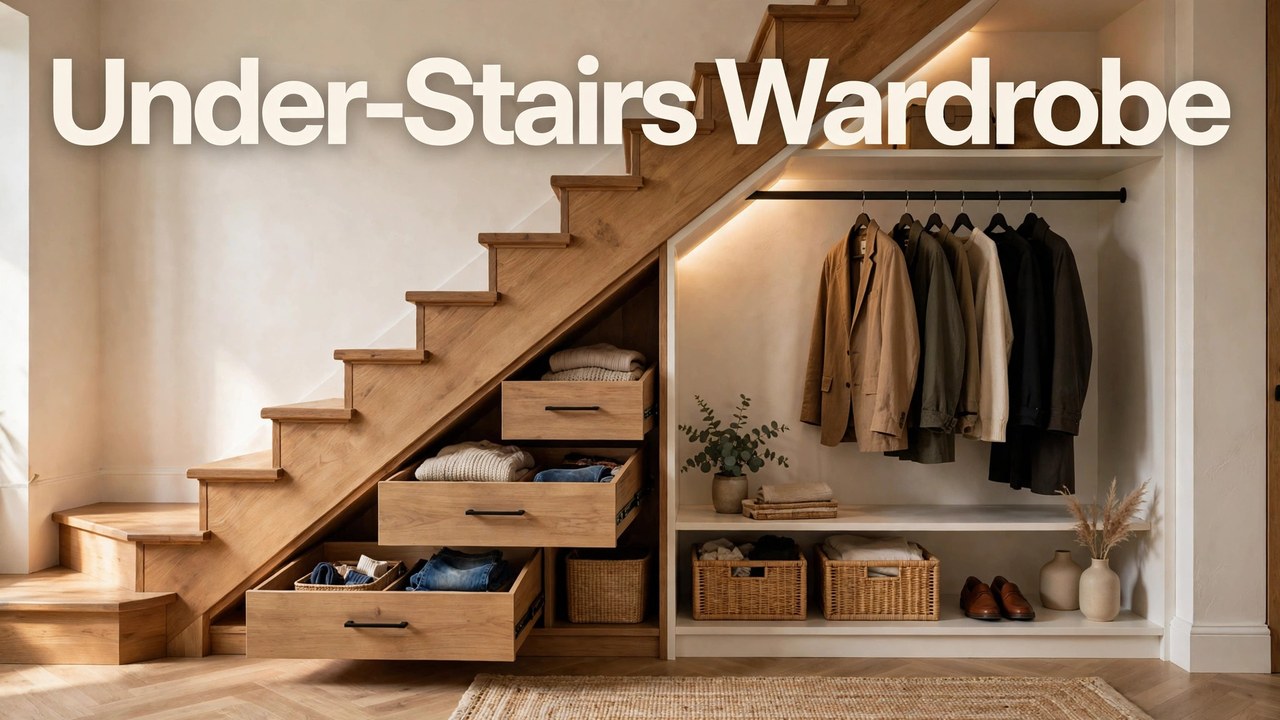
The classic for a reason. Deep drawers on full-extension slides turn the lowest, darkest part of the triangle into the most accessible storage in the house — you pull the whole drawer out into the room instead of crawling in. Build these in graduated depths: shallow up top where headroom is generous, deep at the bottom. Folded clothes, not hanging, is what drawers do best.
2. The Angled Hanging Rail
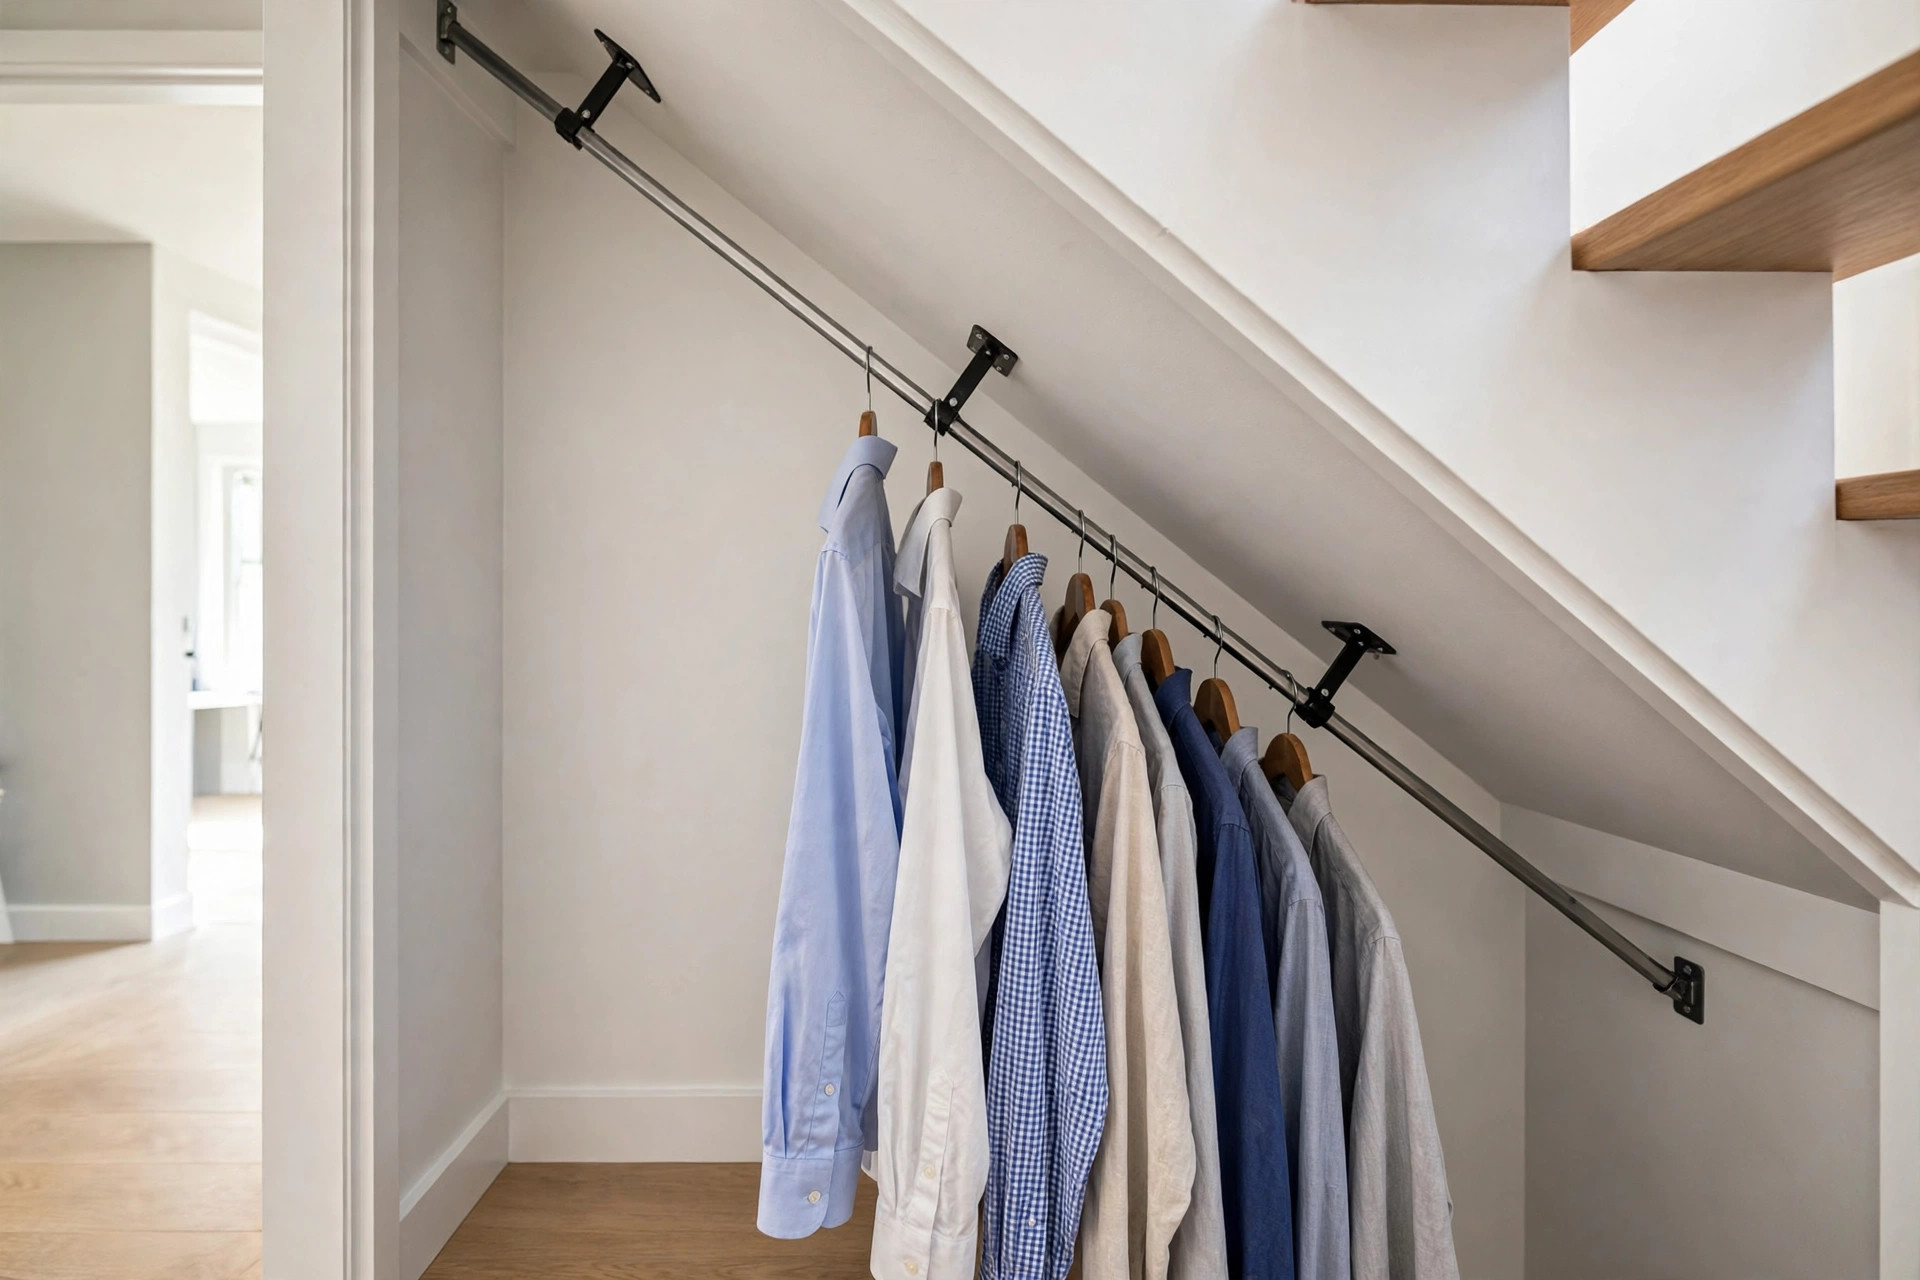
A standard closet rod needs about 24 inches of depth and full standing height, which the slope won’t give you. An angled rail that follows the stair pitch does. Mount heavy-duty brackets into the studs along the slope and run the rail parallel to the stairs — shirts and jackets hang at a tilt but stay wrinkle-free, and you reclaim the tall section near the stairwell entrance for full-length items.
3. Shoe Wall on the Low End
The wedge of space under the lowest steps is too short for almost everything except shoes. Line it with angled shoe shelves (a slight tilt keeps pairs visible and stops them sliding) and you’ve housed 20+ pairs in space that was holding a broken lamp. This is the highest-value-per-square-inch conversion on this list.
4. Seasonal Rotation Station
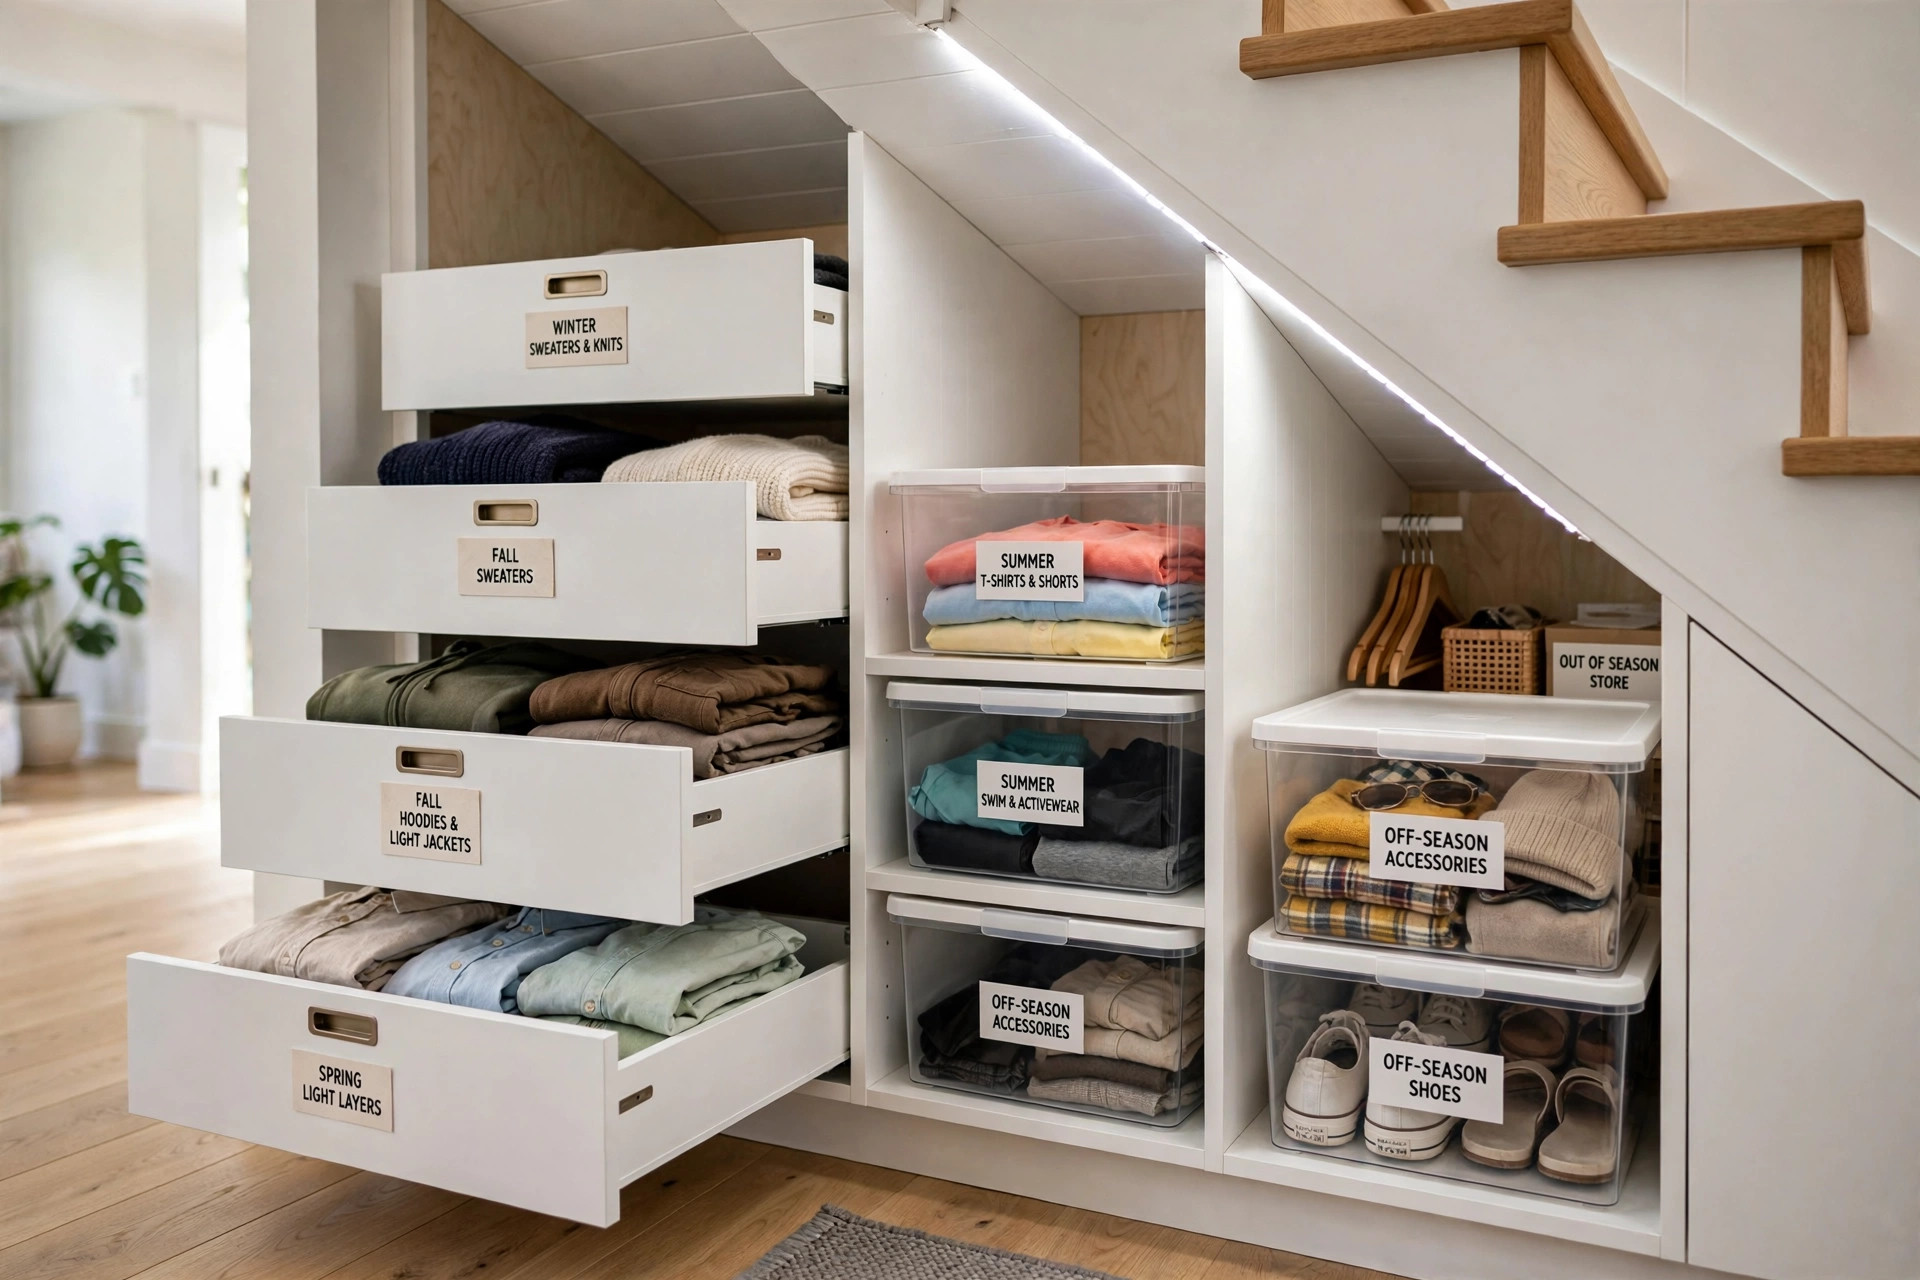
Not every under-stairs wardrobe needs to hold daily clothes. Dedicate it to the off-season: winter coats and boots in summer, shorts and sandals in winter. Labeled bins on the low end, hanging rail for coats on the tall end, and a twice-yearly swap that takes an hour. Households that do this usually find their bedroom closets feel twice as big afterward.
5. Kids’ Wardrobe Nook
The low ceiling that frustrates adults is perfect for children. A kid-height rail, a few low cubbies, and a small mirror turn the under-stairs space into a wardrobe a five-year-old can use completely independently. Morning routines get dramatically easier when the child can reach everything without asking. Paint the inside a bright color — dark triangles feel like caves to small kids.
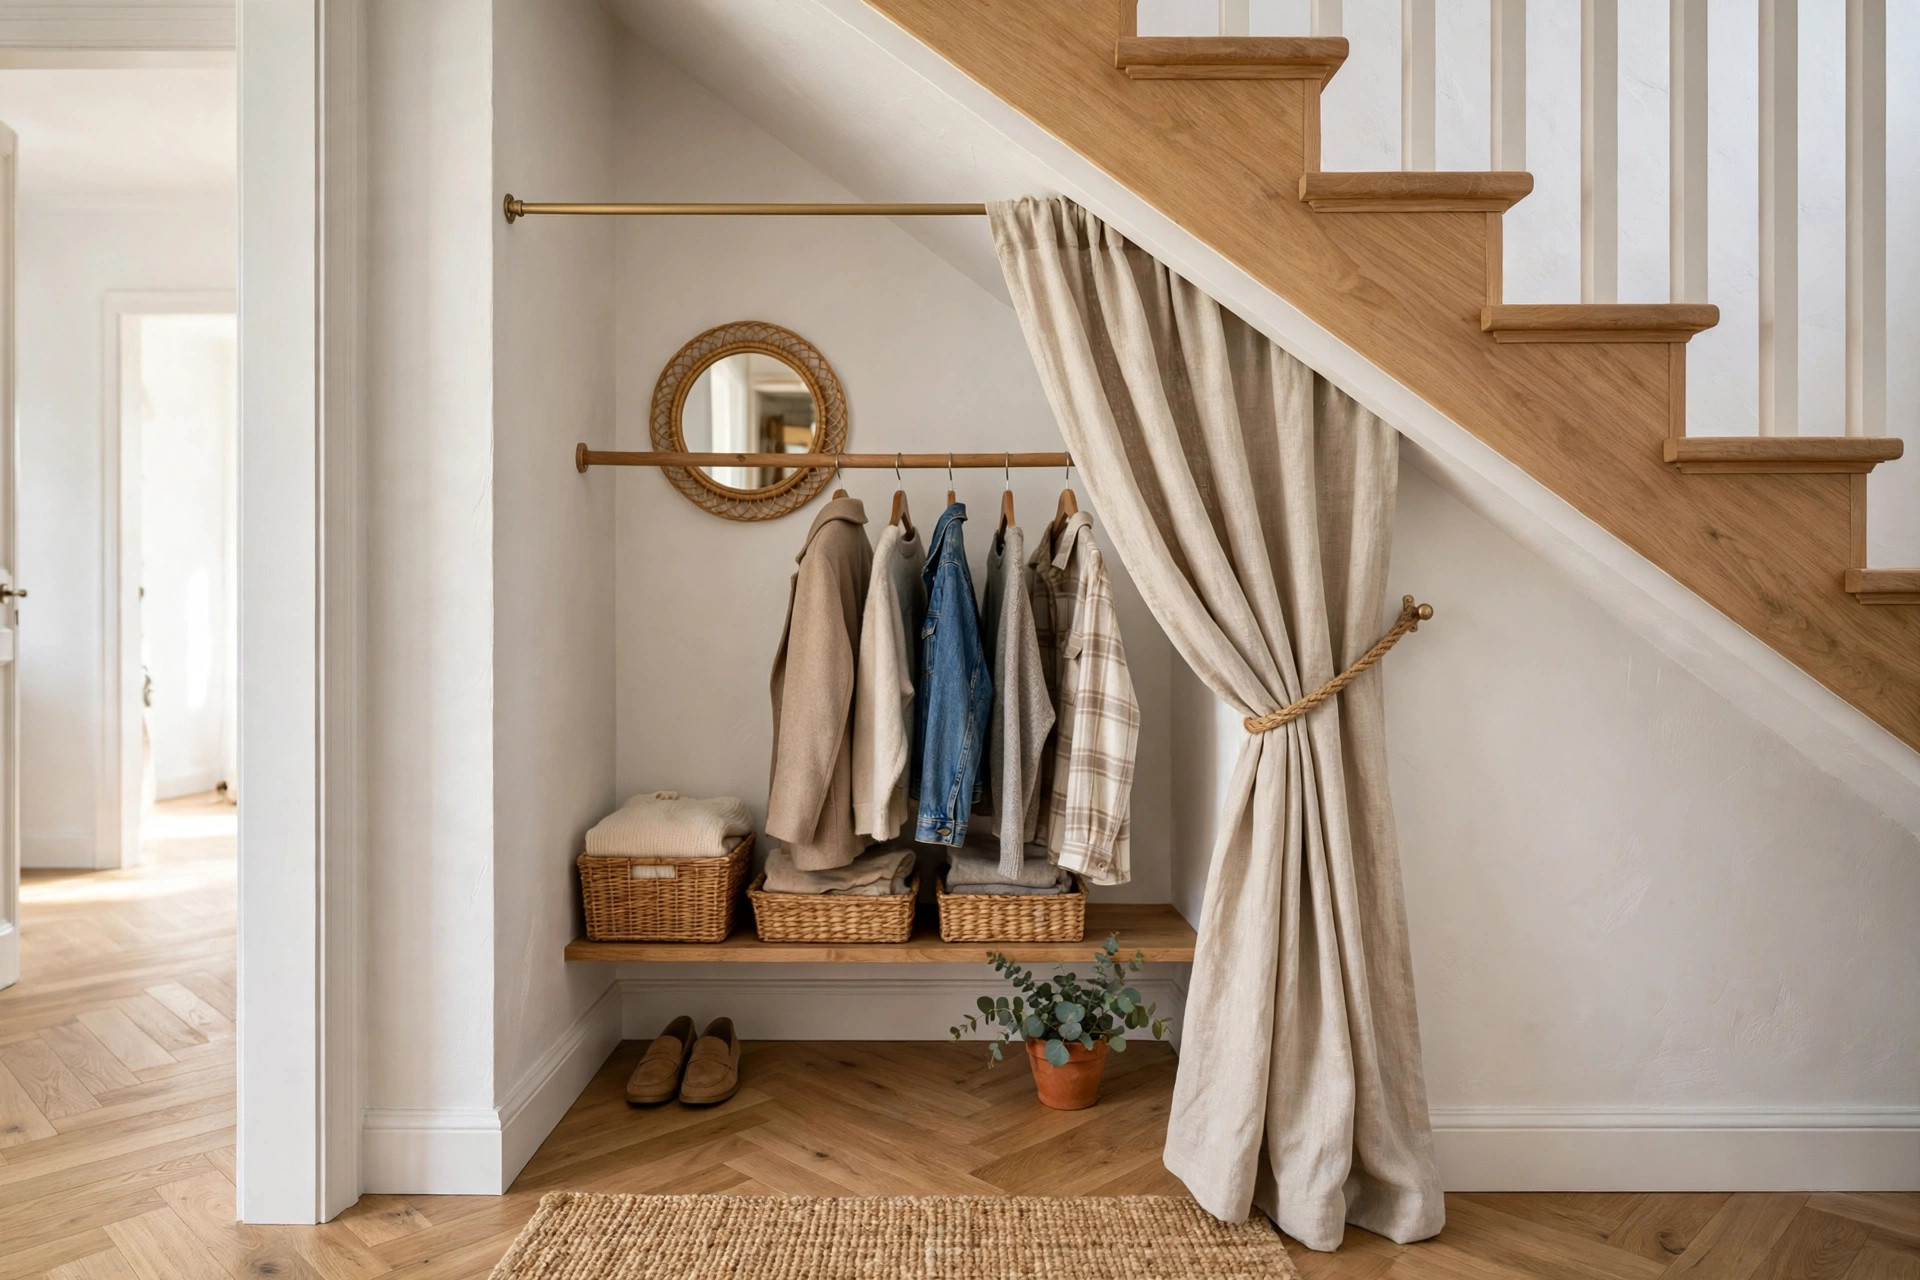
6. The Dressing Alcove With a Curtain
No doors to build, no hinges to hang: frame the opening, add a tension-rod curtain, and put a narrow dresser plus a rail inside. The curtain reads as intentional design rather than unfinished project, it costs almost nothing, and renters can do a version of this with freestanding furniture and zero modifications.
7. Pull-Out Hanging Racks (Wardrobe on Rails)
For the deepest triangles, mount a hanging rail on heavy-duty drawer slides so the entire rail pulls out into the room like a drawer. You get full access to clothes stored four feet deep without ever crouching inside. The hardware costs more than fixed brackets, but it solves the fundamental problem of deep under-stairs space: the back half is otherwise unreachable.
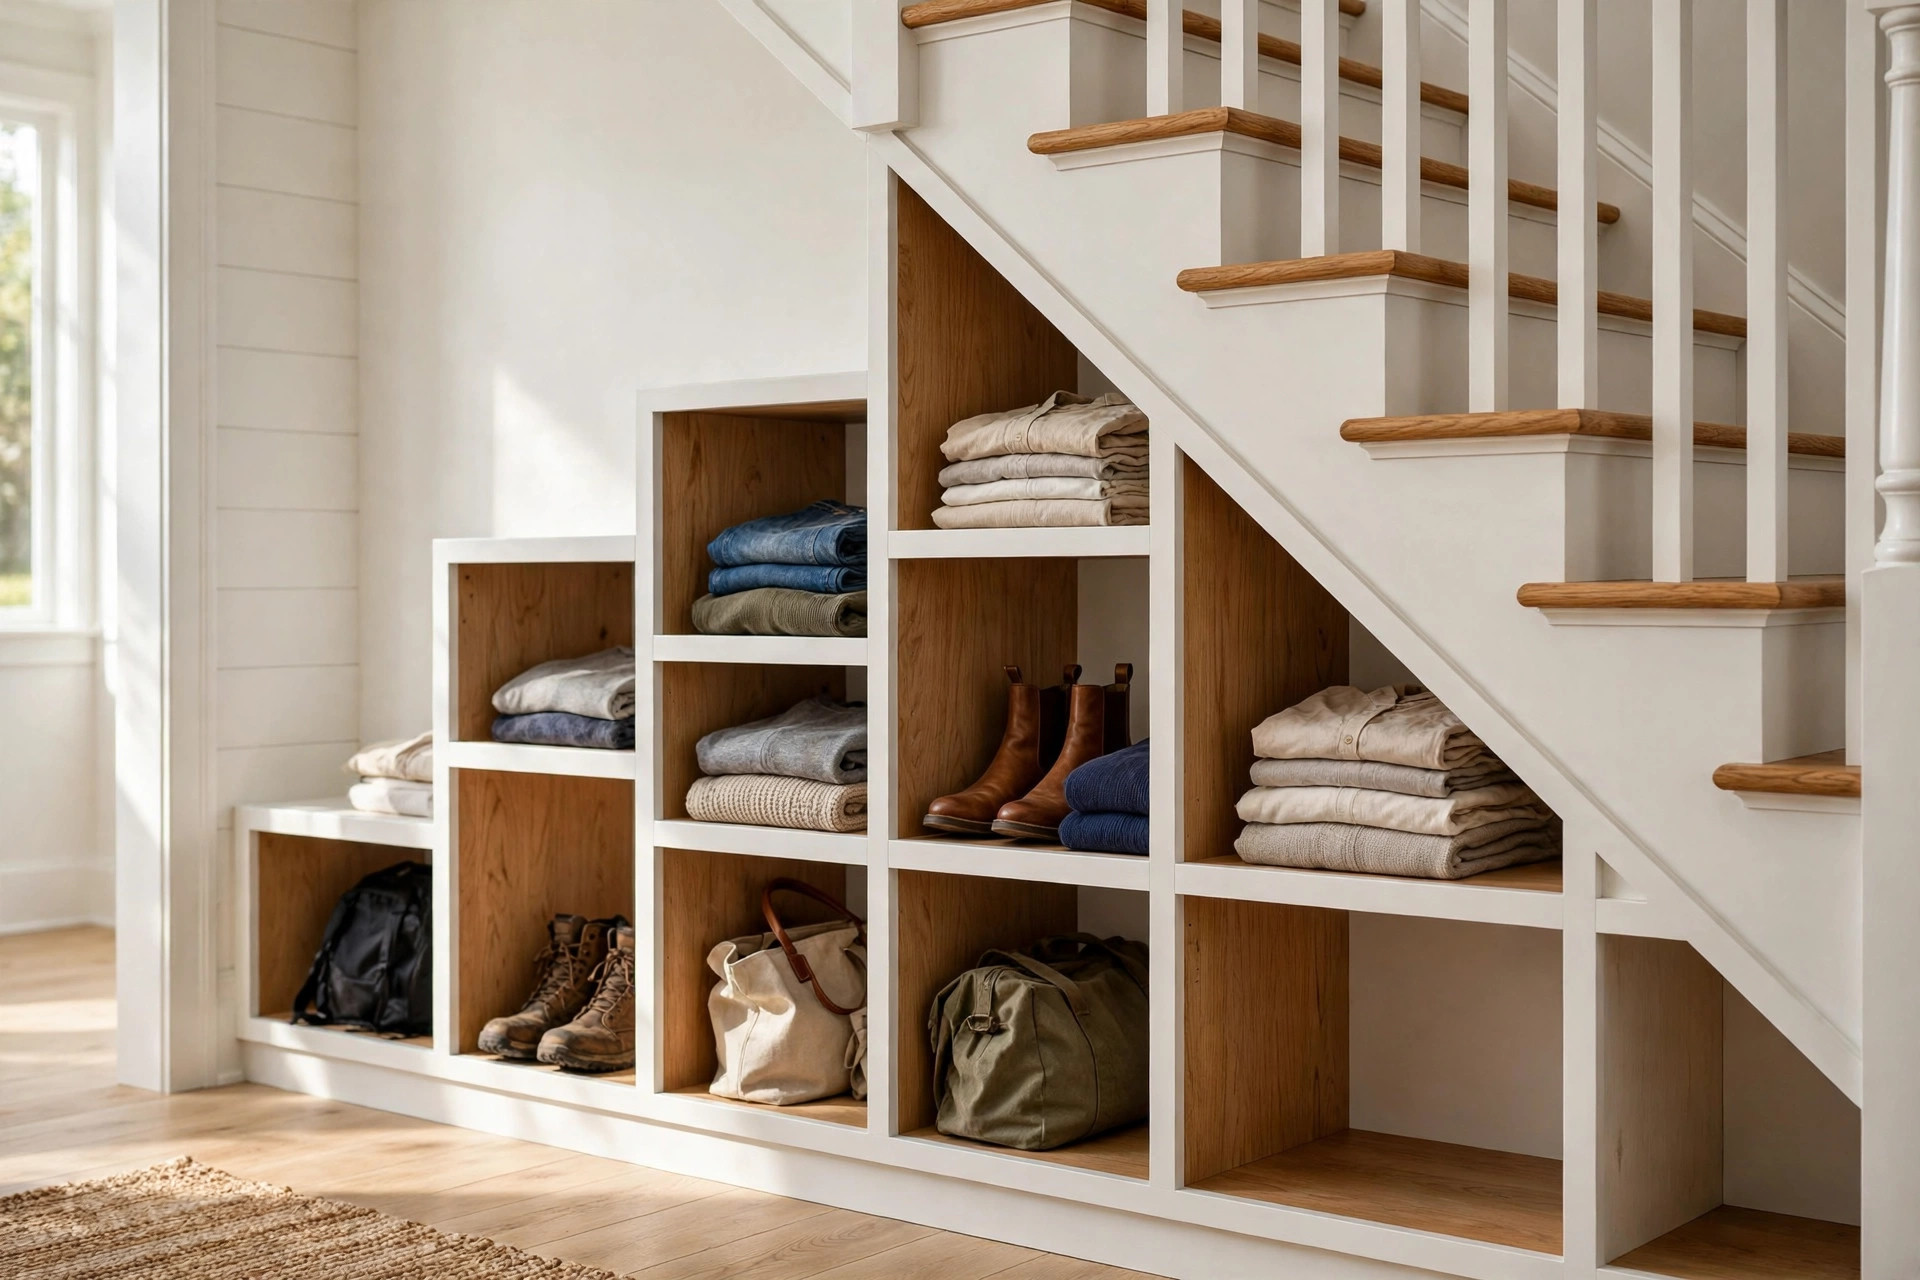
8. Built-In Cubbies Following the Stair Pitch
Instead of fighting the slope, build open cubbies that step down with it — tall cubbies at the high end for boots and bags, shrinking to small squares at the low end for folded tees and accessories. It looks custom because it is custom, and open cubbies mean no doors to swing in a tight hallway.
9. The Hidden Safe-Value Wardrobe
Under-stairs space near the entry is ideal for the “grab on the way out” wardrobe: coats, bags, umbrellas, and shoes in one station. A rail at the tall end for coats, hooks along the slope for bags, and a drip tray at the bottom for wet umbrellas and boots. This is the conversion guests actually notice and compliment. If your front door opens straight into the living room with no foyer at all, pair this setup with these no-foyer entryway coat storage ideas
10. Double-Duty: Wardrobe Plus Utility
If the household needs both clothes storage and a utility spot, split the triangle: wardrobe on the tall two-thirds, and a shallow utility cabinet (cleaning supplies, toolbox, gift wrap) on the low end behind its own door. One project, two problems solved. Just keep chemicals and gift wrap in separate sealed zones — nobody wants wrapping paper that smells like mop water.
11. LED Strip Lighting on a Door Switch
Whatever conversion you choose, light it. A ten-dollar LED strip on a magnetic door switch transforms the space from a cave into a closet — the light comes on when the door opens, off when it closes, no wiring into the house circuit. If you want hardwired lighting on the mains instead, that’s electrician territory (see the note up top), but battery strips have gotten good enough that most people never bother.
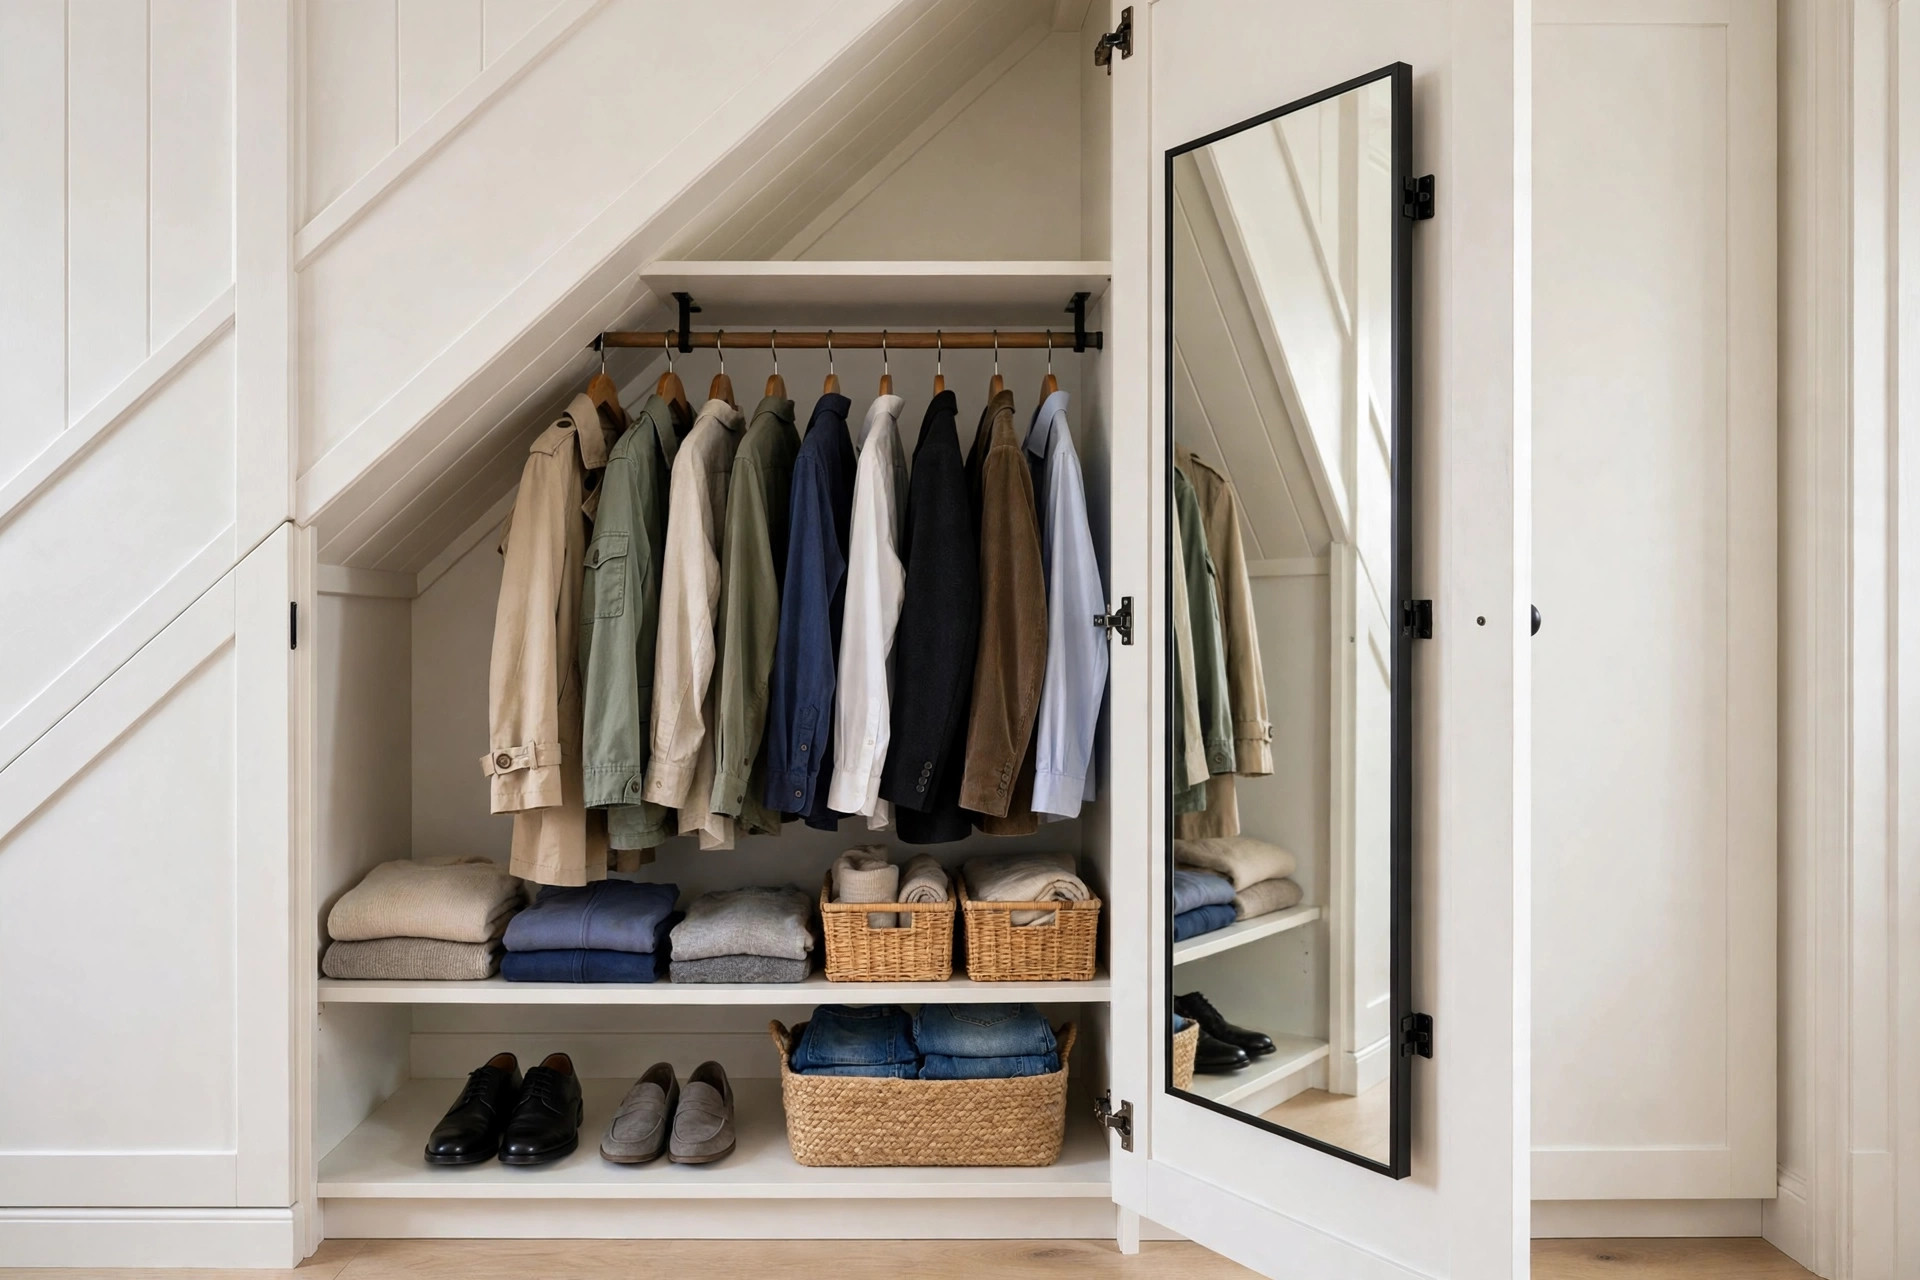
12. Mirror on the Inside of the Door
A full-length mirror mounted inside the under-stairs door turns the wardrobe into a dressing spot. It costs little, needs no floor space, and makes the whole setup feel deliberate. In narrow hallways where there’s no wall for a standing mirror, this is often the only place one fits.
13. The Phased Build: Start With the Rail
For anyone overwhelmed: don’t build all of this at once. Phase one is a single angled rail and a battery LED strip — one weekend, minimal cost, and suddenly the space is a working wardrobe. Live with it for a month. You’ll learn exactly what you reach for and what’s missing, and phase two (drawers, cubbies, doors) gets built around real habits instead of guesses. Overbuilt under-stairs projects skip this step; the successful ones don’t.
That slope under your stairs isn’t wasted space. It’s a wardrobe waiting for someone to measure it properly.
Working with another awkward space? These attic bedroom wardrobe ideas tackle sloped ceilings the same way.
Yes — it’s one of the best uses of the space. An angled hanging rail following the stair pitch, pull-out drawers on the low end, and battery LED lighting make a functional wardrobe in a single weekend. Deeper triangles benefit from pull-out rails on drawer slides.
For cosmetic conversions (rails, drawers, shelving, freestanding furniture) in most regions, no. If you’re removing studs, altering the stair structure, or adding hardwired electrics, check local building codes and bring in a licensed professional for the structural and electrical work.
Mount the rail parallel to the stair pitch using brackets fixed into studs, so it follows the slope. Shirts and jackets hang at a slight angle but stay crease-free. Keep full-length items at the tall end near the stairwell entrance.
Battery-powered LED strips on a magnetic door switch are the simplest: light on when the door opens, off when it closes, no wiring. For hardwired lighting on the mains circuit, hire a licensed electrician.
Build in graduated depths — shallow drawers where headroom is generous near the entrance, deeper drawers toward the back. Full-extension slides are worth the extra cost so you can reach the back of deep drawers without crawling in.