
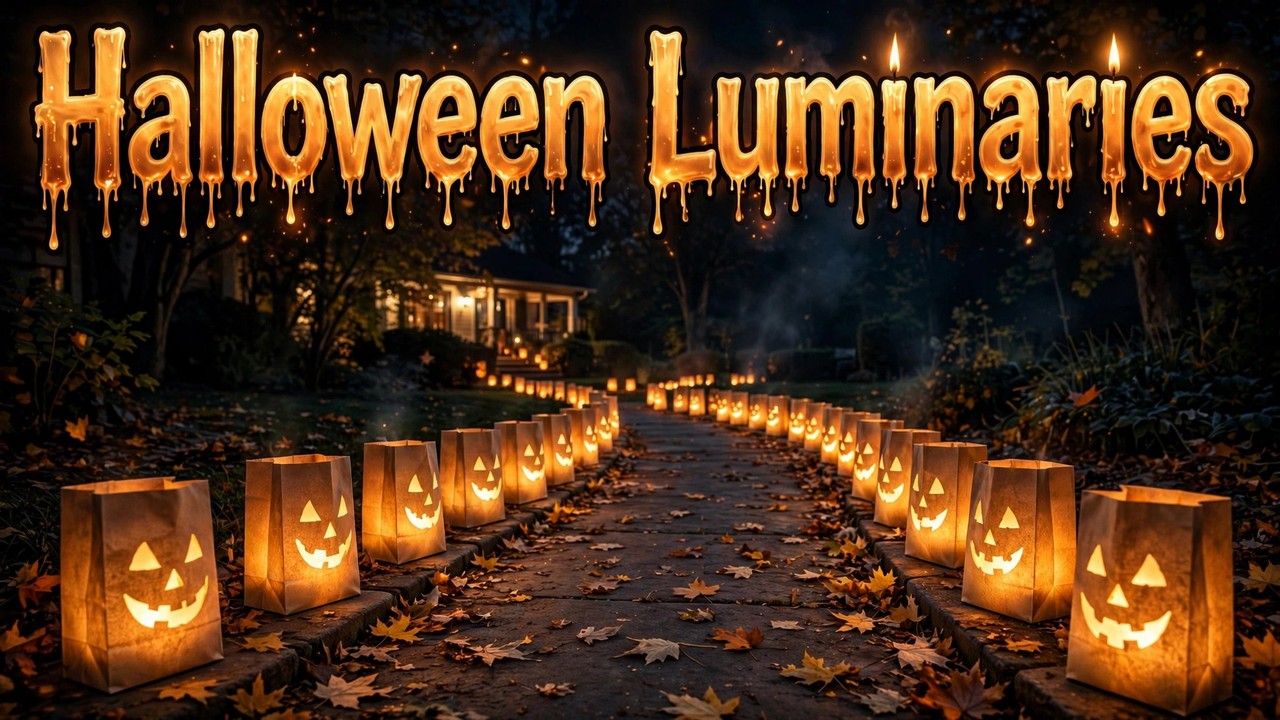
Wind-Resistant LED Paper-Bag Halloween Luminaries
Paper-bag luminaries are the classic Halloween walkway light — a glowing row of them turns an ordinary path into an event. The traditional version uses real candles, which means wind, fire risk, and relighting all night. The LED version below glows just as warmly, survives gusty October evenings, and you set it out once. Run along a walkway season after season, these hold up — the windproofing method is the part worth refining through trial and error.
What you'll need
- Brown paper lunch bags or small paper gift bags (lunch bags are the classic; gift bags with handles look fancier)
- LED tea lights — the flickering kind, warm white (one per bag, plus a few spares)
- Sand, gravel, or cat litter for weight (about a cup per bag)
- Scissors or a craft knife for cutouts
- Optional: black construction paper for silhouette cutouts glued to the bags
LED tea lights only — never real candles in paper bags. This isn't negotiable; paper and open flame on a windy night is exactly as bad an idea as it sounds. The flickering LEDs genuinely look like candlelight through the paper, especially the warm-white ones. Cool-white LEDs look like a hospital corridor; check the package.
Step 1: Weight every bag first
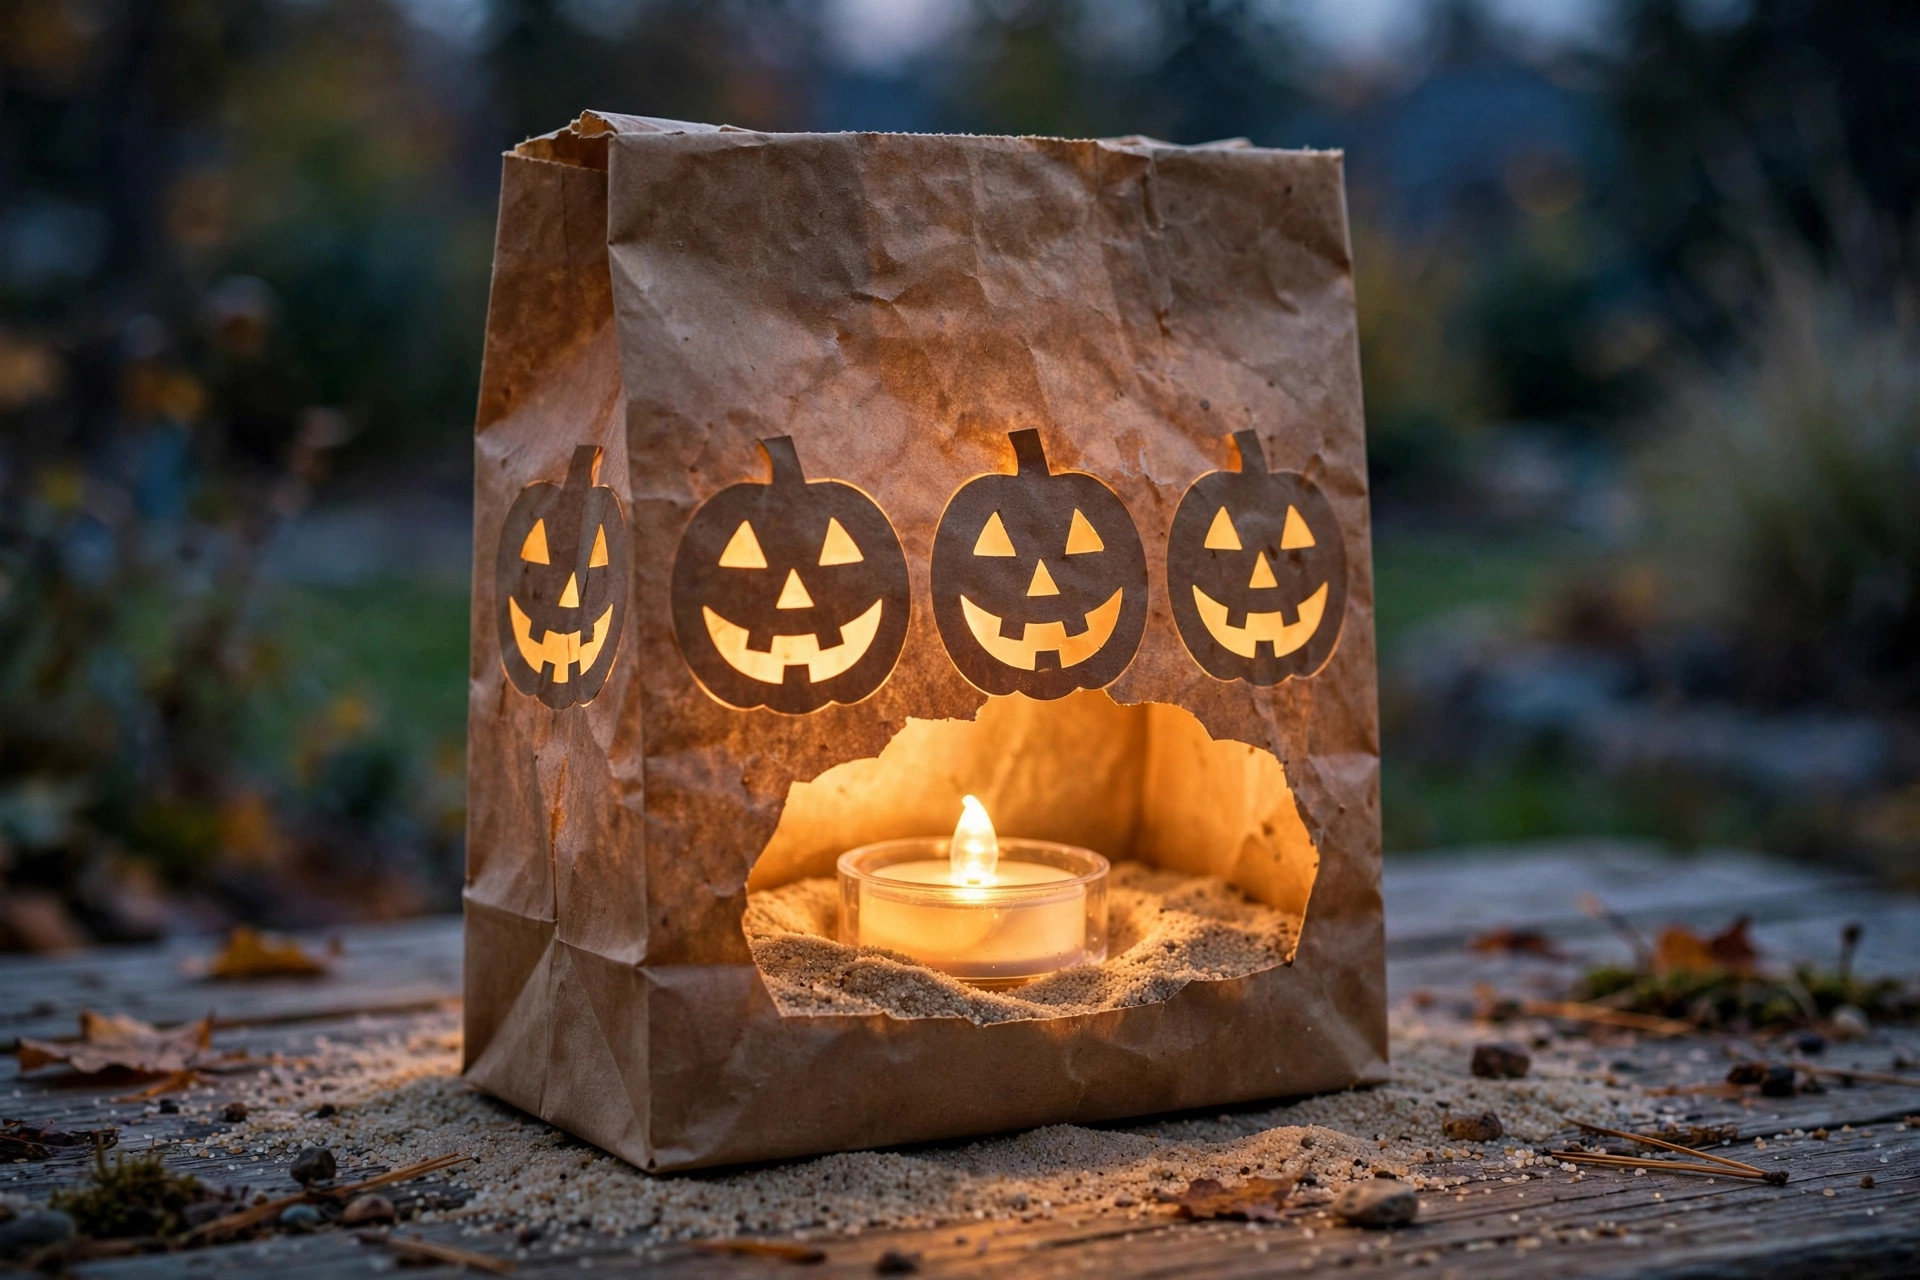
Pour about a cup of sand or gravel into each bag and fold the bottom flat so it sits stable. This is the entire windproofing secret — a weighted bag doesn't tip, and a bag that doesn't tip doesn't blow away. Unweighted luminaries become tumbleweeds in the first gust; a whole row can migrate into the neighbor’s yard before the lesson sticks.
Sand is cheapest if you have a sandbox or a hardware store nearby; cat litter works fine and most people already own it. Whatever you use, it stays in the bag — you're not gluing or attaching anything.
Step 2: Cut your designs
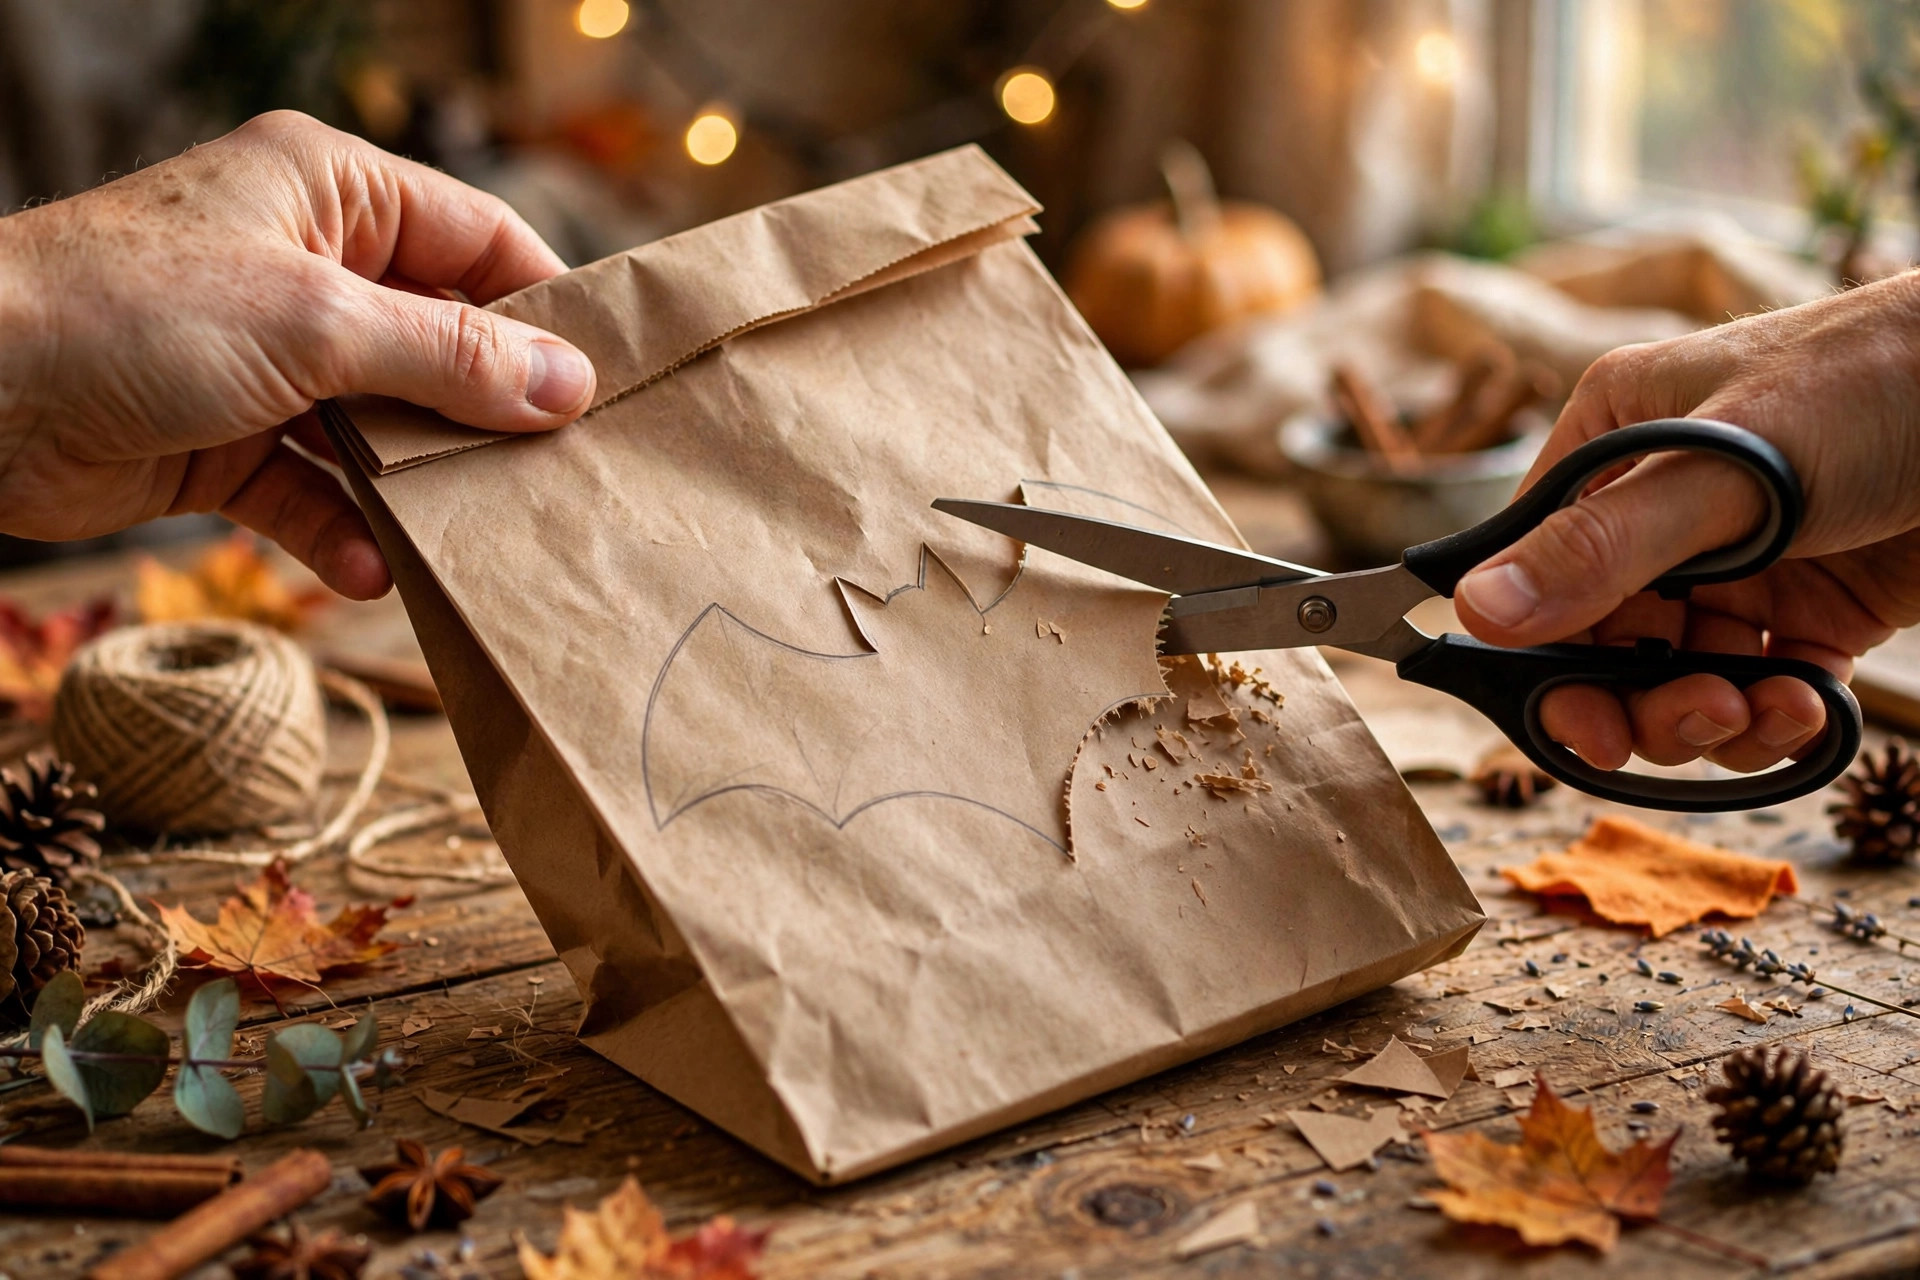
Fold the bag's top edge down about two inches to stiffen the opening, then cut simple shapes into the upper half: jack-o'-lantern faces, bats, stars, moons. Keep cutouts at least an inch from the top edge so the bag keeps its structure. Simple shapes glow best — intricate cutouts turn to mush when backlit, the same as window silhouettes.
For a fancier version, cut the shape from black construction paper and glue it onto the bag instead of cutting through. The black-on-brown contrast looks sharp in daylight too, which matters because luminaries sit out all day before they glow at night.
Step 3: Place the LED tea light
Nestle one flickering LED tea light into the sand, pushing it down so it's stable and centered. The sand holds it upright — no tape needed. Turn each light on as you place it (or buy the kind with a remote; pressing thirty tiny switches in the dark gets old fast).
One light per bag is plenty. Two creates hotspots that wash out your cutout design. If a bag looks dim, the issue is almost always the tea light's battery, not the number of lights — swap in a spare.
Step 4: Space and line them
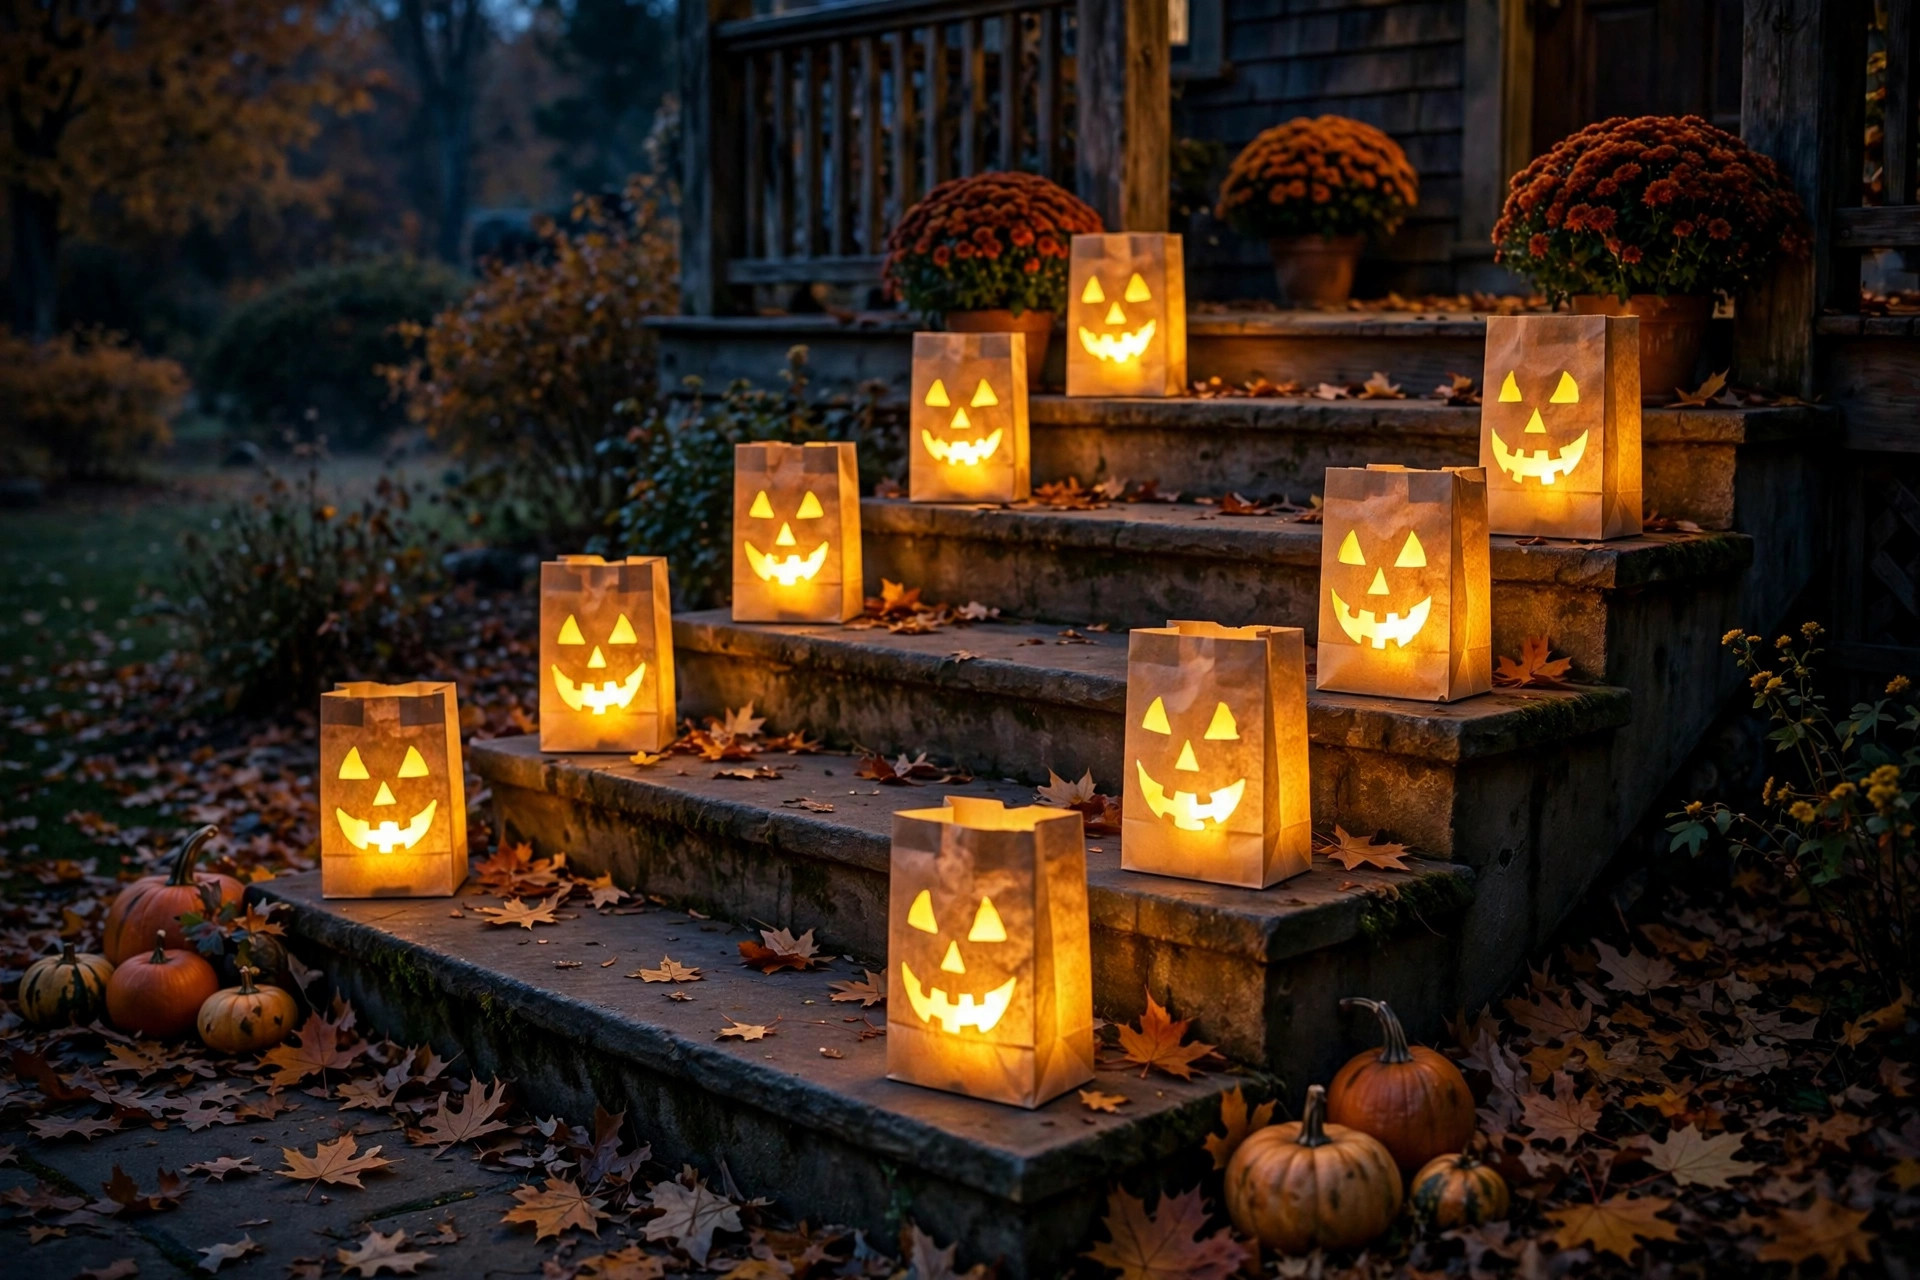
Set bags 2 to 3 feet apart along the walkway, porch steps, or driveway edge. Closer than 2 feet and the glows merge into one blur; farther than 3 feet and the line feels broken. On steps, put one bag per step on alternating sides — the zigzag reads beautifully from the street.
Keep bags at least a foot from anything flammable anyway (dried leaves, doormats, wooden railings). LEDs don't get hot, but wind-blown leaves piling against any decoration is worth preventing regardless.
Step 5: The rain plan
Paper and rain don't mix — there's no windproofing your way out of a downpour. Check the forecast: if rain's coming, either skip that night or slip each bag inside a clear plastic bag (grocery produce bags work) with the top loosely gathered. The plastic dulls the glow slightly but saves the bags. In a drizzle, bags under a porch overhang survive fine; bags in the open don't.
Honestly, the move is to treat these as fair-weather luminaries and have a backup plan for wet nights — the window silhouettes from our other tutorial glow rain or shine.
What to expect
At dusk, flip the switches (or hit the remote) and the whole walkway comes alive at once. The flicker setting on the tea lights sells the candle illusion — from ten feet away, nobody can tell. Bring the bags inside after the evening; even heavy dew softens paper overnight. Dump the sand back in its container, stack the bags, and they're ready for the next night or next year.
Total cost for a twelve-bag walkway: bags (a few dollars), tea lights (the bulk packs are cheapest per unit), sand (pennies). Under fifteen dollars for the whole display, reusable for years — the bags are the only part that eventually wears out.
No — never put open flames in paper bags. Use flickering LED tea lights instead; they look like candlelight through the paper with minimal fire risk, and wind can’t blow them out.
Weight each bag with about a cup of sand, gravel, or cat litter, and fold the bottom flat. Weighted bags stay put in gusty wind; unweighted ones will tip and blow away.
Two to three feet apart along walkways. Closer merges the glows into a blur; farther apart breaks the line. On steps, alternate sides in a zigzag pattern.
Bring them in — paper doesn’t survive rain. For light drizzle, slipping each bag inside a clear plastic bag protects them; bags under a porch overhang handle drizzle on their own.
A fresh battery typically runs a tea light for 24 to 48 hours of continuous use. For a few evenings of display, one set of batteries per season is usually enough; keep spares for dim bags.
Frequently Asked Questions
What kind of lights go inside paper bag luminaries?
Flickering LED tea lights in warm white, one per bag, plus a few spares. Nestle one into the sand and push it down so it sits stable and centered, since the sand holds it upright with no tape needed. The flicker setting sells the candle illusion; from ten feet away, nobody can tell, and cool-white LEDs look like a hospital corridor, so check the package.
How do you keep paper bag luminaries from blowing over in the wind?
Pour about a cup of sand, gravel, or cat litter into each bag and fold the bottom flat so it sits stable. A weighted bag does not tip, and a bag that does not tip does not blow away. Unweighted luminaries become tumbleweeds in the first gust, so weight every bag before you cut or place anything.
What cutout designs work best on paper bag luminaries?
Simple shapes glow best: jack-o-lantern faces, bats, stars, and moons. Fold the bag's top edge down about two inches to stiffen the opening, then cut your shapes into the upper half, keeping cutouts at least an inch from the top edge so the bag keeps its structure. Intricate cutouts turn to mush when backlit, the same as window silhouettes.
How much does a paper bag luminaries walkway cost?
A twelve-bag walkway comes in under fifteen dollars. Paper lunch bags cost a few dollars, LED tea lights are cheapest in bulk packs per unit, and sand costs pennies. The bags are the only part that eventually wears out, so dump the sand back in its container and stack the bags, and they are ready for the next night or next year.
Should you put two LED tea lights in each luminary bag?
One light per bag is plenty. Two creates hotspots that wash out your cutout design. If a bag looks dim, the issue is almost always the tea light's battery, not the number of lights, so swap in a spare instead of doubling up.